
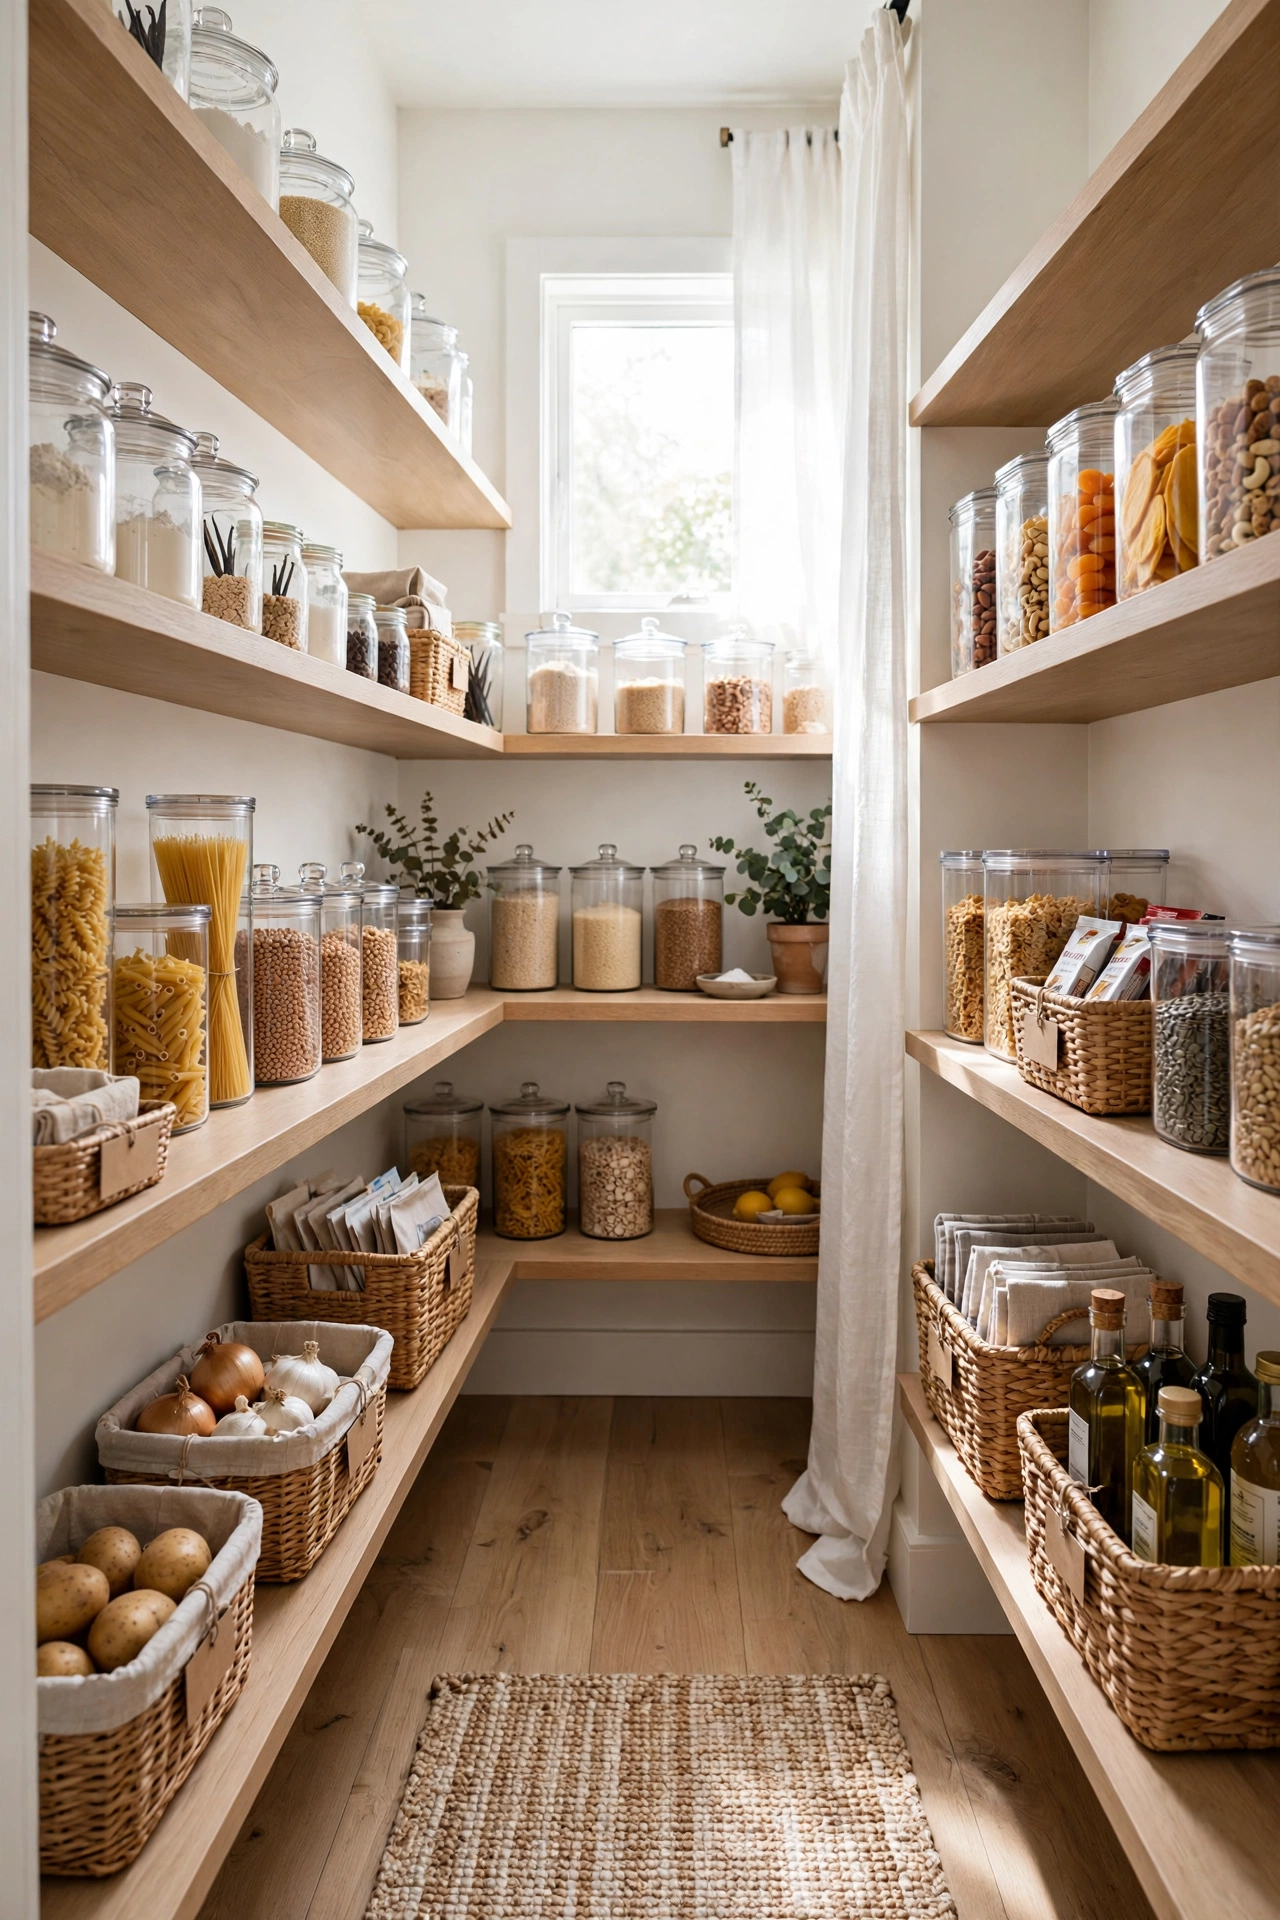
A chaotic pantry wastes your money and your time — you buy duplicates because you can’t see what you have, and dinner takes twice as long when everything’s buried. These 15 pantry organisation ideas turn any pantry, big or tiny, into a calm, efficient system.
Every idea is budget-friendly, most take under 30 minutes, and none require a renovation. Let’s transform your kitchen storage.
1. Empty It Completely and Start Fresh
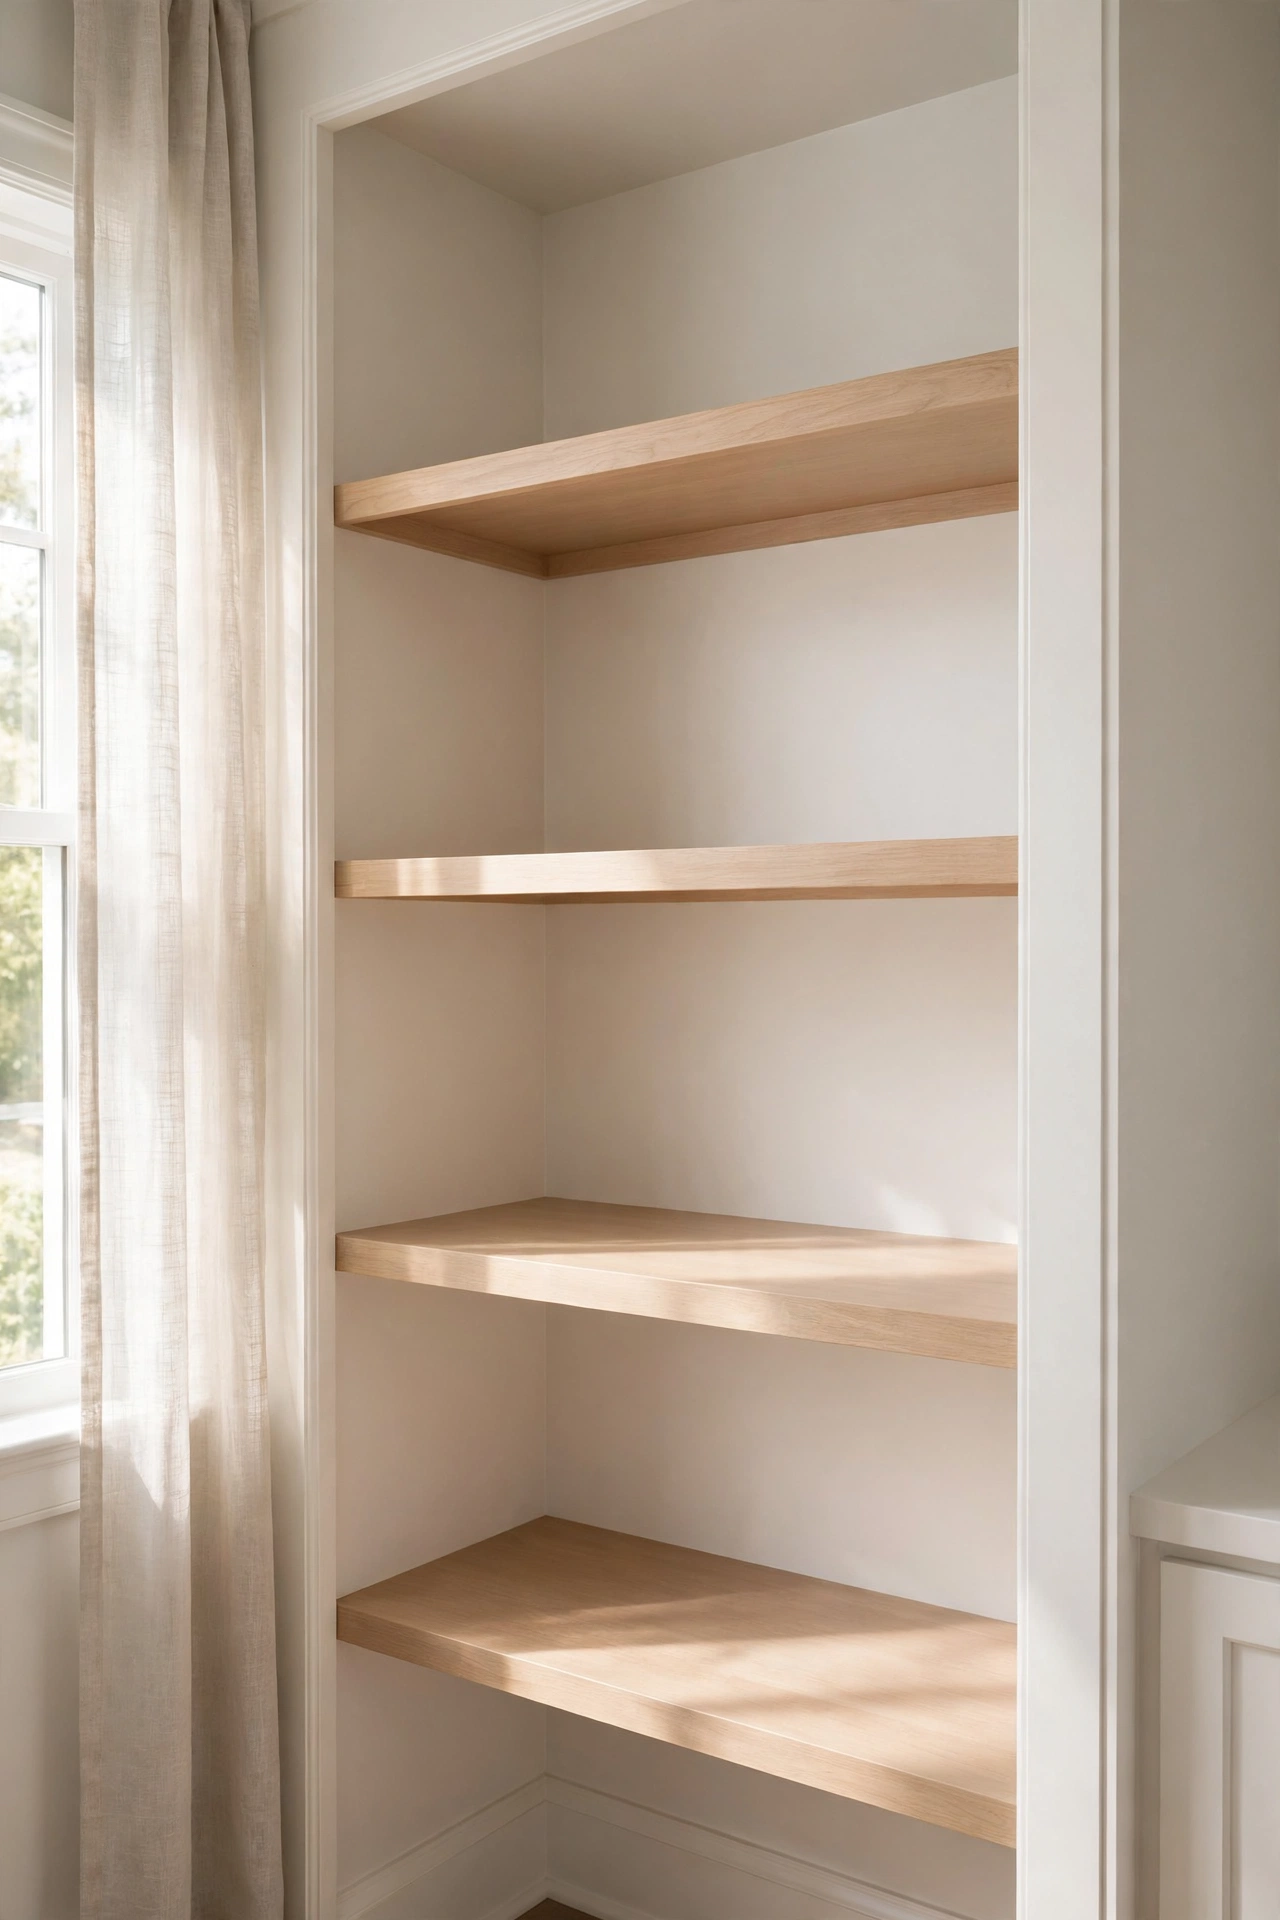
You can’t organise around expired tins and stale crackers. Pull everything out, check every date, toss the expired and stale, and wipe every shelf. This one-time reset shows you exactly what you own — and what your pantry actually needs to hold.
Most people find they own 30% more than they thought. The declutter alone makes the pantry feel twice as big.
The rule: If it’s expired, stale, or you wouldn’t eat it tonight, it goes.
2. Zone Your Pantry Like a Shop
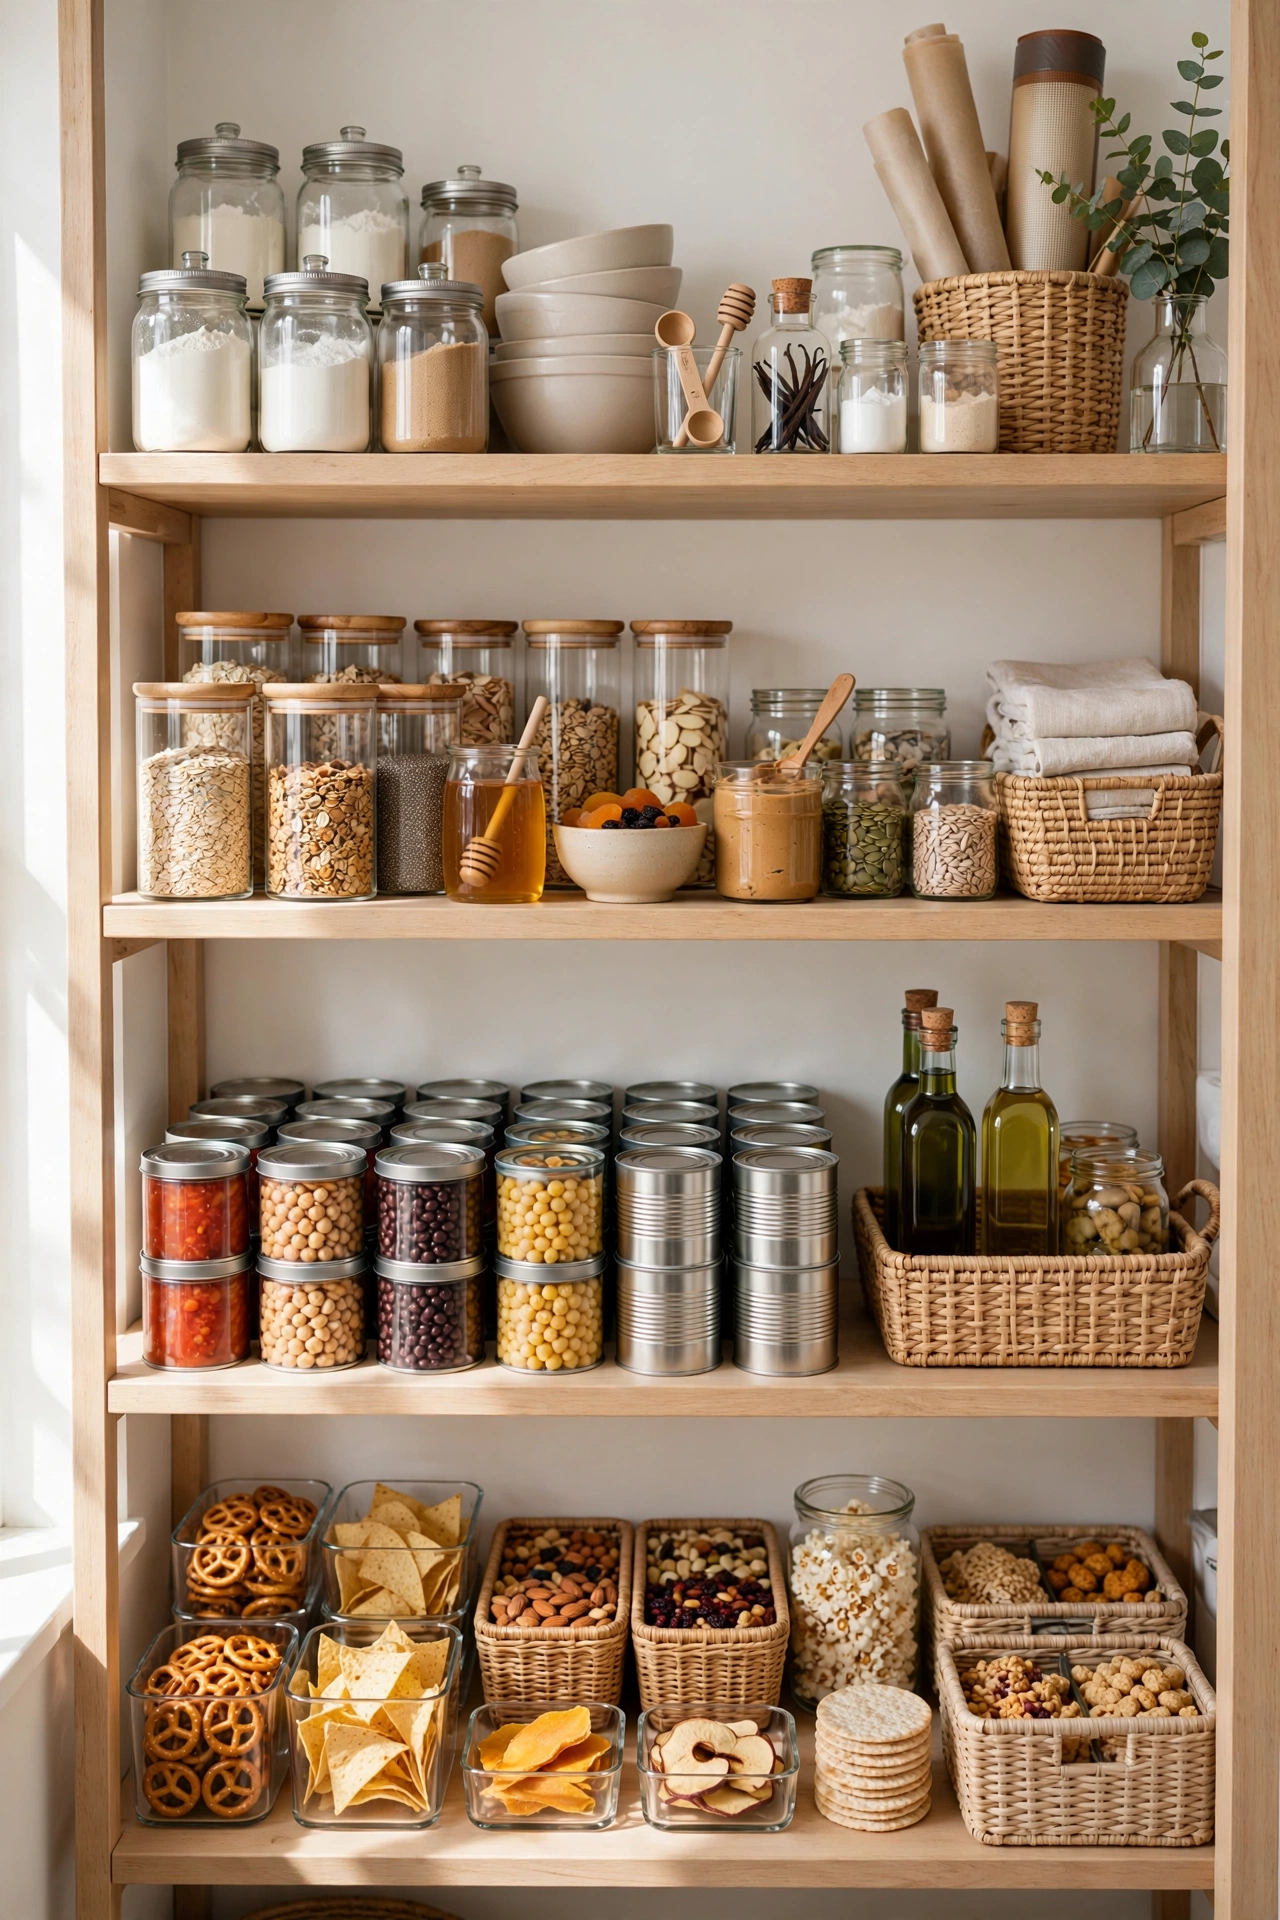
Shops organise by category because it works. Zone your pantry the same way: baking together, breakfast together, tinned goods together, snacks together, spices together. When every category has a zone, you find things instantly and putting shopping away takes seconds.
Put daily items at eye level, heavy items low, and rarely-used items high.
Try it: One afternoon of zoning saves you ten minutes every single day you cook.
3. Decant Dry Goods Into Clear Containers
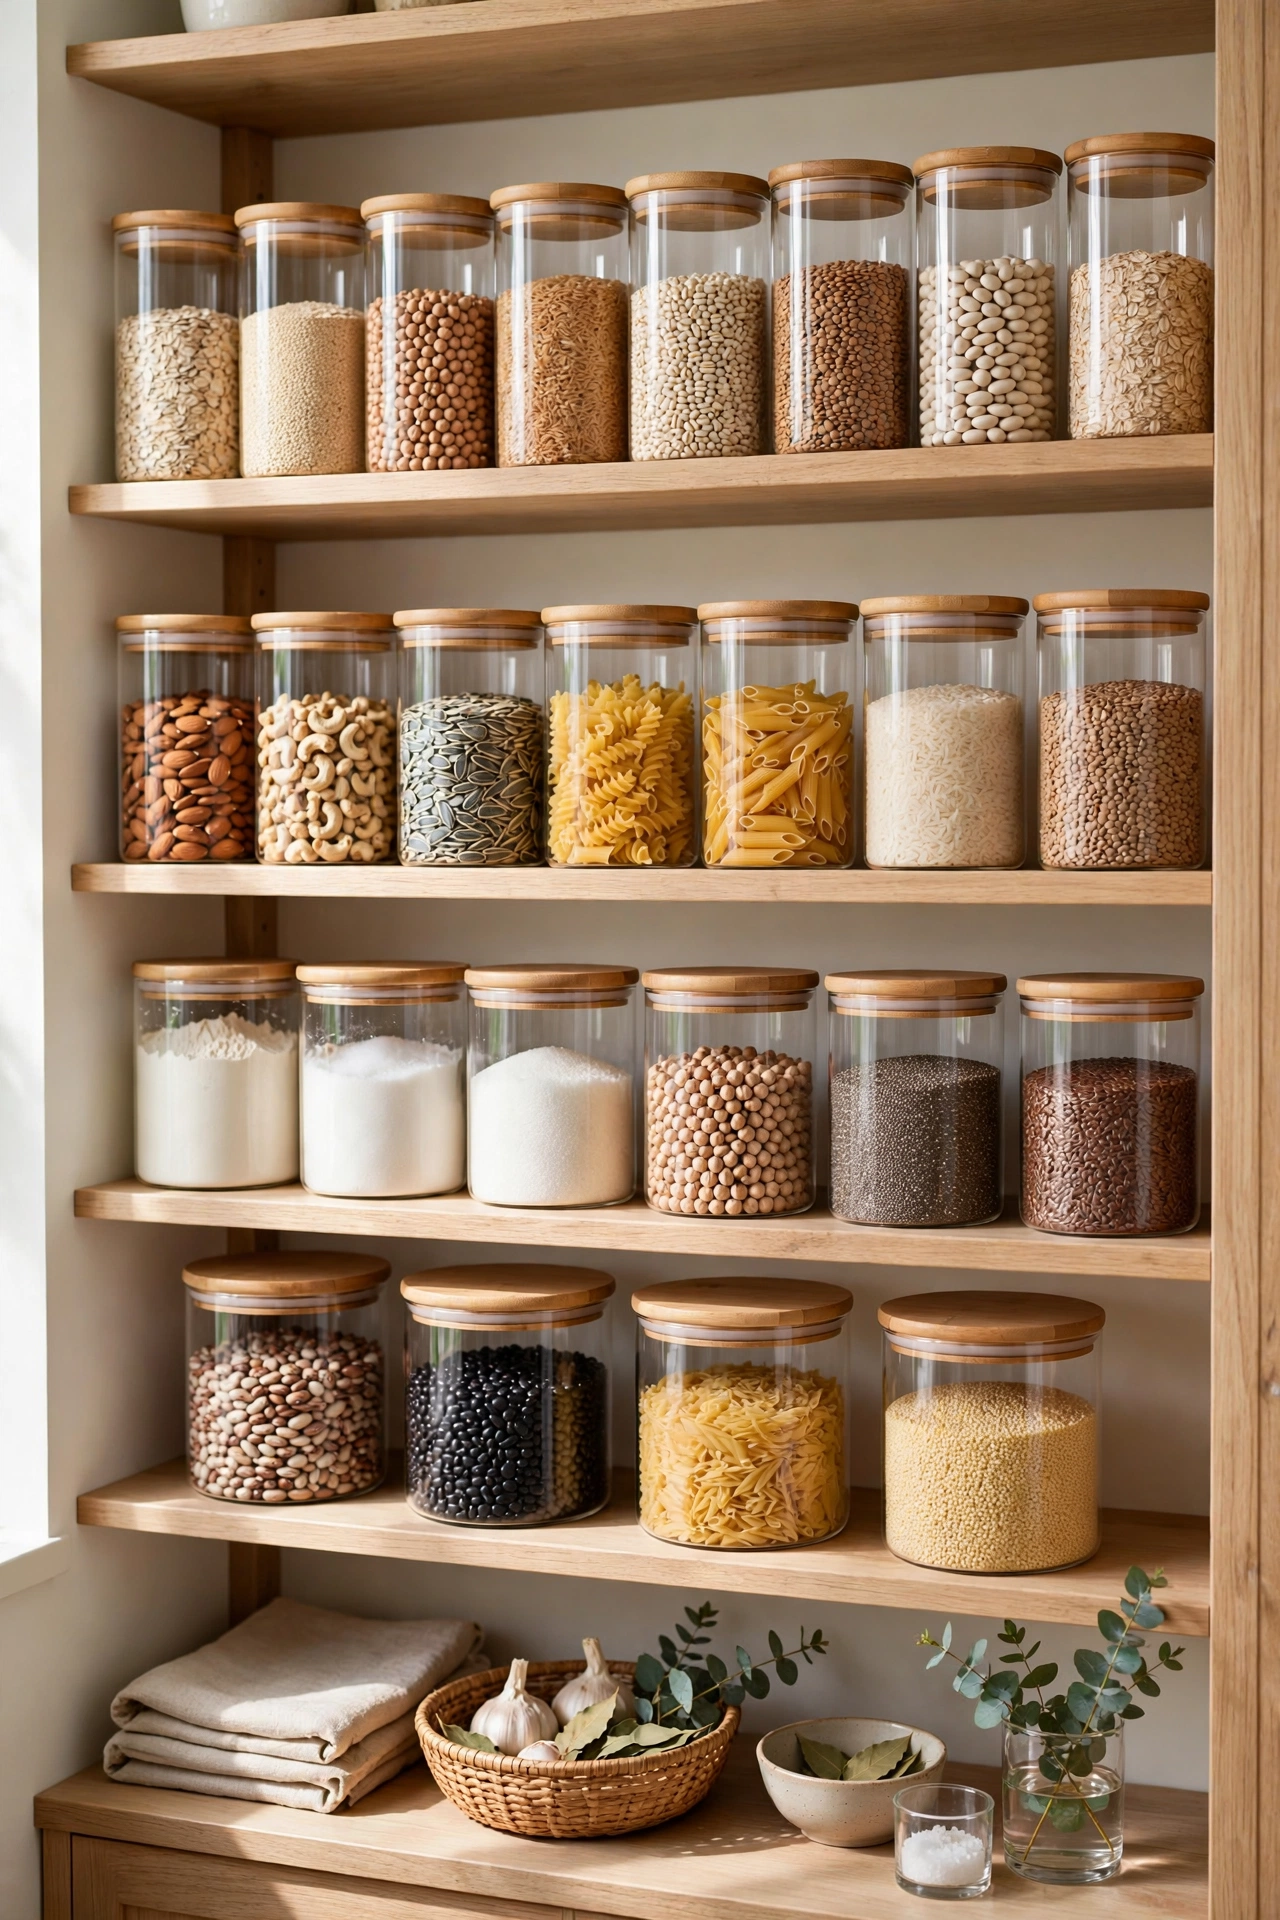
Mismatched bags and boxes are visual chaos — and you can’t see what’s running low. Decant flour, rice, pasta, cereals and snacks into clear airtight containers. You see everything at a glance, food stays fresher, and the pantry looks instantly calm.
Square containers waste less shelf space than round ones — they sit flush with no dead gaps.
Budget tip: Start with the five items you buy most. You don’t need to decant everything on day one.
4. Label Everything — Your Future Self Will Thank You
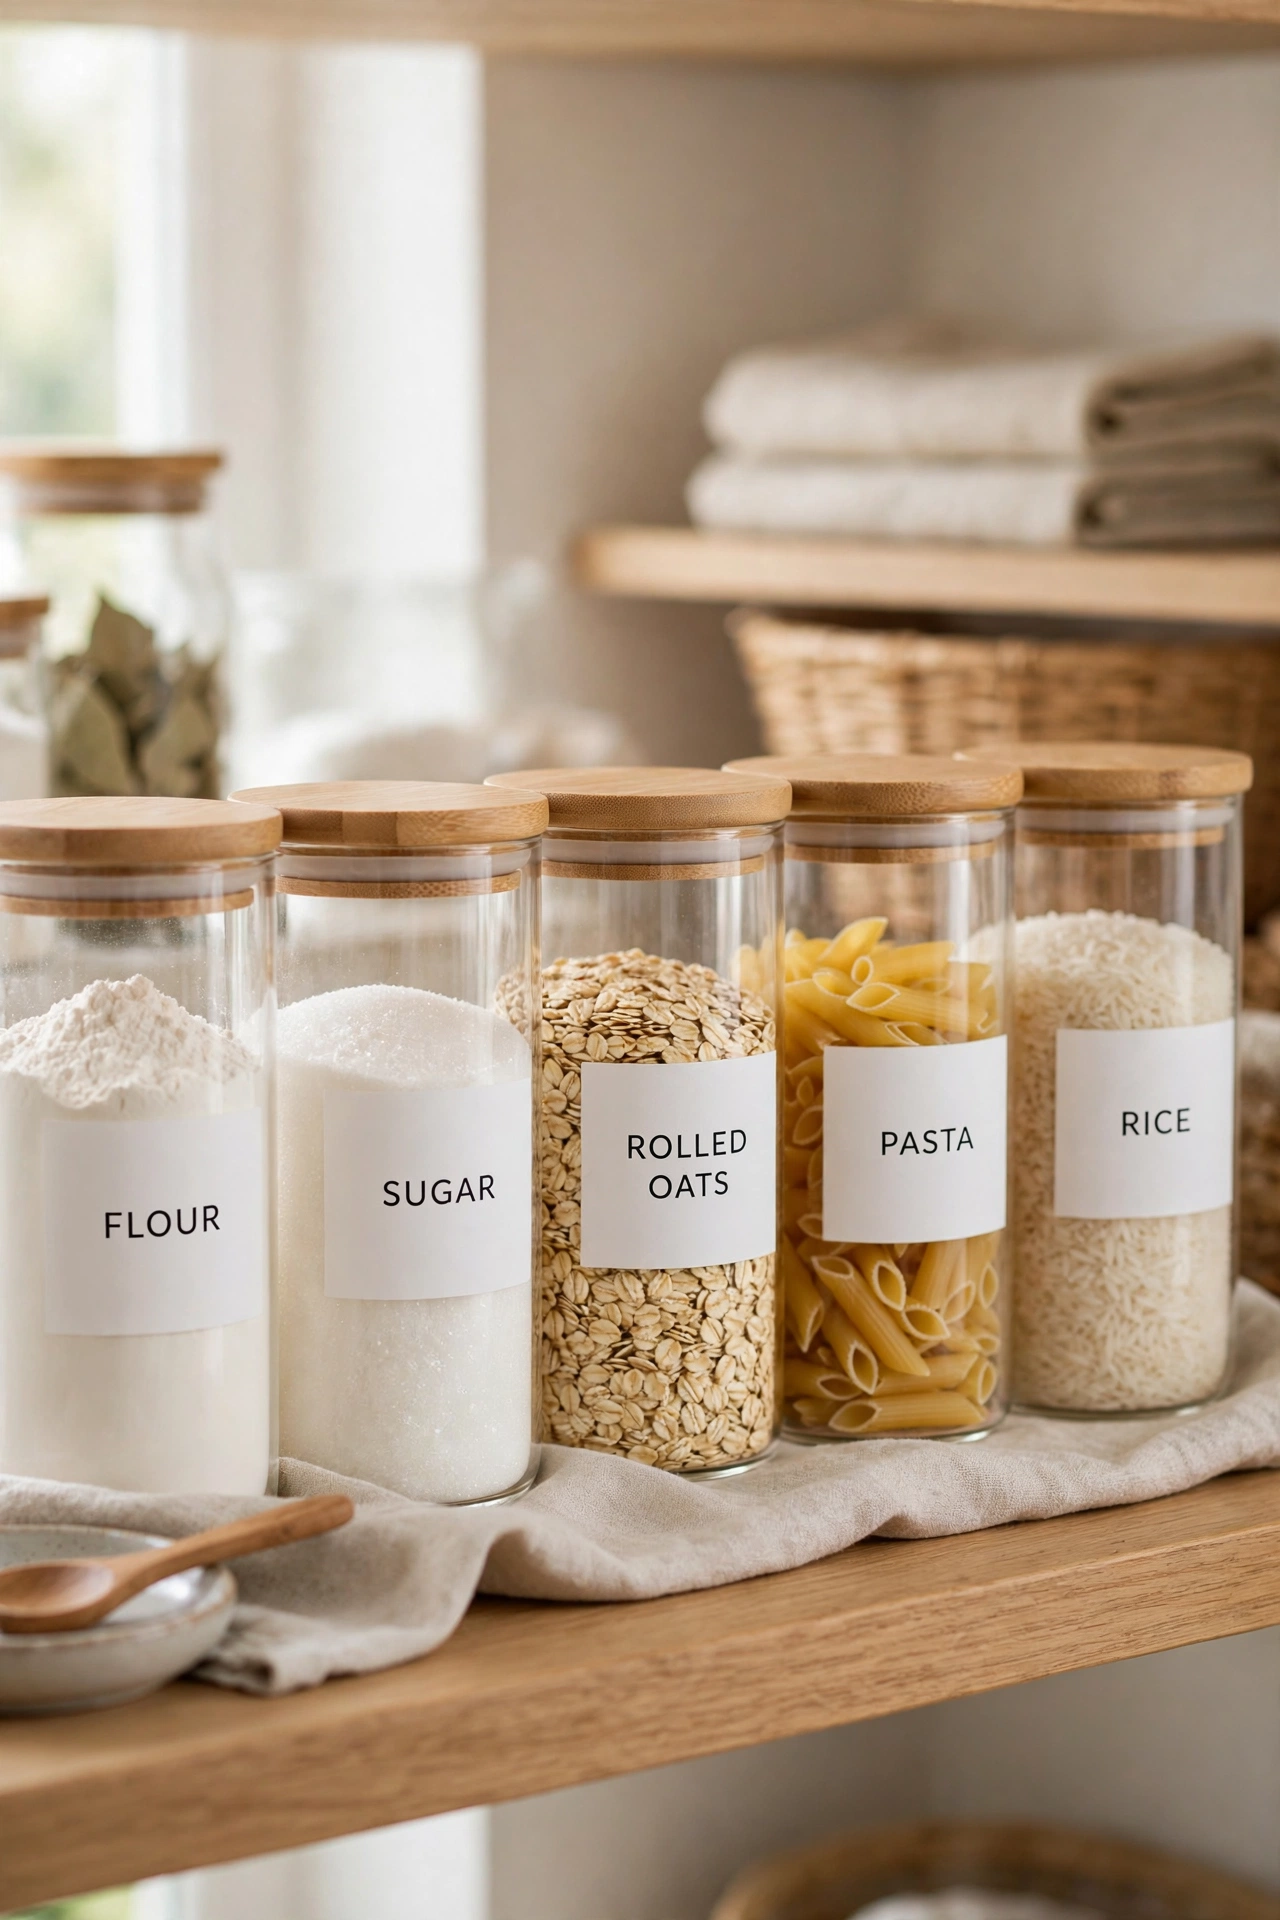
Unlabelled containers are just mystery jars with lids. Label every decanted container with the contents (and the date you filled it). Labels keep the system running — anyone in the house can find things and put them back correctly.
A simple label maker or even masking tape and a marker does the job beautifully.
The payoff: A labelled pantry stays organised by itself, because everyone knows where things belong.
5. Use Tiered Risers So Nothing Hides at the Back
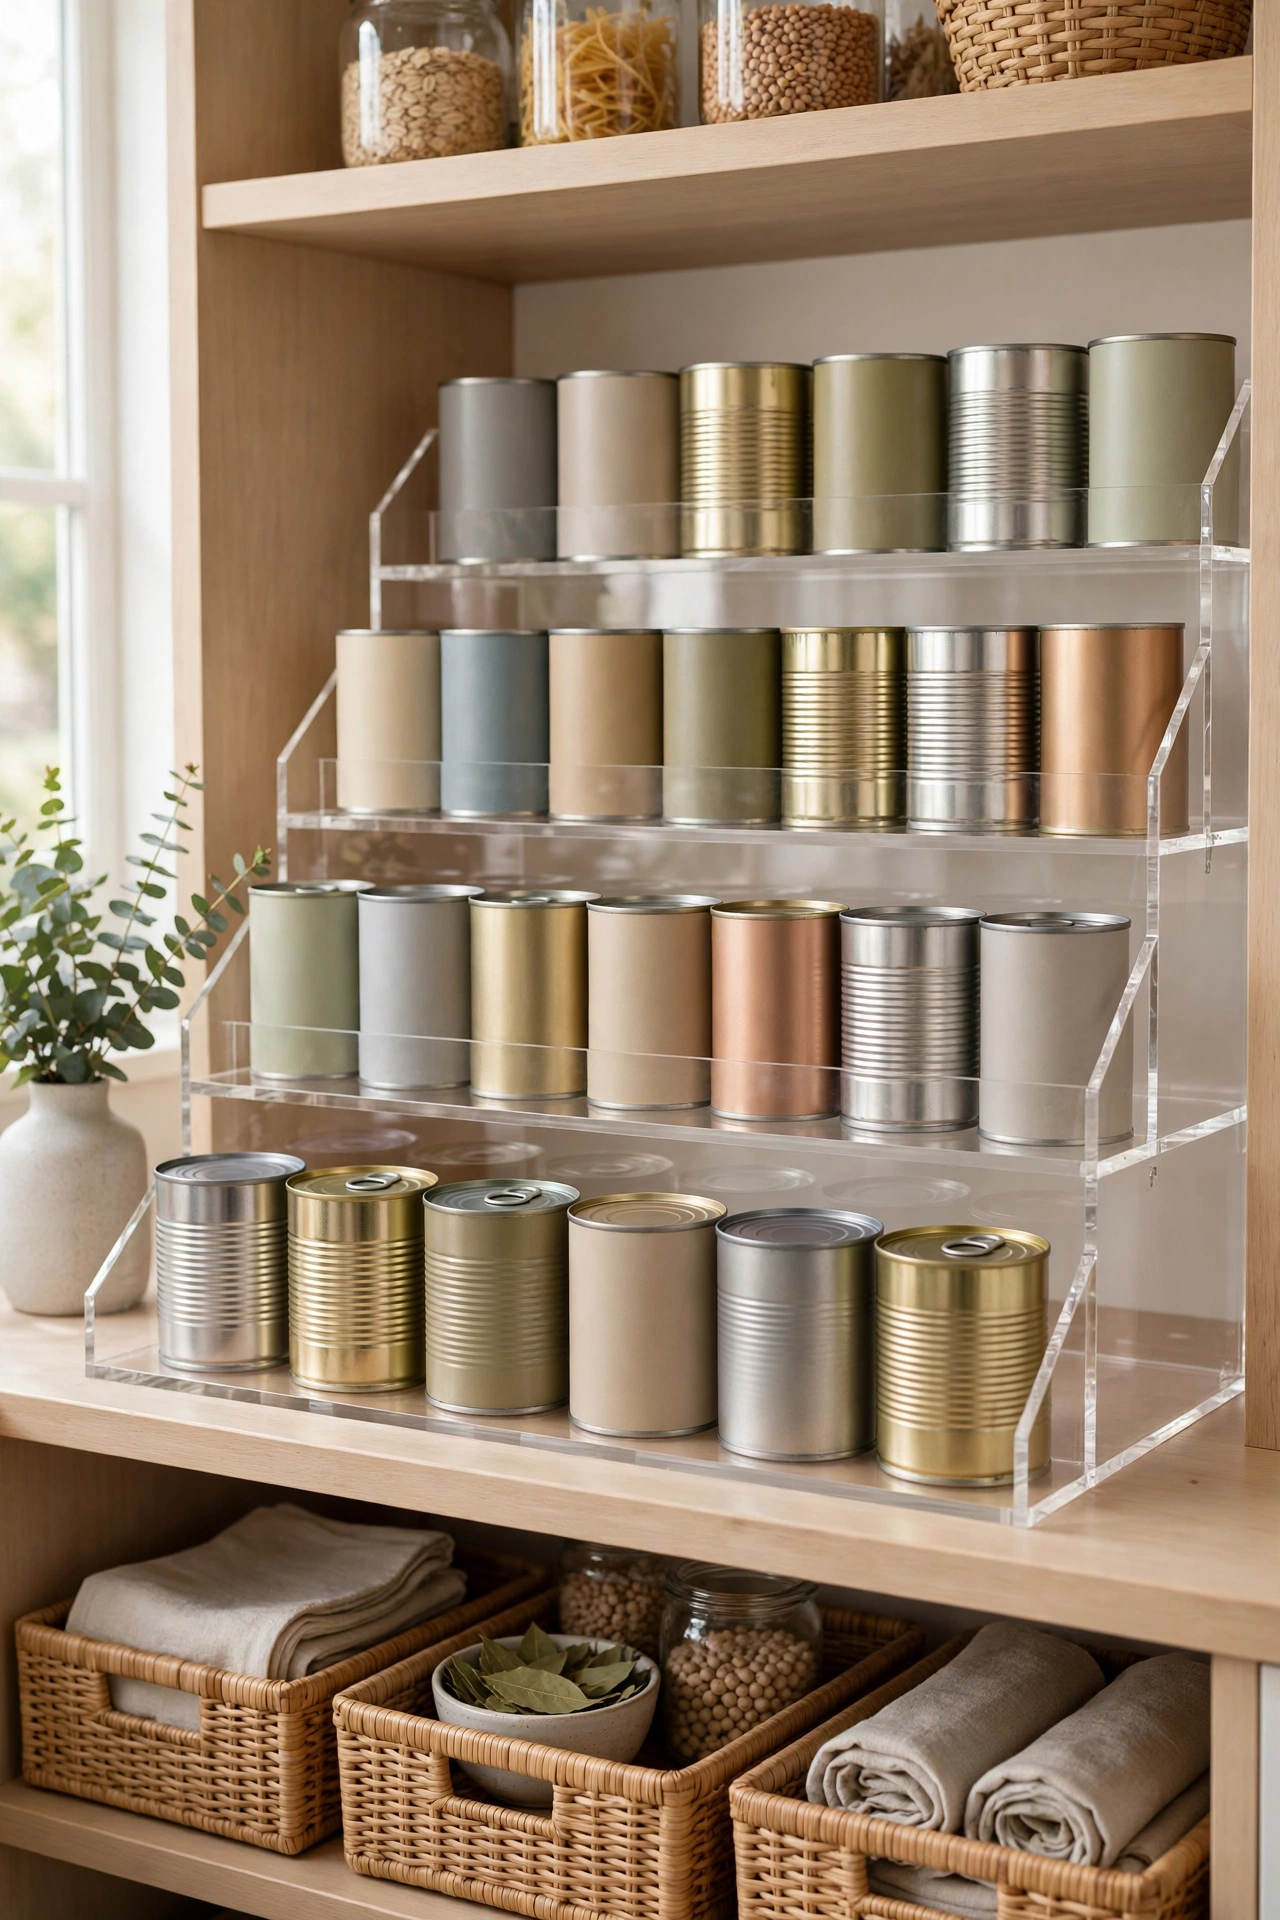
Deep pantry shelves are where tins go to die — you can’t see what’s behind the front row. Tiered shelf risers lift the back rows up like stadium seating, so every tin, jar and packet is visible.
This one cheap addition ends the “buy it again because I couldn’t see it” problem for good.
Small pantry win: Risers effectively double the usable depth of every shelf.
6. Add Baskets and Bins for Loose Items
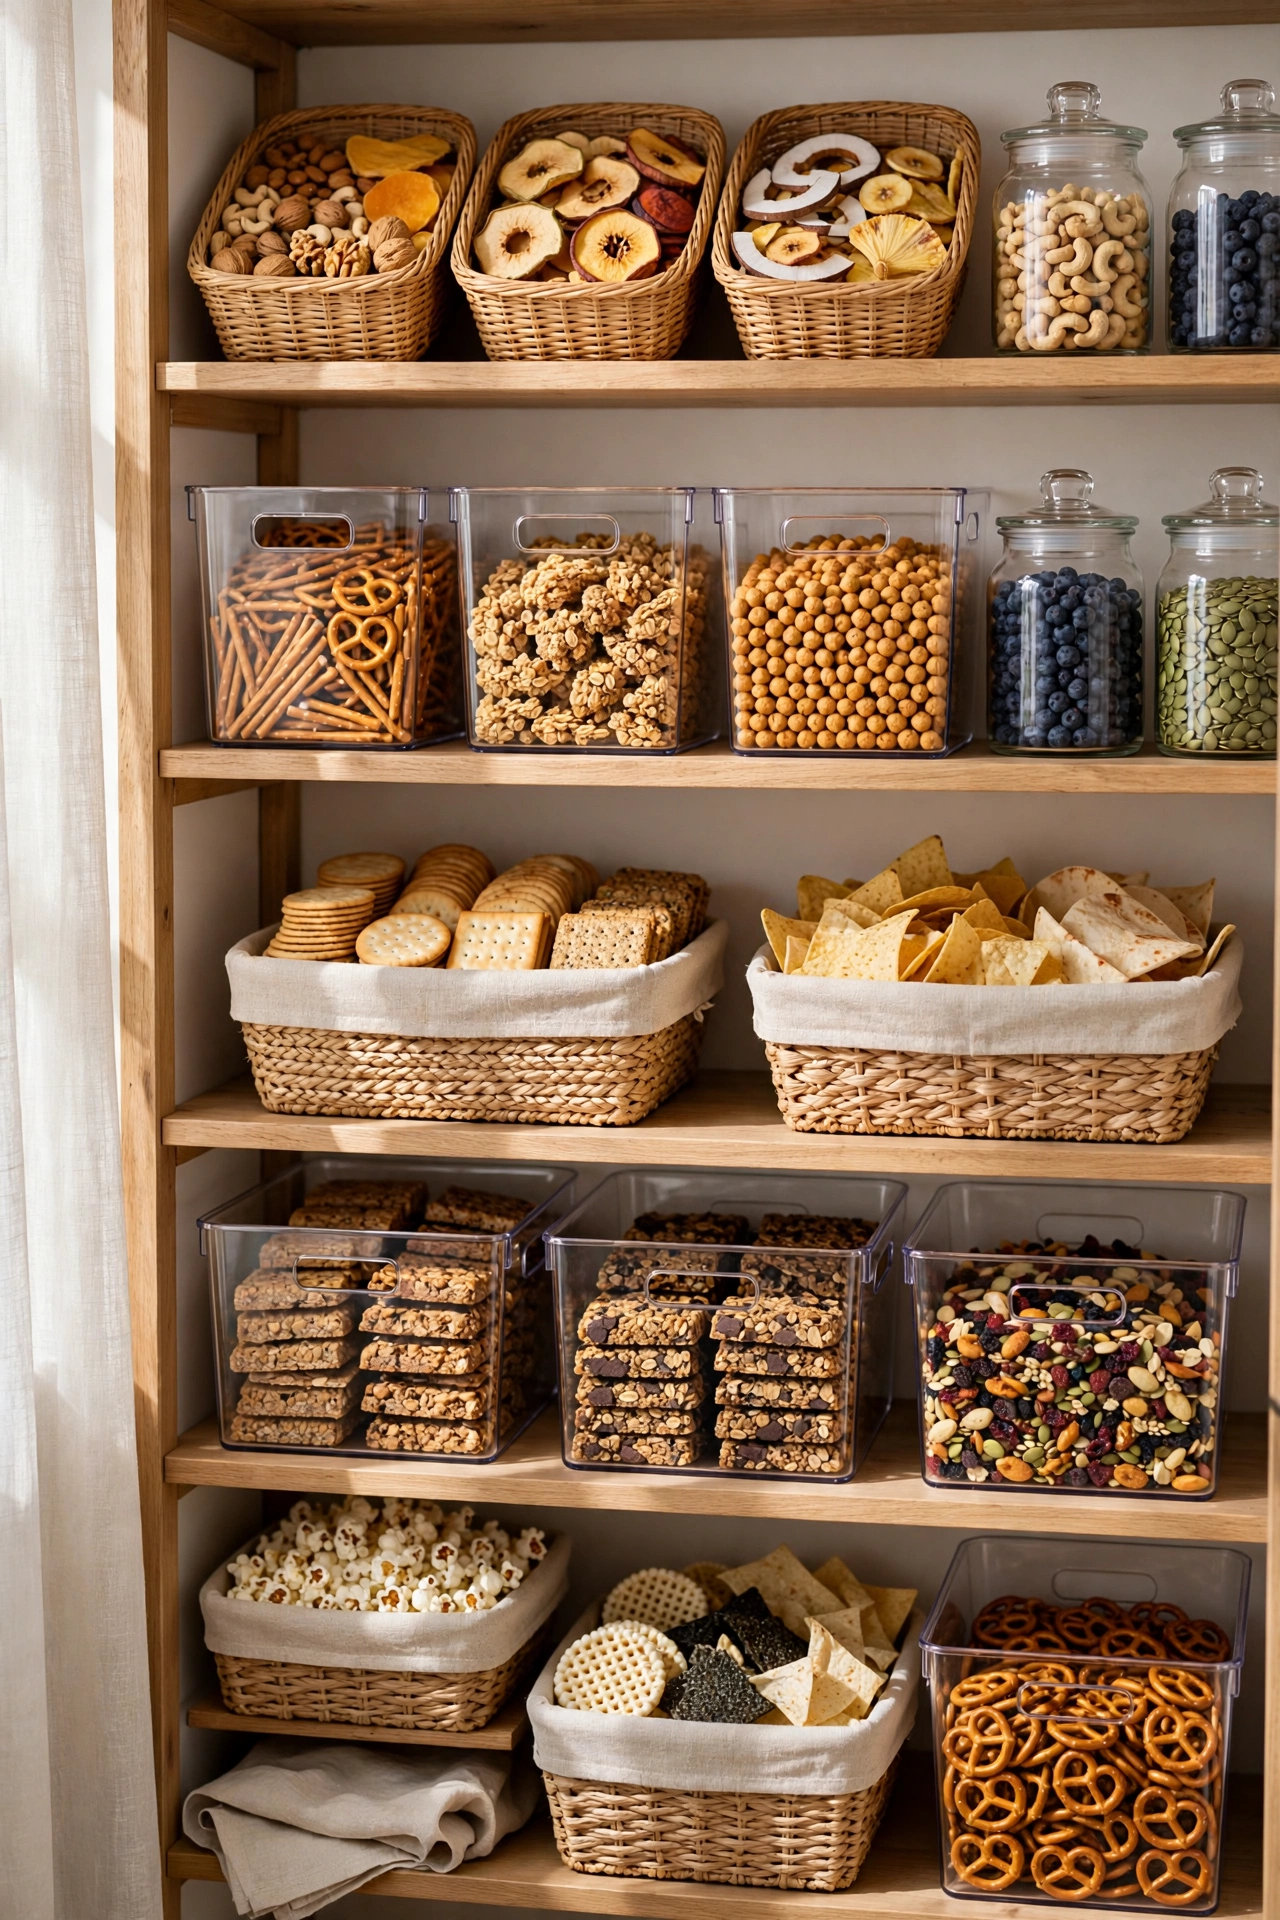
Packets, sachets, snack bars and spice refills scatter everywhere without containment. Corral them into baskets and bins — one per category. Pull out the bin, grab what you need, slide it back.
Bins also make deep shelves usable: slide the whole bin out instead of reaching into the dark.
Try it: One basket each for snacks, baking, and “loose packets” covers most pantries.
7. Use the Pantry Door for Extra Storage
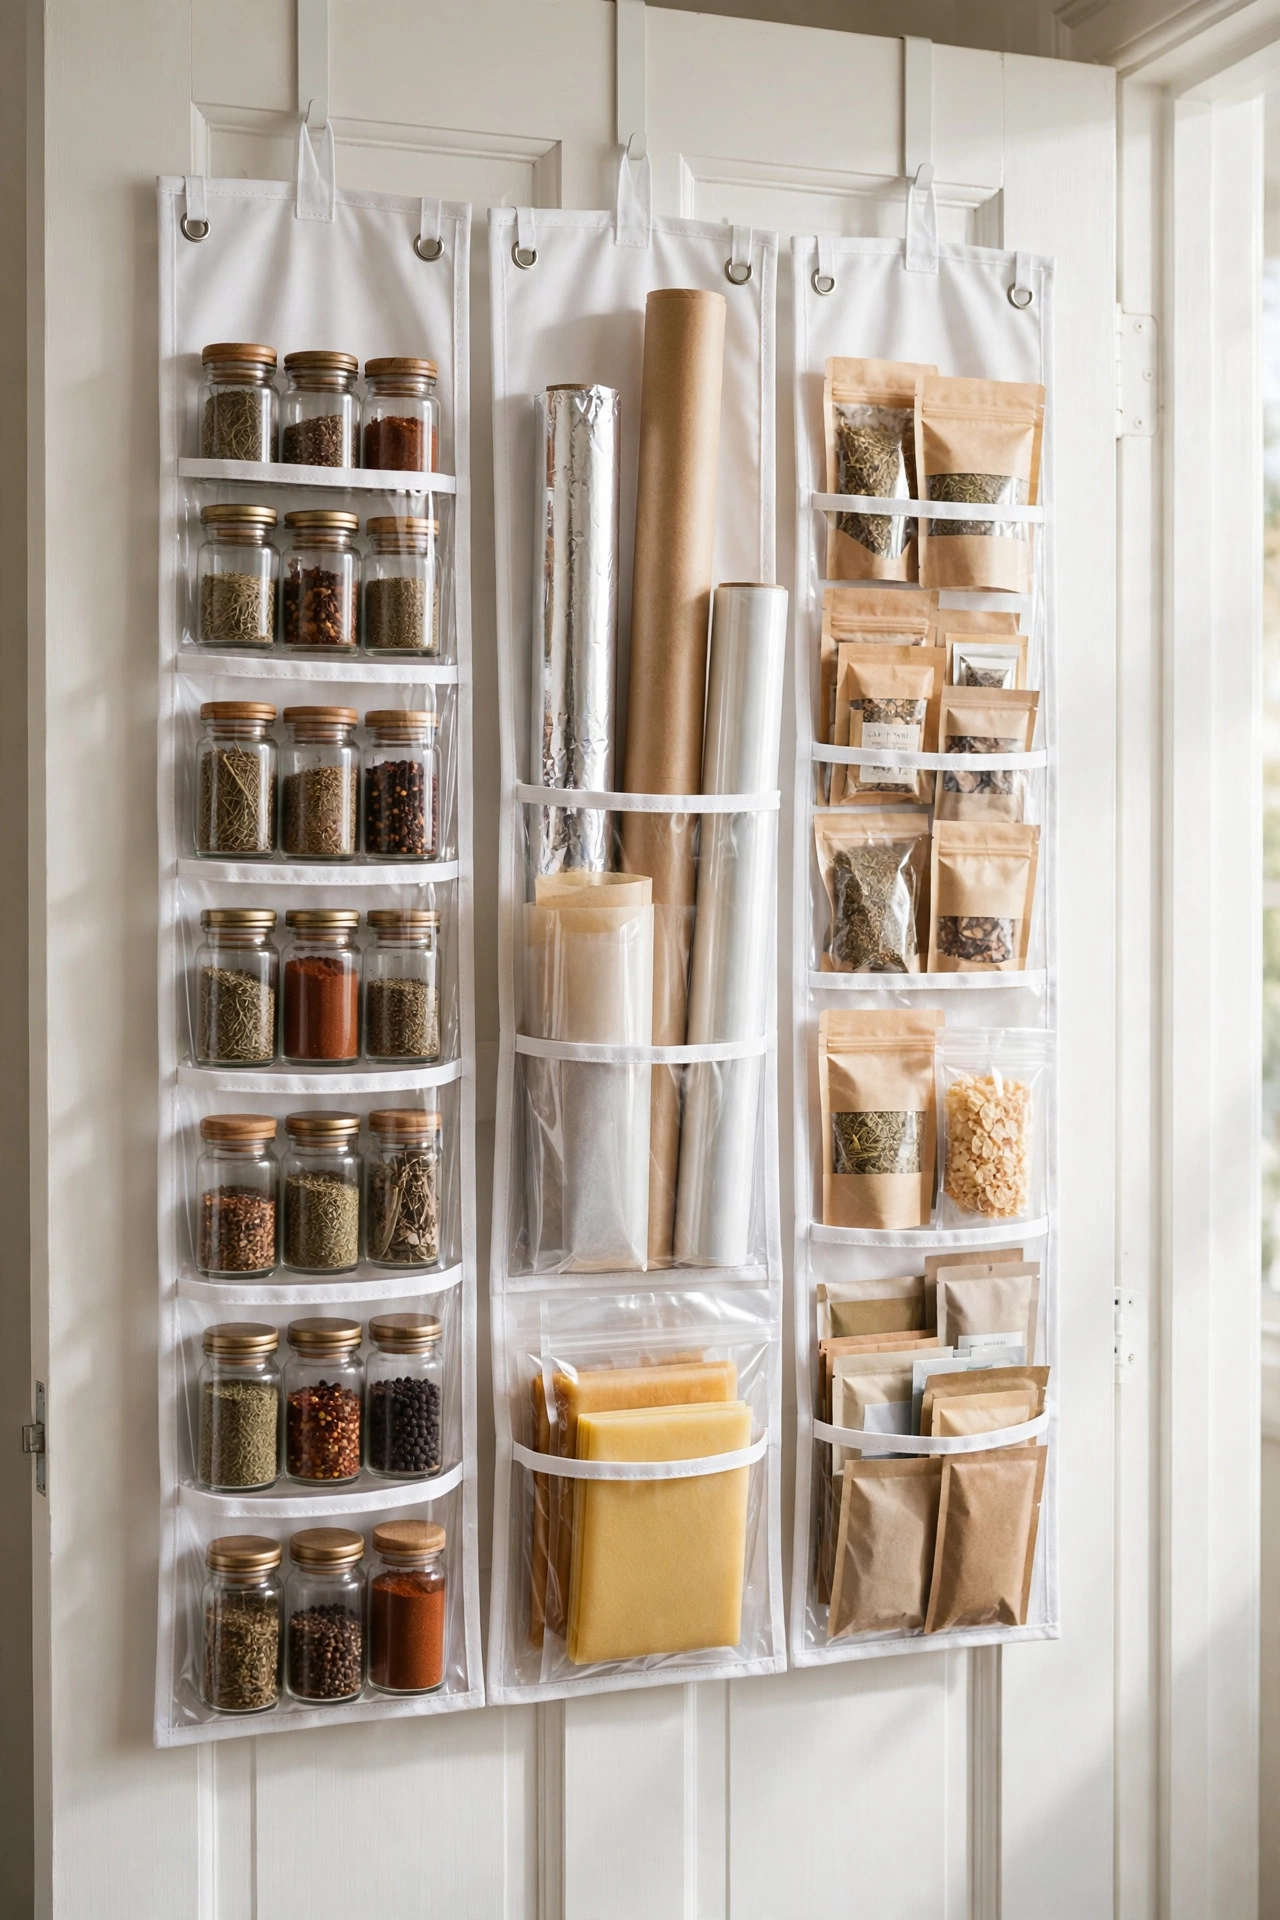
The inside of the pantry door is free storage waiting to happen. Slim over-door racks or adhesive-mounted organisers hold spices, wraps, small packets and frequently-used items — all visible the moment you open the door.
This is prime real estate for the small things that get lost on shelves.
Renter-friendly: Over-door racks need zero fixings; adhesive organisers remove cleanly.
8. Create a Snack Station the Kids Can Reach
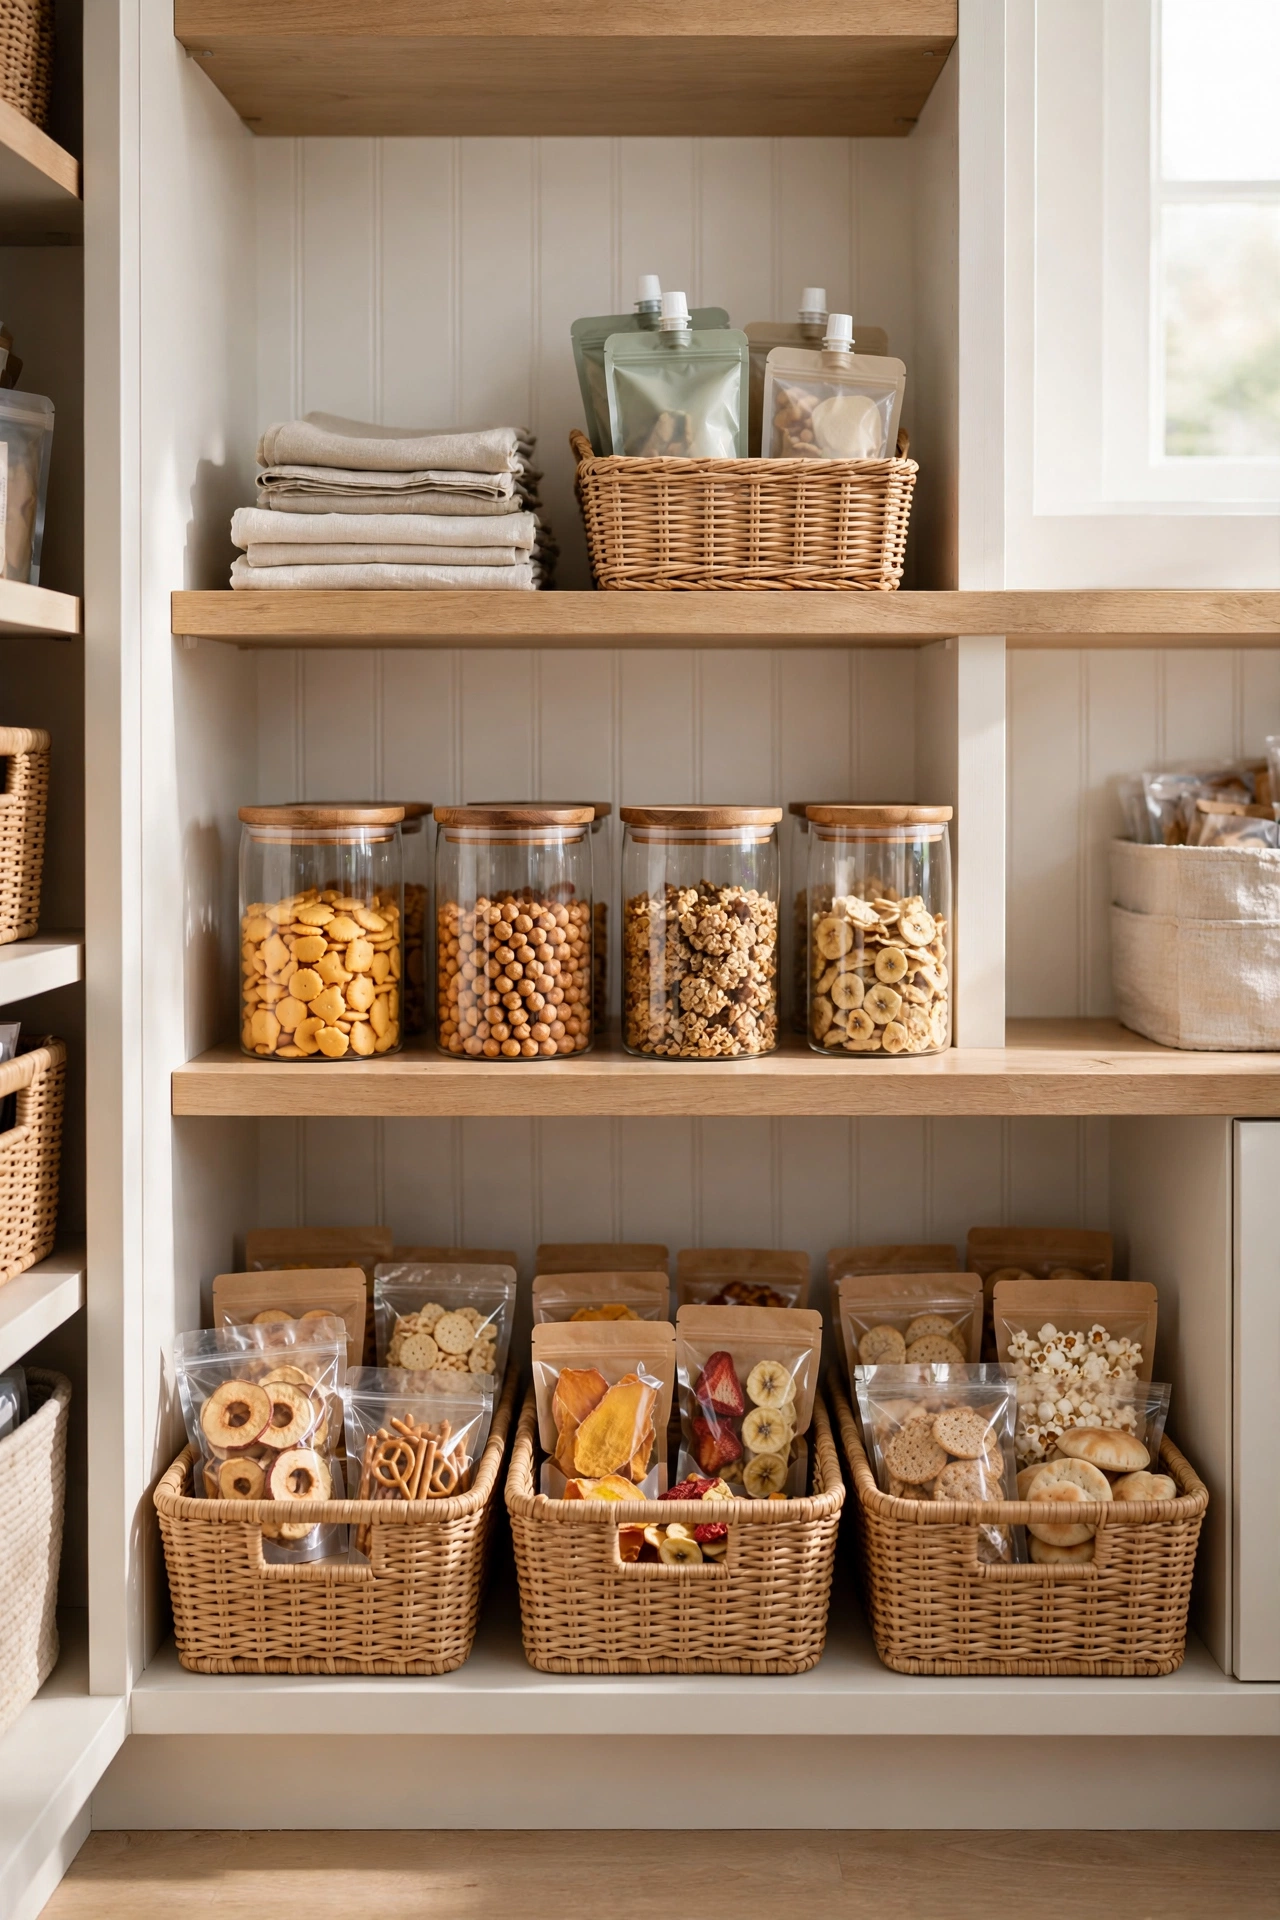
If kids (or snack-loving adults) raid the pantry daily, give them a dedicated low snack station — one basket or bin at reachable height with portioned snacks. It stops the whole-pantry excavation every afternoon.
Restock it weekly. Everything else stays organised because the daily chaos has its own contained zone.
Why it works: Containing the mess beats fighting it. The snack station absorbs 90% of pantry disruption.
9. Store Heavy Items Low, Light Items High

It’s simple physics and simple safety: heavy items (bulk rice, tinned goods, bottles) live on low shelves where they’re stable and easy to lift. Light, rarely-used items go up high. Daily items sit at eye level.
This arrangement also protects your shelves — heavy loads low means less strain on fixings.
The rule: Heavy low, daily at eye level, light and rare up high.
10. Use Lazy Susans for Corners and Deep Shelves
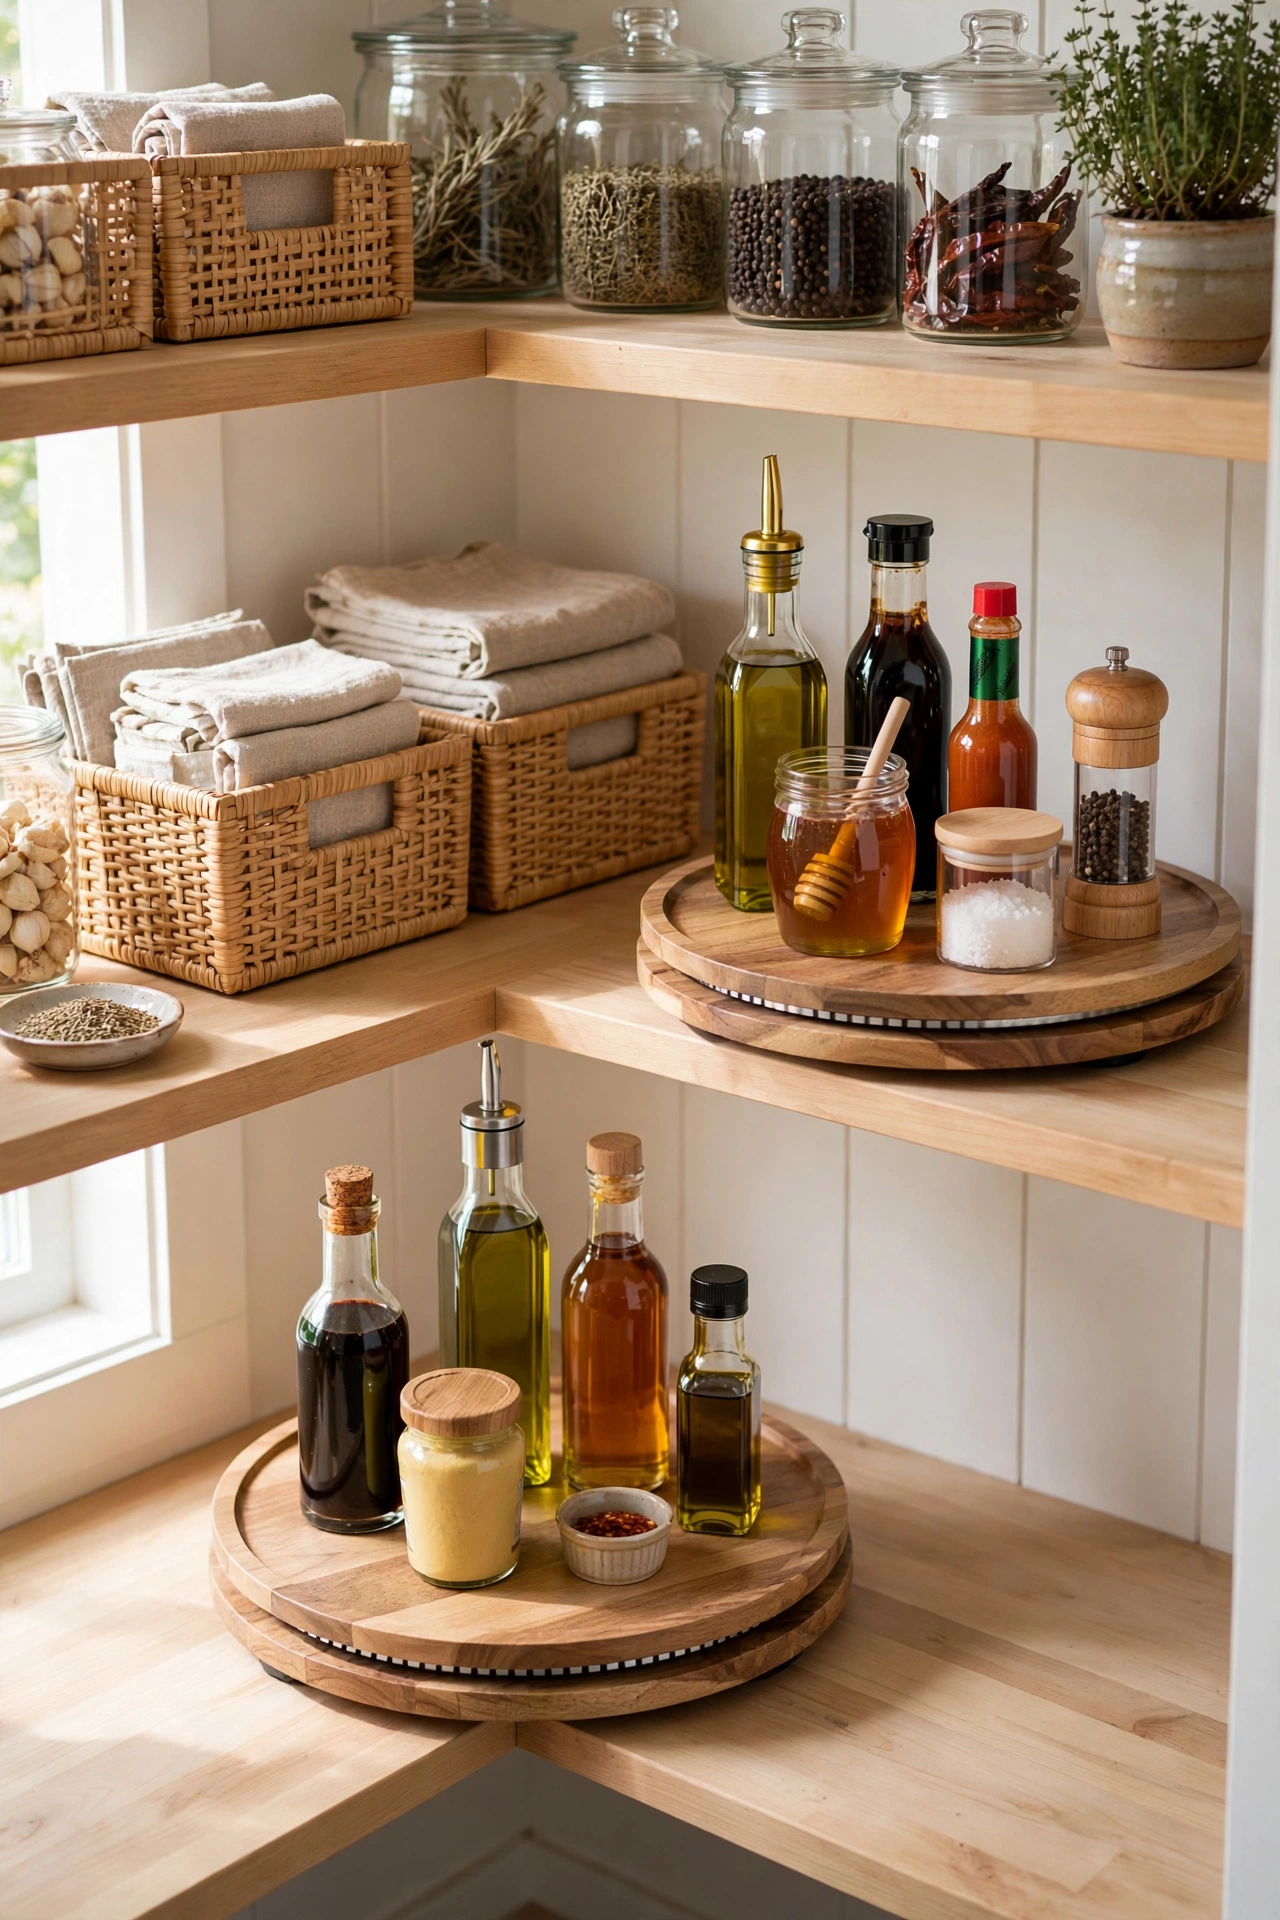
Corners and deep shelves waste space because you can’t reach the back. A lazy Susan (turntable) fixes that — spin it and everything comes to you. Perfect for oils, vinegars, condiments and spice jars.
Two small turntables beat one giant one: group by category and spin to what you need.
Budget tip: Basic turntables cost very little and instantly make dead corners usable.
11. Keep a Running Shopping List on the Pantry Door
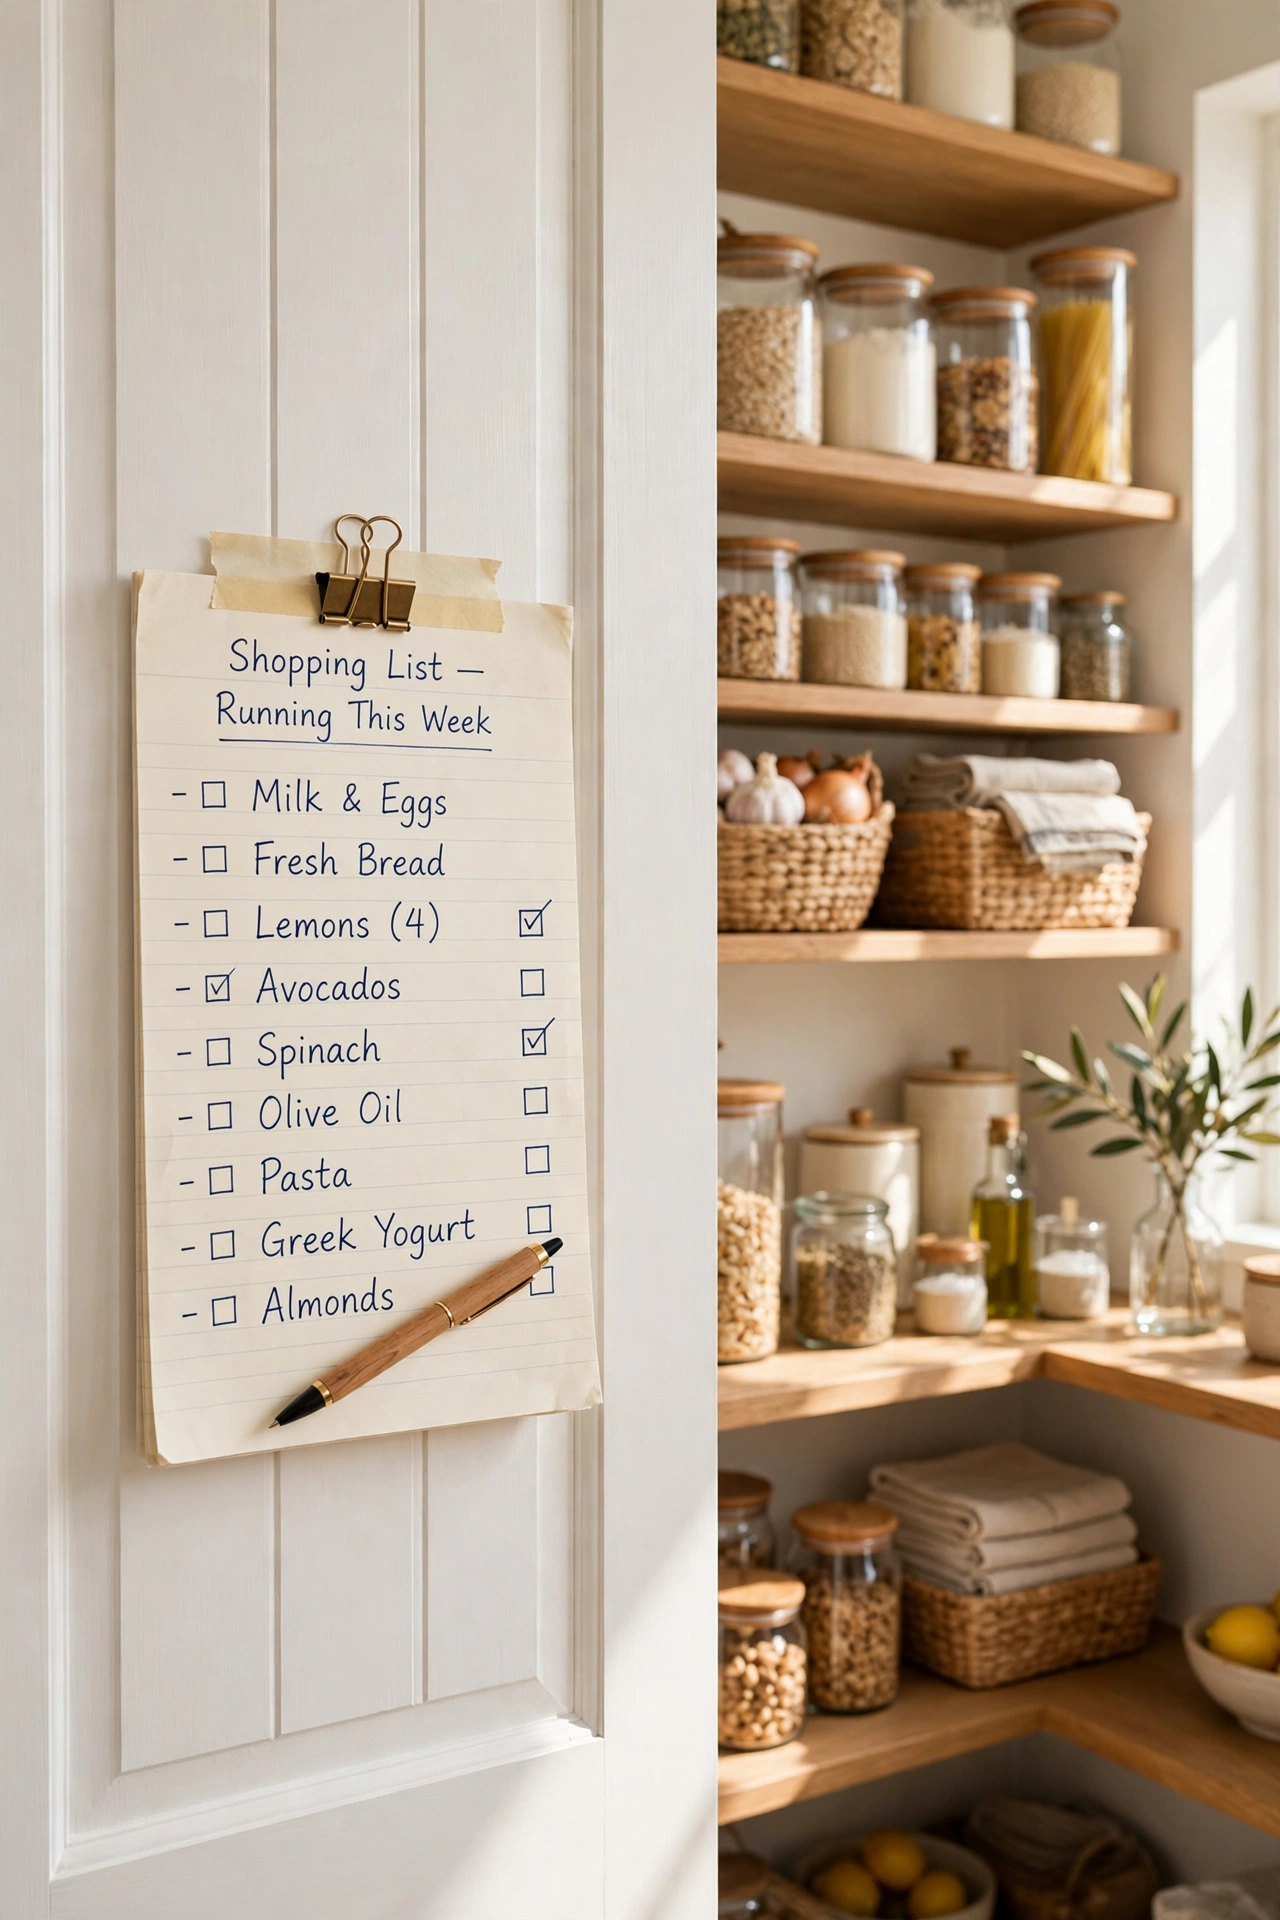
Stop the duplicate-buying cycle: keep a running shopping list on the pantry door (a notepad, a whiteboard, or a phone note). When you use the last of something, write it down immediately.
This tiny habit saves real money — no more third bottle of soy sauce because you forgot you had two.
Why it works: The list lives where the information is. You notice empties in the pantry, so the list lives on the pantry.
12. Group Baking Supplies Into One Baking Zone
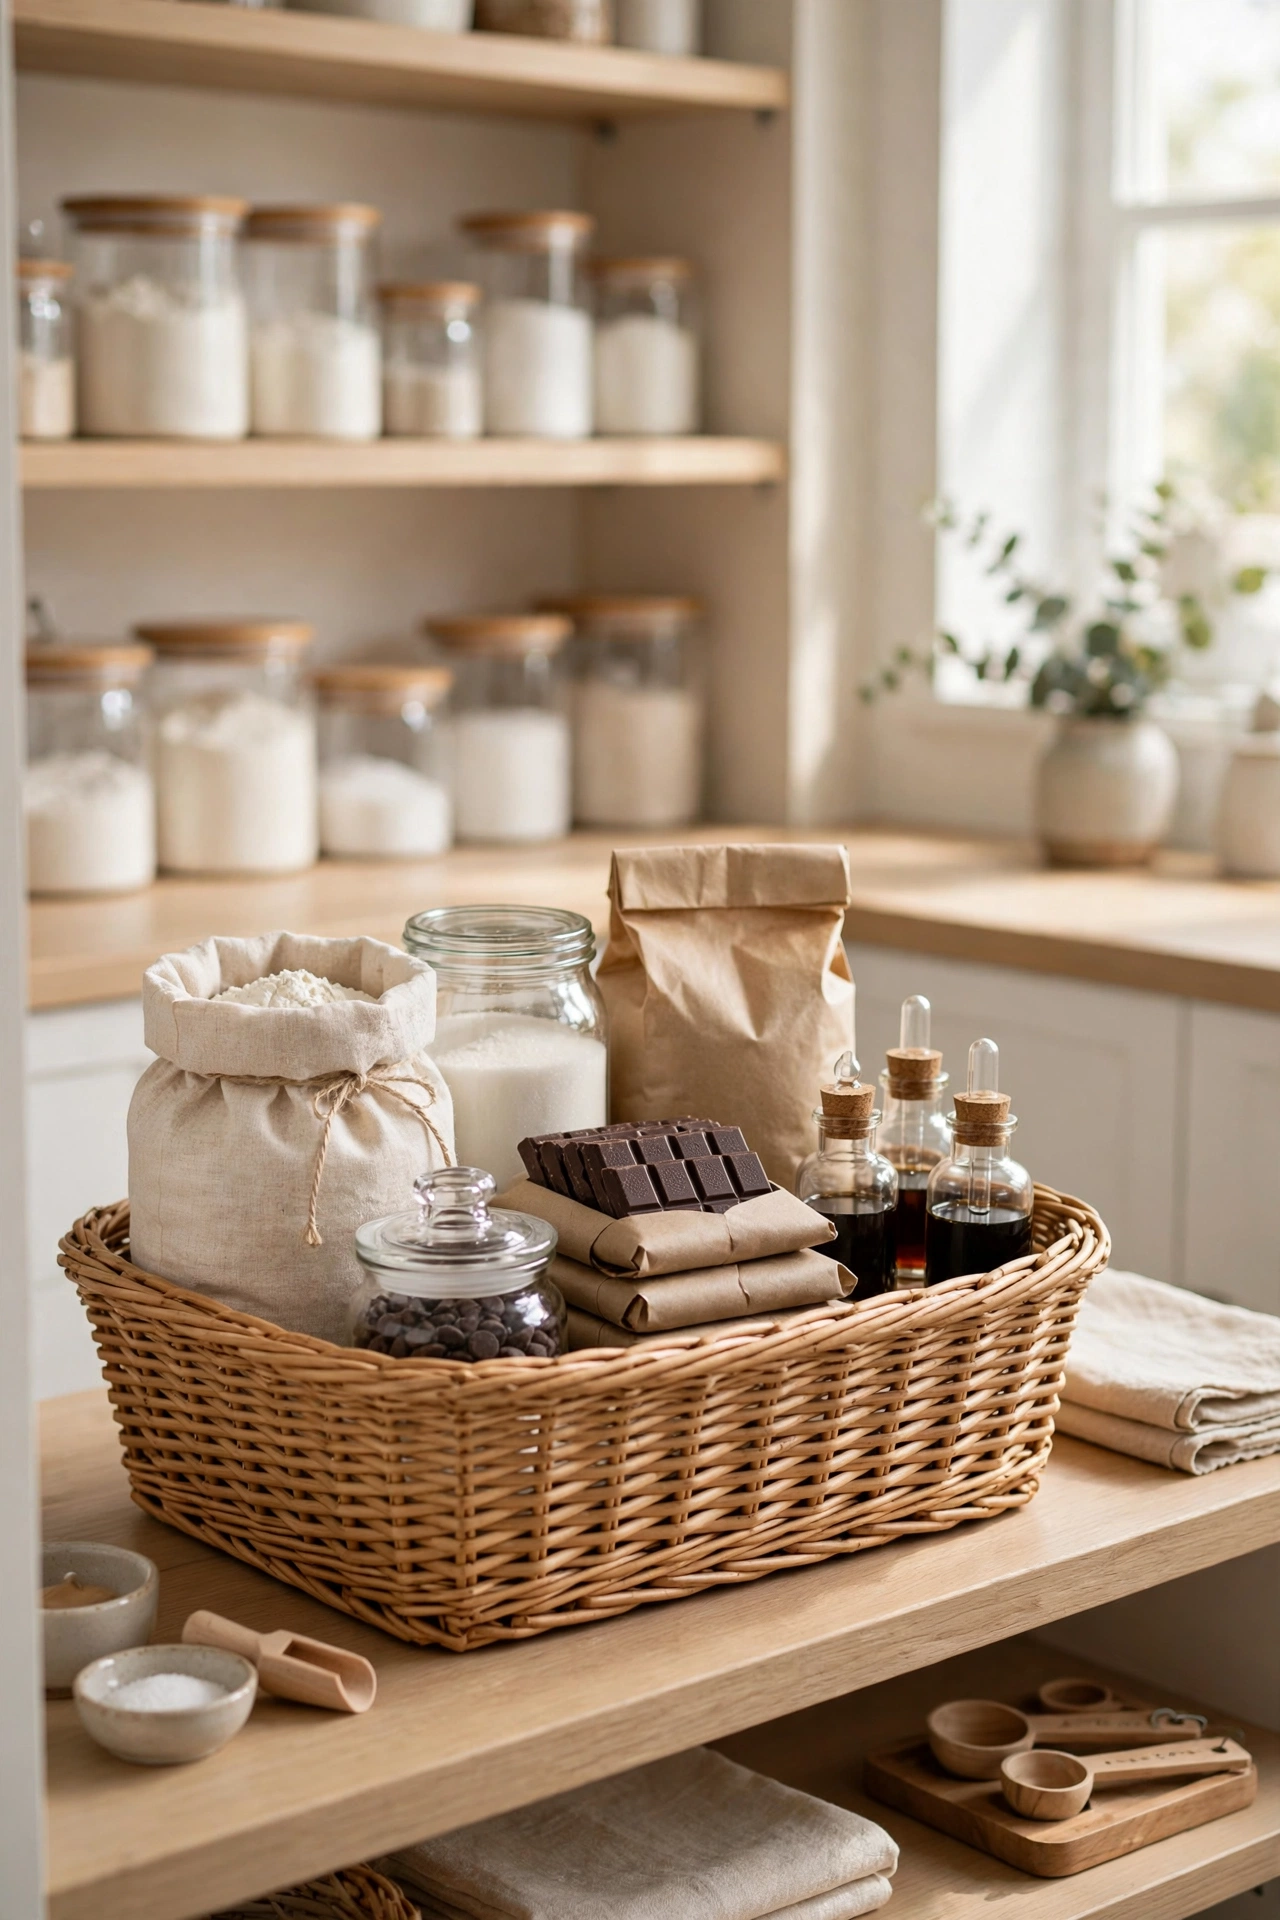
Baking supplies scatter across the whole pantry — flour here, sugar there, chocolate chips who-knows-where. Group everything baking into one zone (or one large bin): flours, sugars, raising agents, chocolate, extracts, sprinkles.
When the baking urge strikes, you grab one bin instead of hunting through five shelves.
Try it: A single large basket labelled “baking” transforms weekend baking from a treasure hunt into a joy.
13. Use Clear Storage for Visibility

If you can’t see it, you won’t use it. Favour clear containers, clear bins and open baskets over opaque boxes wherever possible. Visibility is the whole game in pantry organisation — it prevents waste, duplicate buying and forgotten food.
The one exception: a couple of opaque bins are fine for the visually noisy stuff (crisp packets, random sachets).
The rule: Clear by default. If you can see it, you’ll use it before it expires.
14. Do a Monthly 10-Minute Pantry Reset
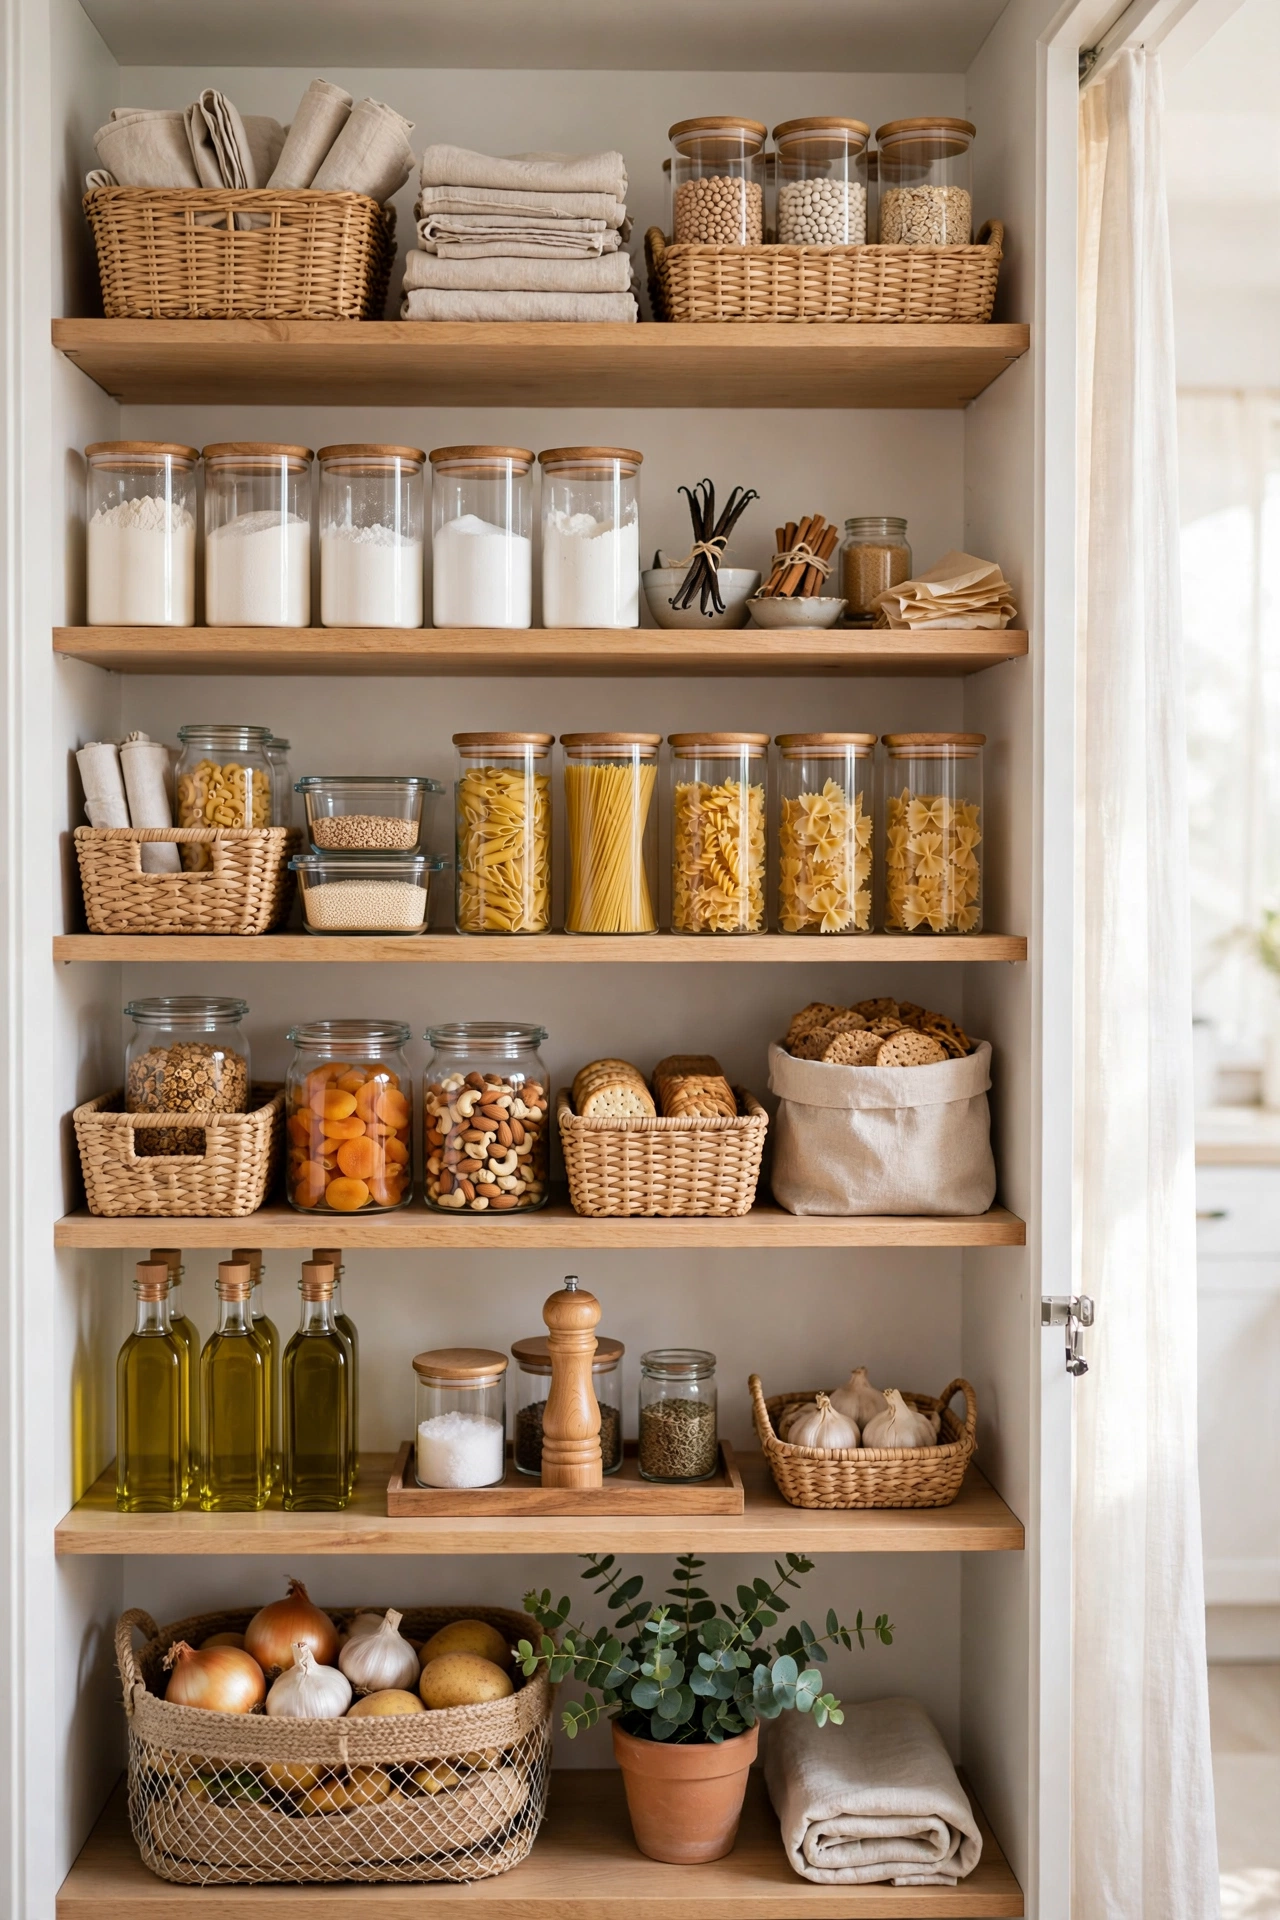
Pantries drift — new shopping gets shoved in, zones blur, a few expired things sneak back. Once a month, spend 10 minutes: toss the expired, wipe the shelves, return strays to their zones, and check the shopping list.
Small monthly corrections keep the pantry permanently under control. No annual overhaul ever needed.
Why it works: Ten minutes is short enough to actually happen, and regular beats heroic every time.
15. Follow the One-In-One-Out Rule for Gadgets
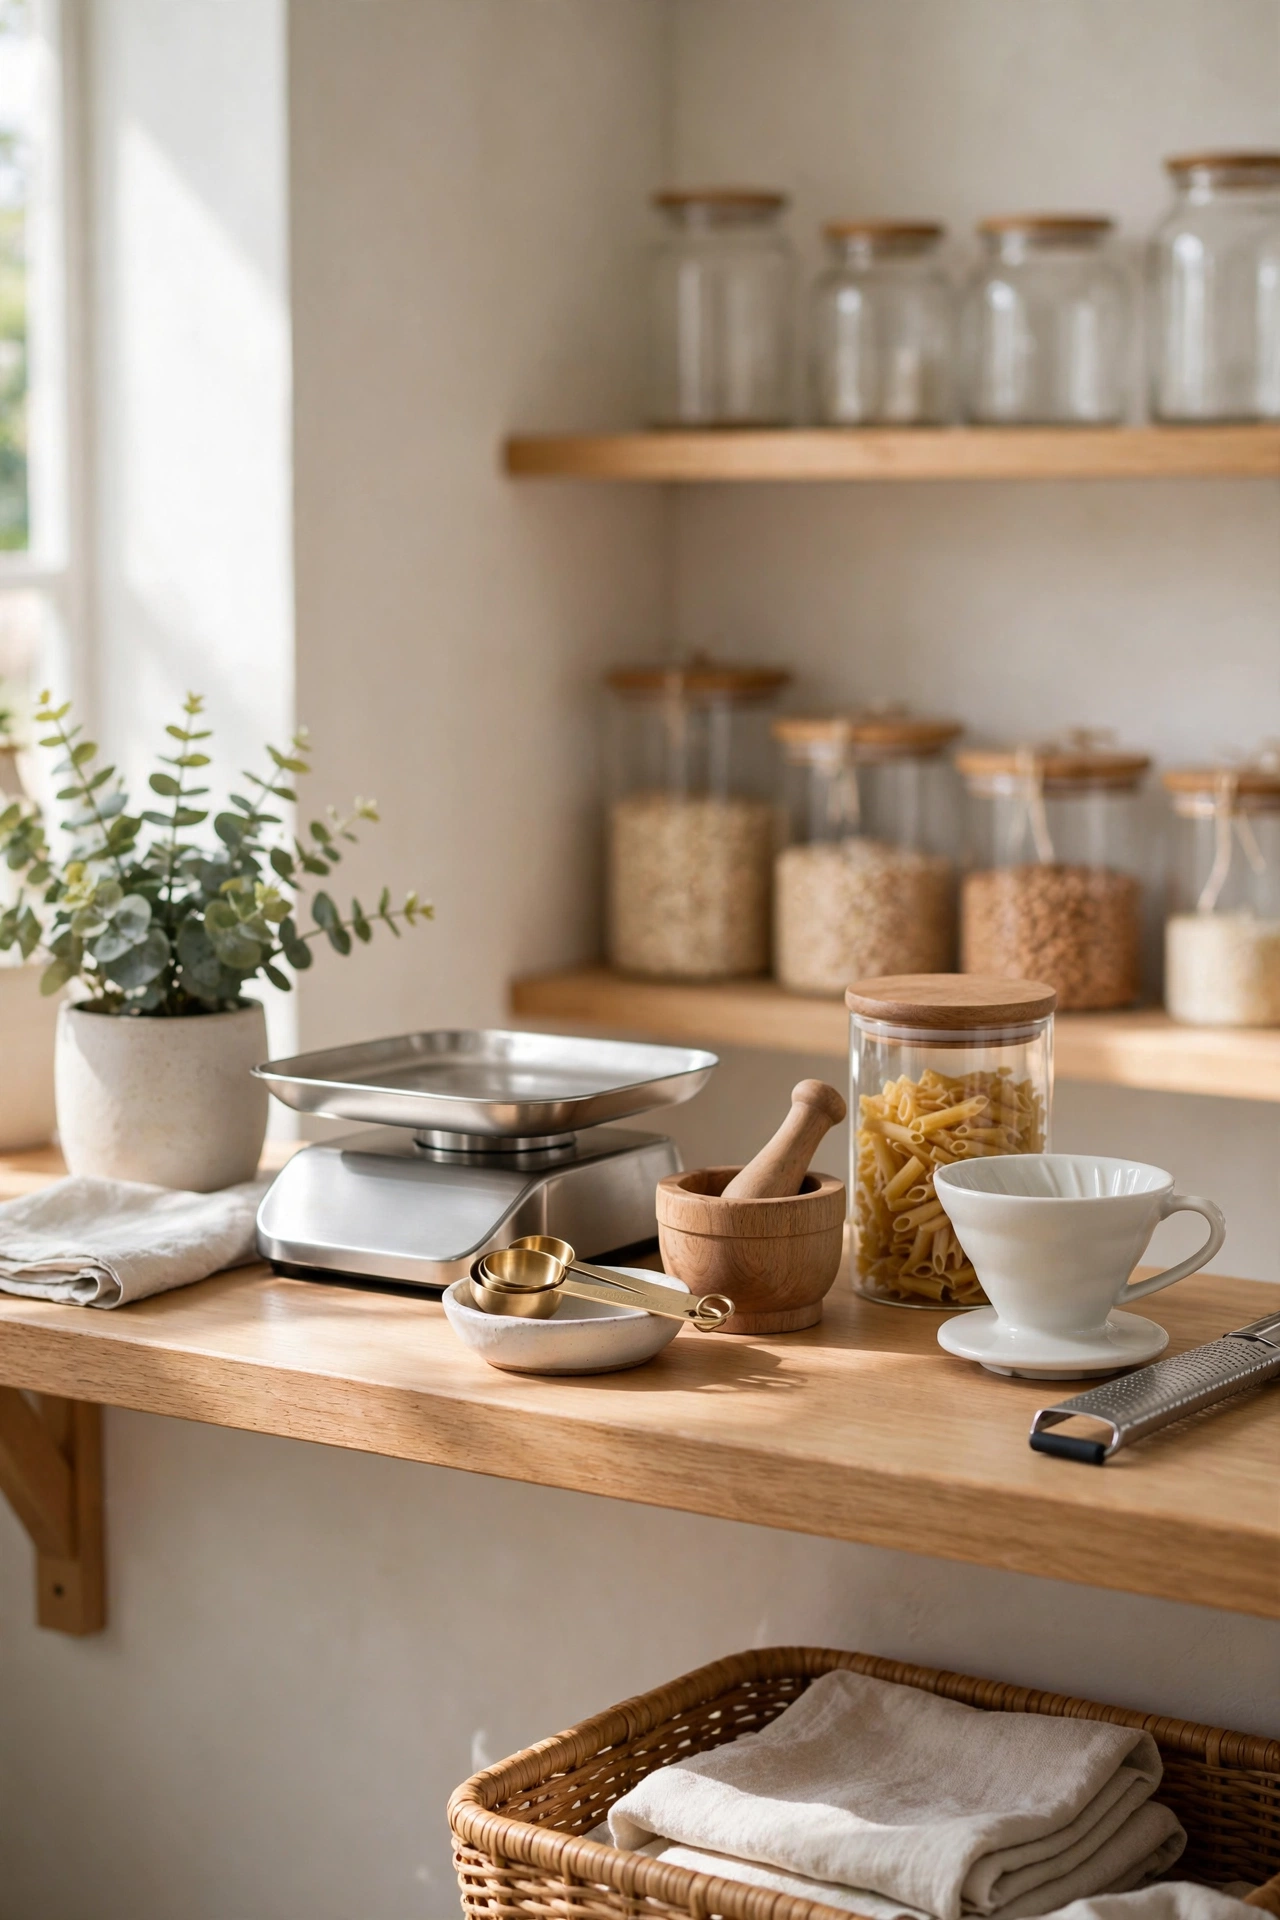
Pantry-adjacent gadgets multiply silently — three half-used spice racks, two funnel sets, a graveyard of novelty tools. Apply one-in-one-out: every new kitchen gadget means an old one gets donated.
This keeps your total possessions stable so your beautiful new pantry system never gets overwhelmed.
The one rule that makes it stick: If it doesn’t have a home in your new pantry zones, it doesn’t belong in the pantry.
Frequently Asked Questions
How can I organise a small pantry on a budget?
Start free: empty it, toss the expired, zone by category. Then spend small amounts on clear containers, a tiered riser and baskets — these three transform any pantry for very little.
How do I organise my pantry like a professional?
Zone by category, decant dry goods into matching clear containers, label everything, and use risers and turntables so nothing hides. Professionals organise for visibility — copy that.
What containers are best for pantry organisation?
Clear, airtight, square containers for dry goods (square wastes less shelf space), baskets and bins for loose packets, and tiered risers for tins. Start with your five most-bought items.
How do I keep my pantry organised long-term?
Keep a running shopping list on the door, do a monthly 10-minute reset, and follow one-in-one-out for new items. Small regular habits beat big reorganisations.
Final Thoughts
A transformed pantry isn’t about expensive containers — it’s about visibility and zones. Empty it, zone it, decant the essentials, label everything, and let simple systems do the rest.
Pick three ideas from this list and do them this weekend. By Monday, your kitchen storage will feel like a different room — and your shopping bill will thank you.
For more kitchen transformations, explore our Small Kitchen Organisation Ideas, Home Organisation Hacks and Under-Sink Bathroom Organisation guides.
1 thought on “15 Pantry Organisation Ideas to Transform Your Kitchen Storage (on a Budget)”