
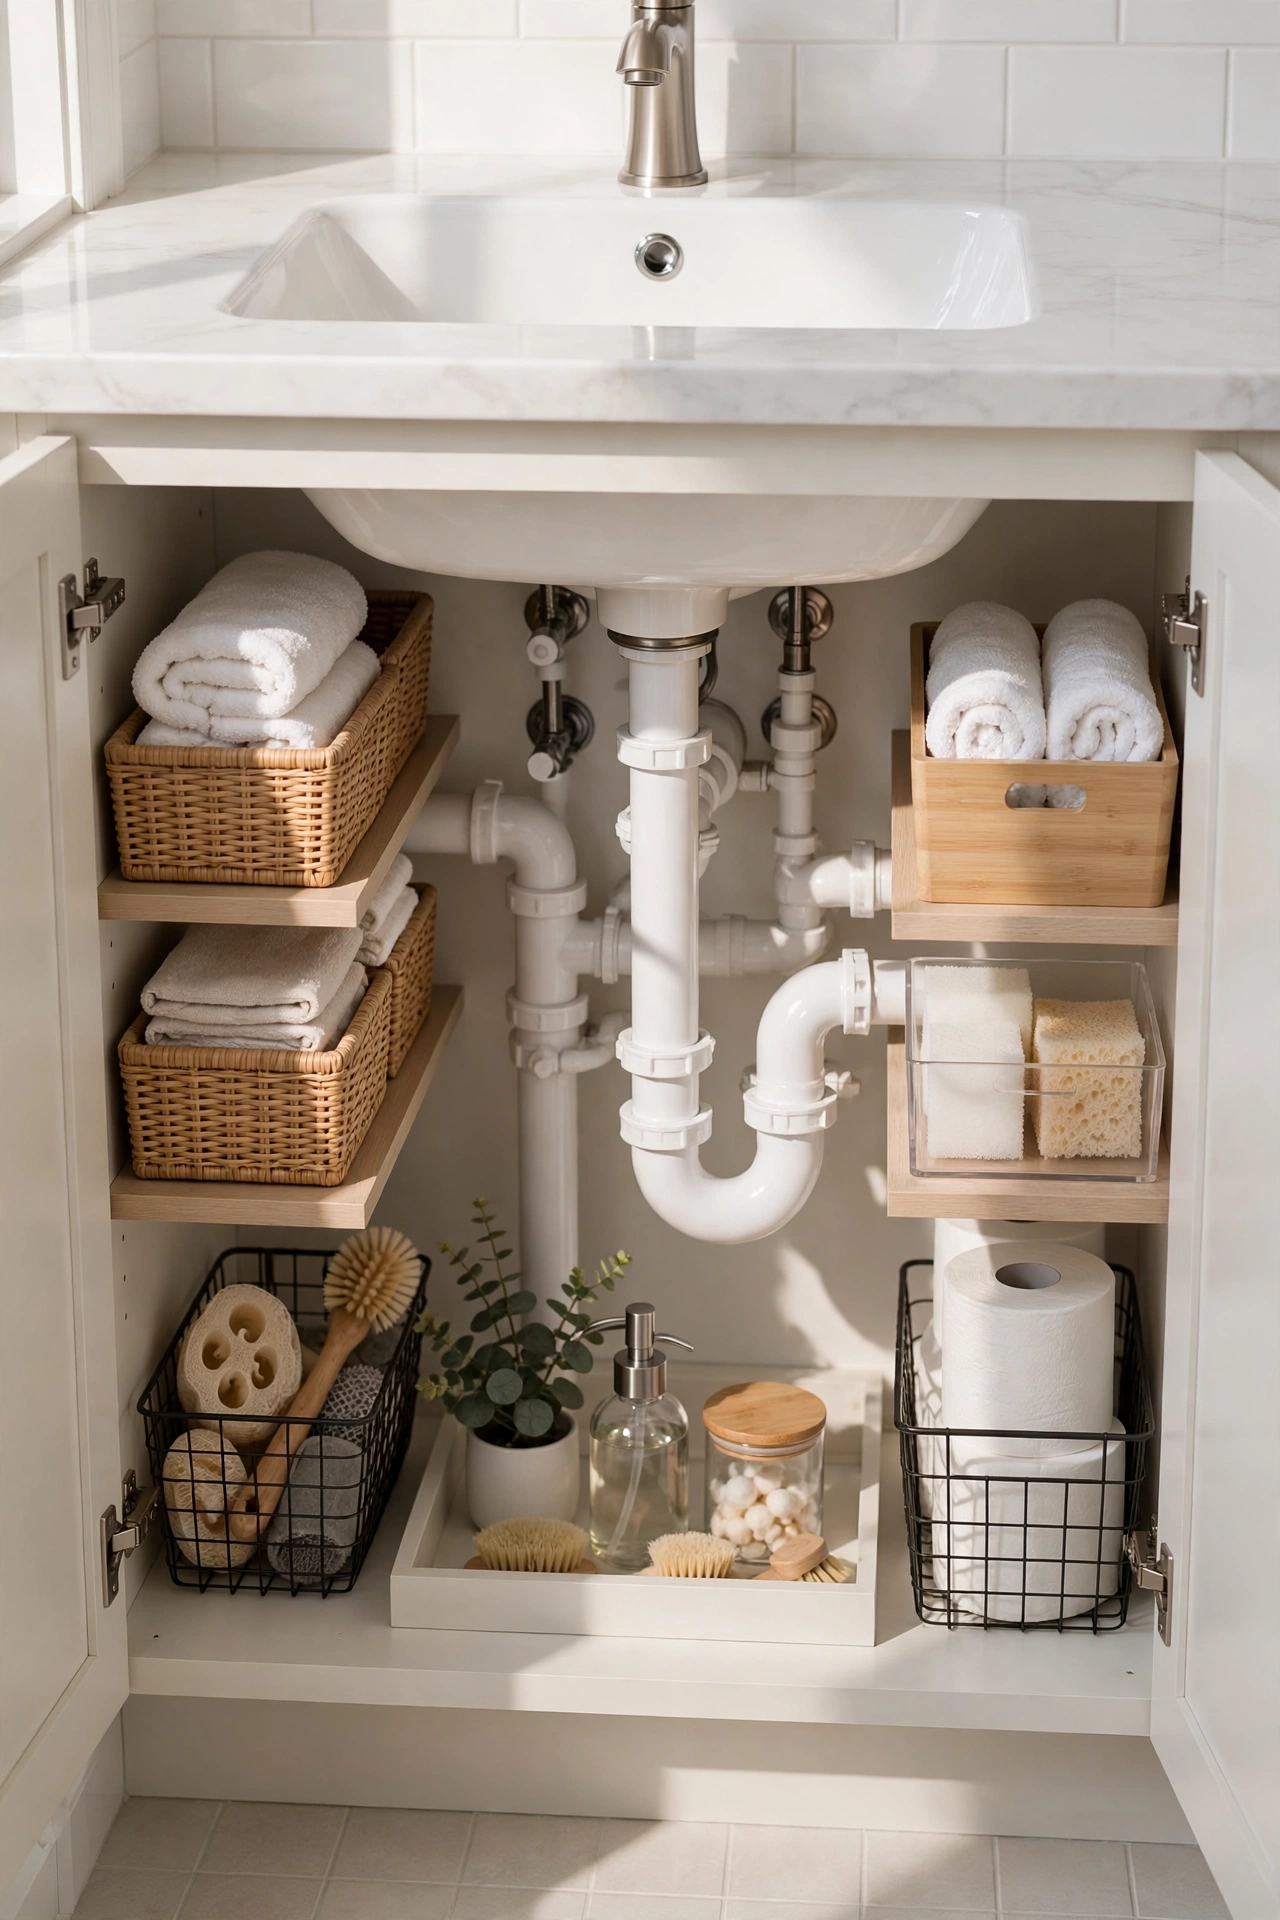
Open the cabinet under your bathroom sink. Go on — I’ll wait. Is it a dark cave of half-empty bottles, mystery cleaners and things that fall over every time you reach for the hand soap? You’re not alone. The under-sink cabinet is the most awkward storage space in the entire home: dark, damp-prone, and interrupted by pipes right where you’d want shelves.
But here’s the good news — with the right under-sink bathroom organisation ideas, that chaotic void can hold twice as much, and you’ll actually be able to find things. Every idea here works around plumbing (not against it), costs very little, and needs no tools beyond what you already own. Let’s fix that cabinet for good.
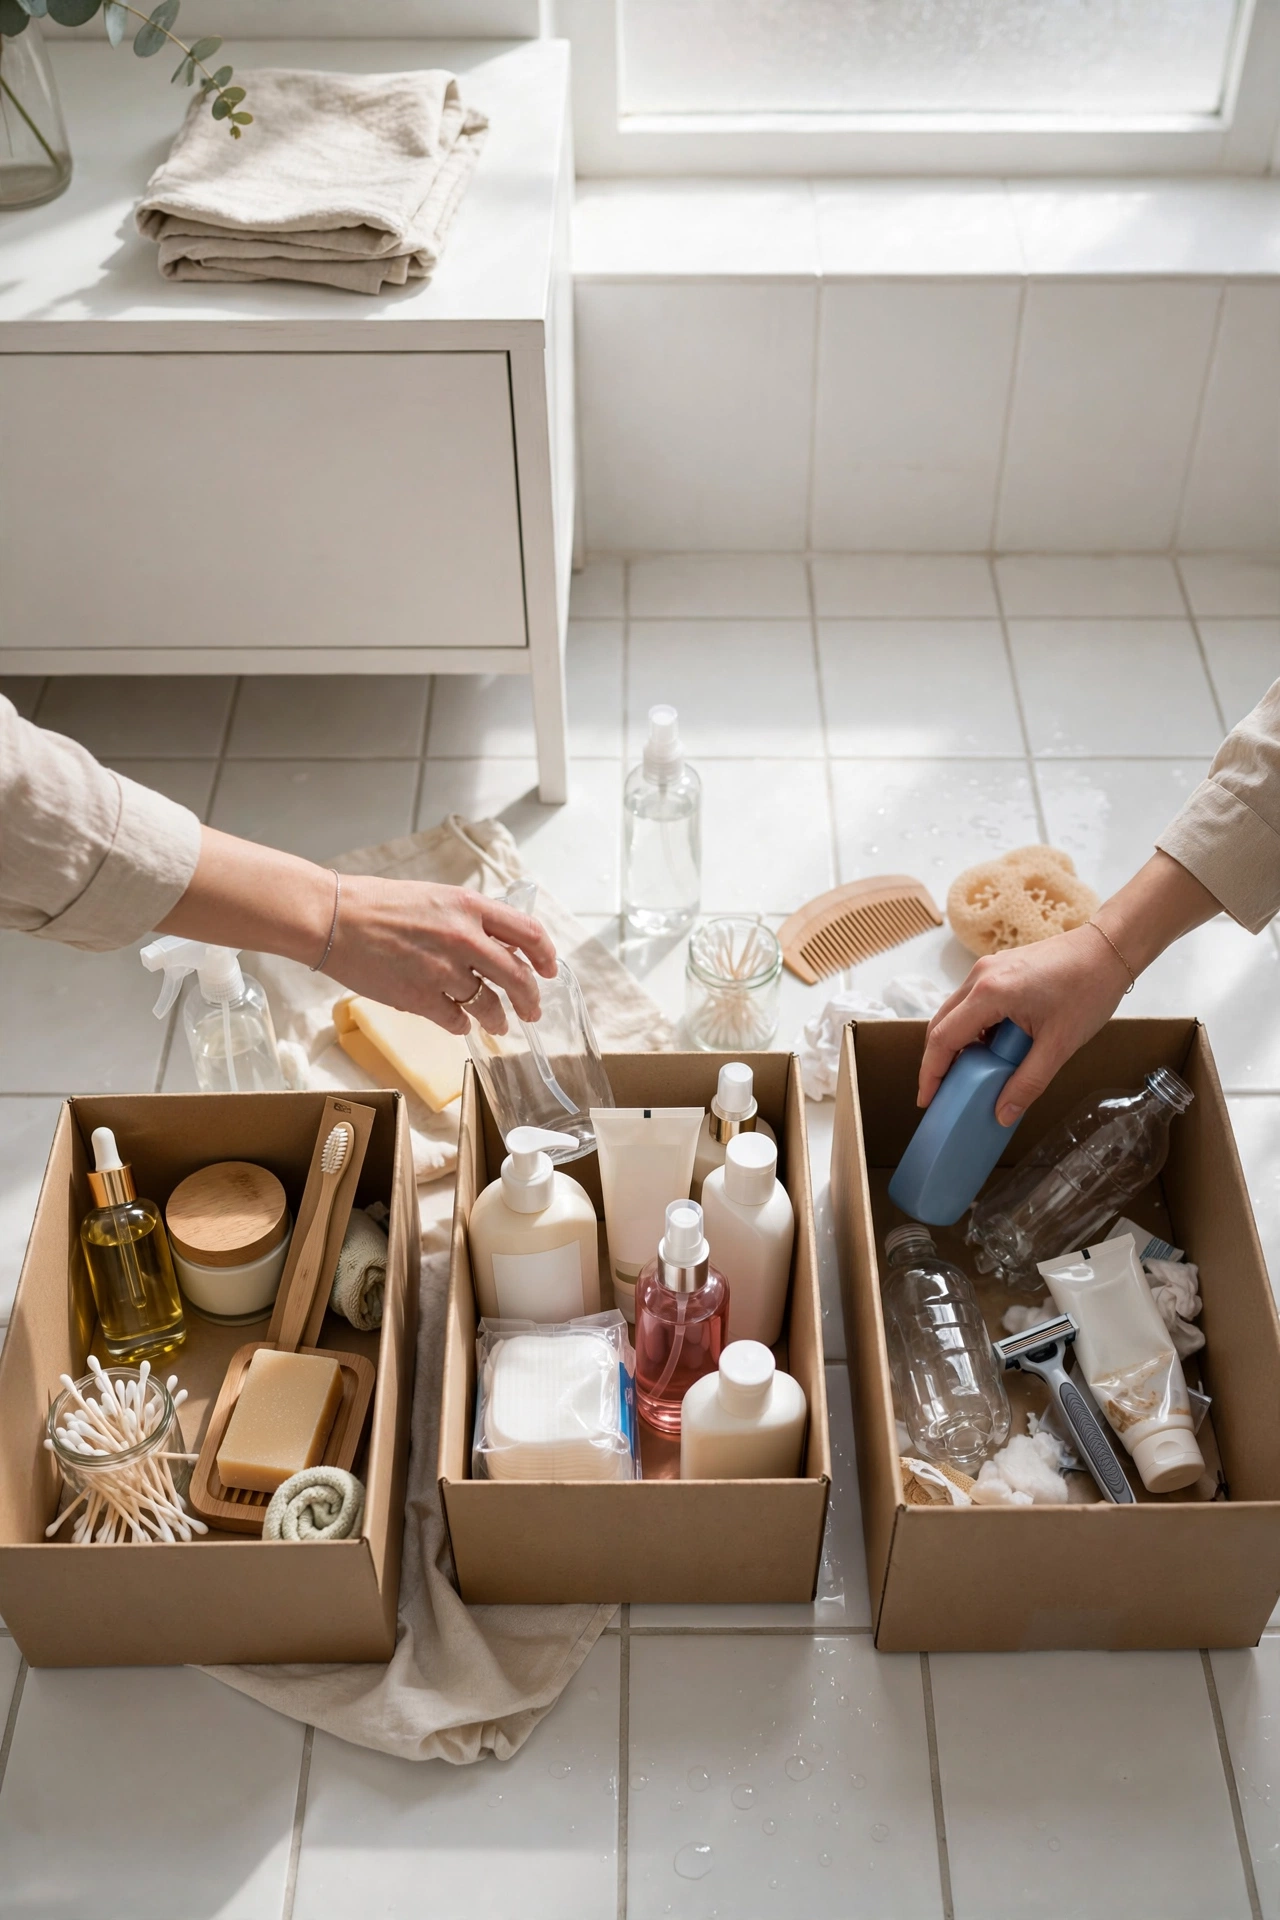
1. Empty It Completely and Declutter First
You can’t organise around pipes if you can’t see the space. Pull absolutely everything out, wipe the cabinet floor, and sort items into keep, relocate and bin piles.
Be ruthless: expired medicines, dried-up nail polish, the third half-used bottle of the same shampoo, cleaning products you bought for one job in 2021. Under-sink cabinets are small — every item must earn its place.
Budget tip: This step is free and typically frees 30–40% of the space. Many people find they don’t need to buy a single organiser after a proper clear-out.
2. Measure Around Your Pipes Before Buying Anything
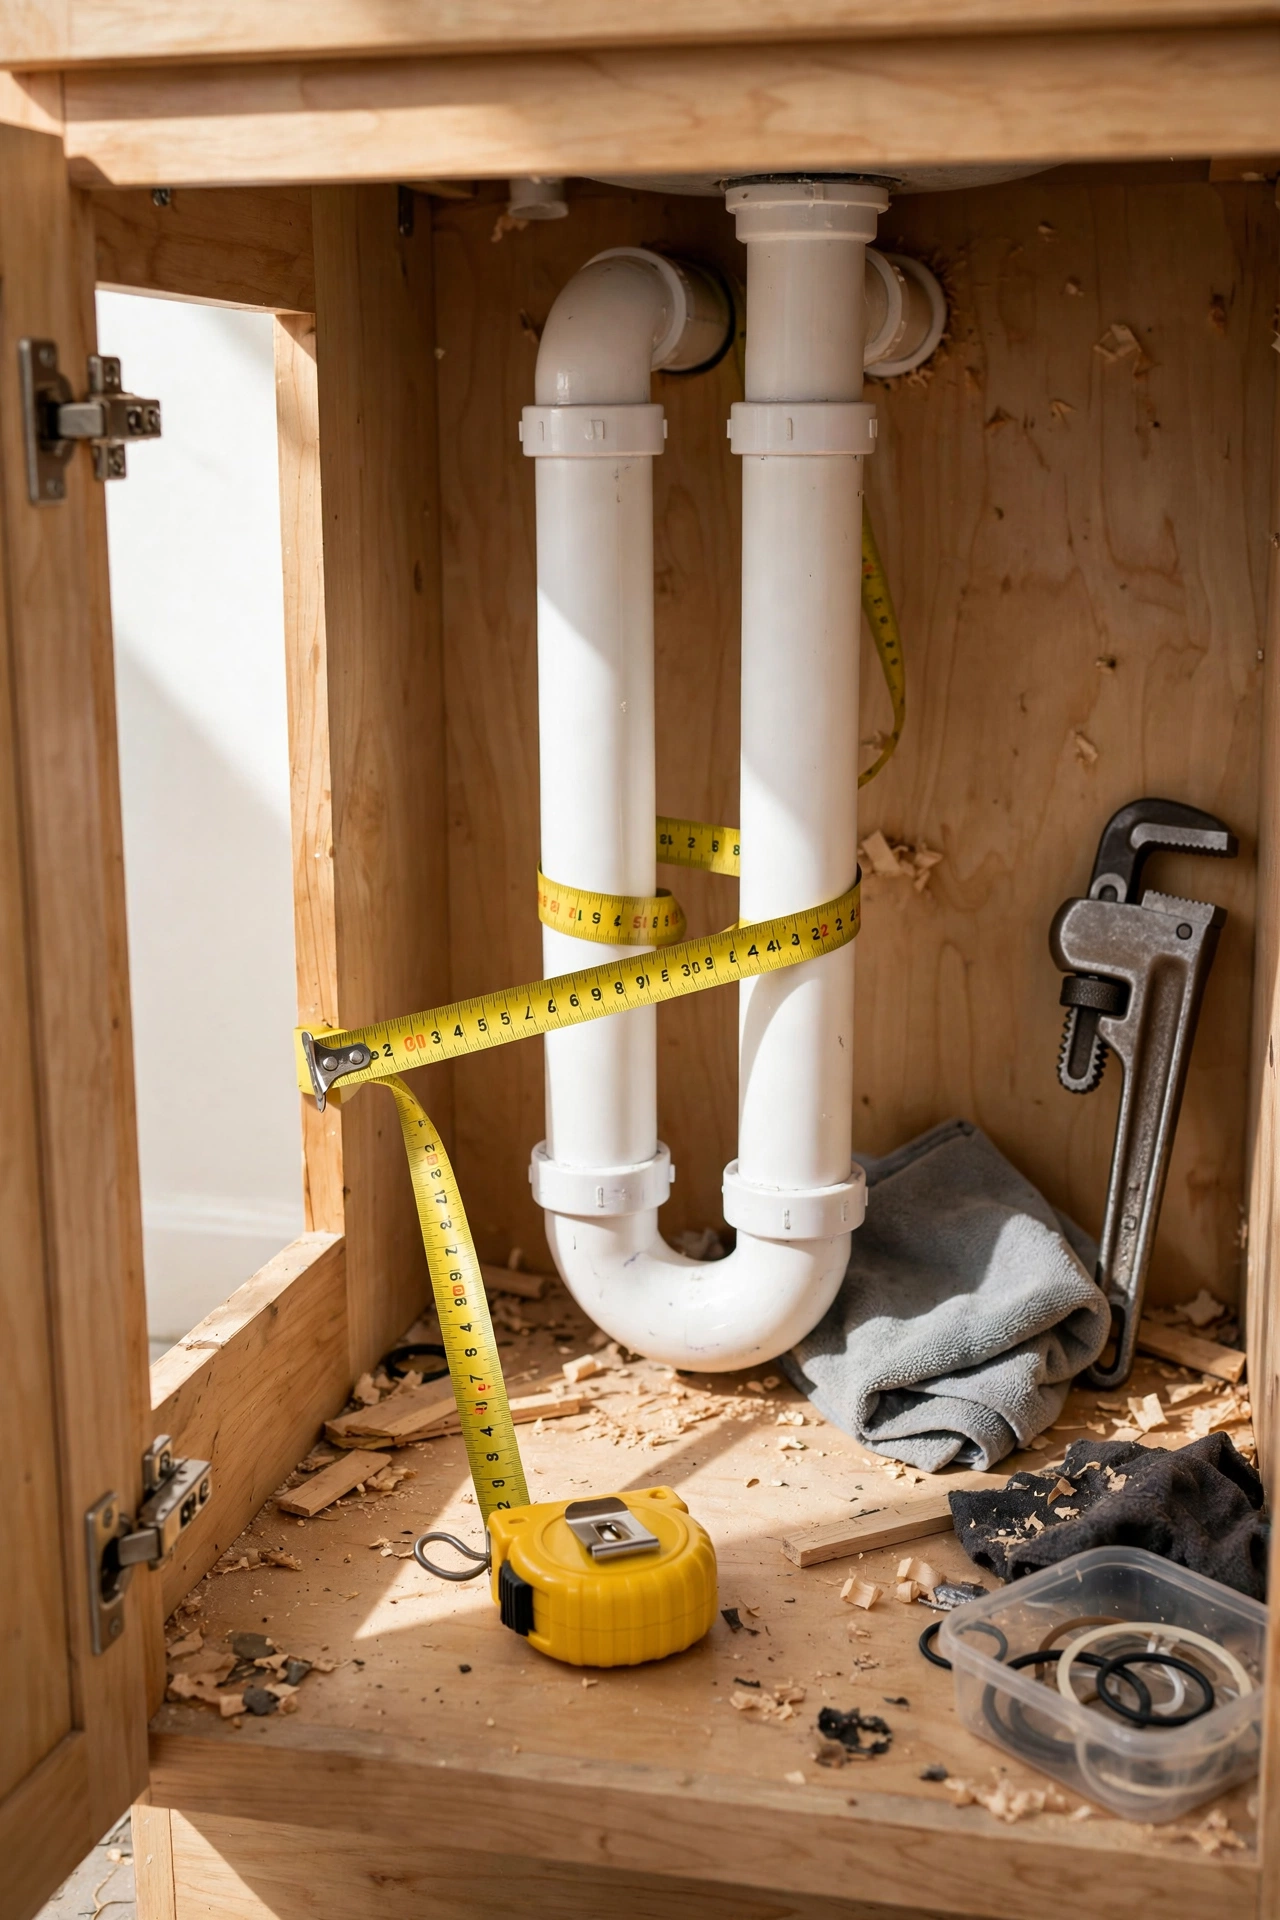
Under-sink plumbing is different in every bathroom, which is why generic organisers often don’t fit. Measure the usable width, depth and height on both sides of the central pipe cluster, and note where the P-trap curves.
Write the measurements on your phone. When you’re shopping for stackable bins or shelf units, you’ll know instantly what fits — and you won’t waste money on organisers that collide with pipes.
Why it matters: The #1 reason under-sink organisation fails is buying products blind. Two minutes with a tape measure prevents all of it.
3. Use Stackable Bins That Work Around the Plumbing
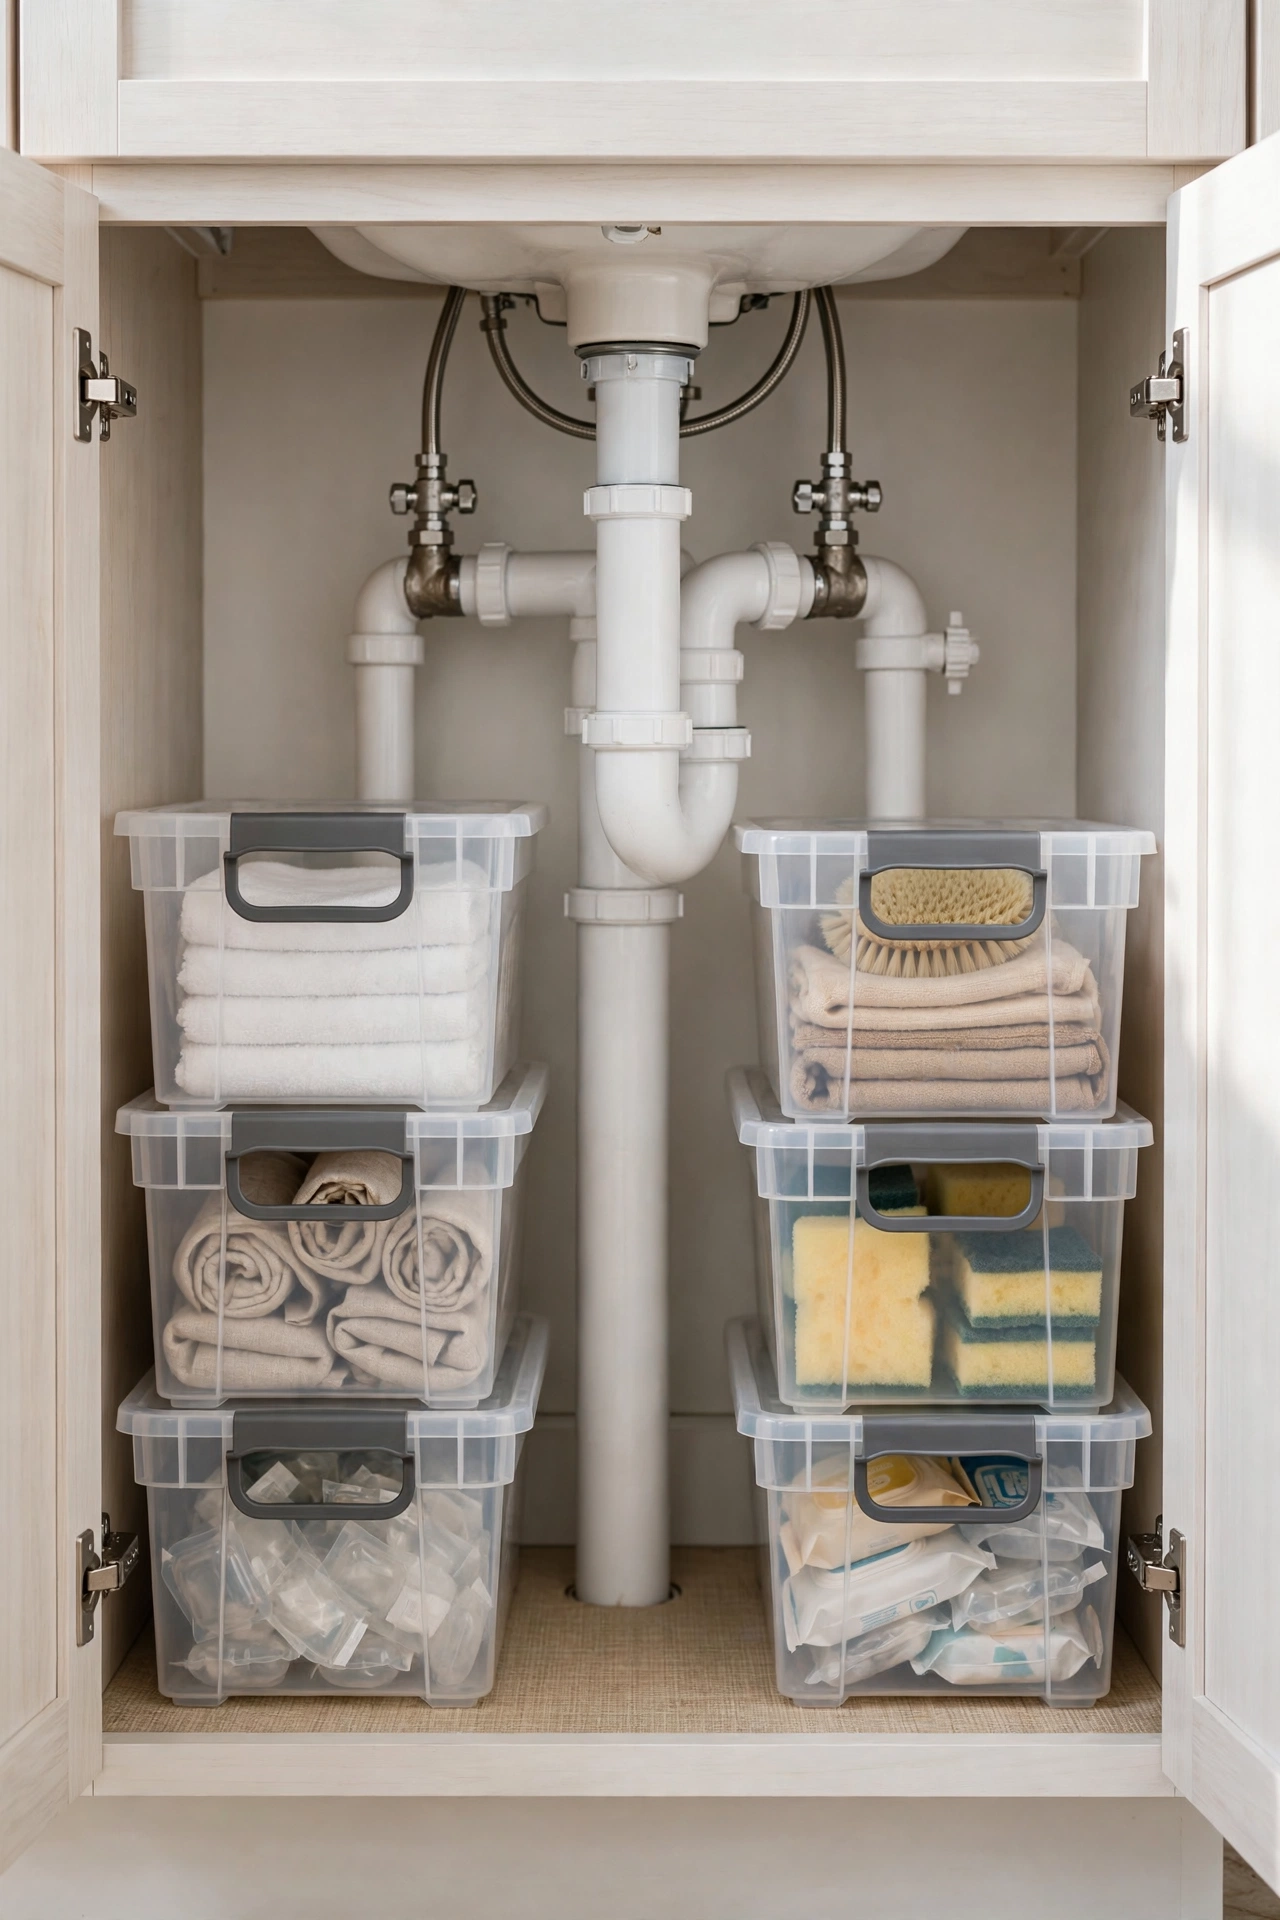
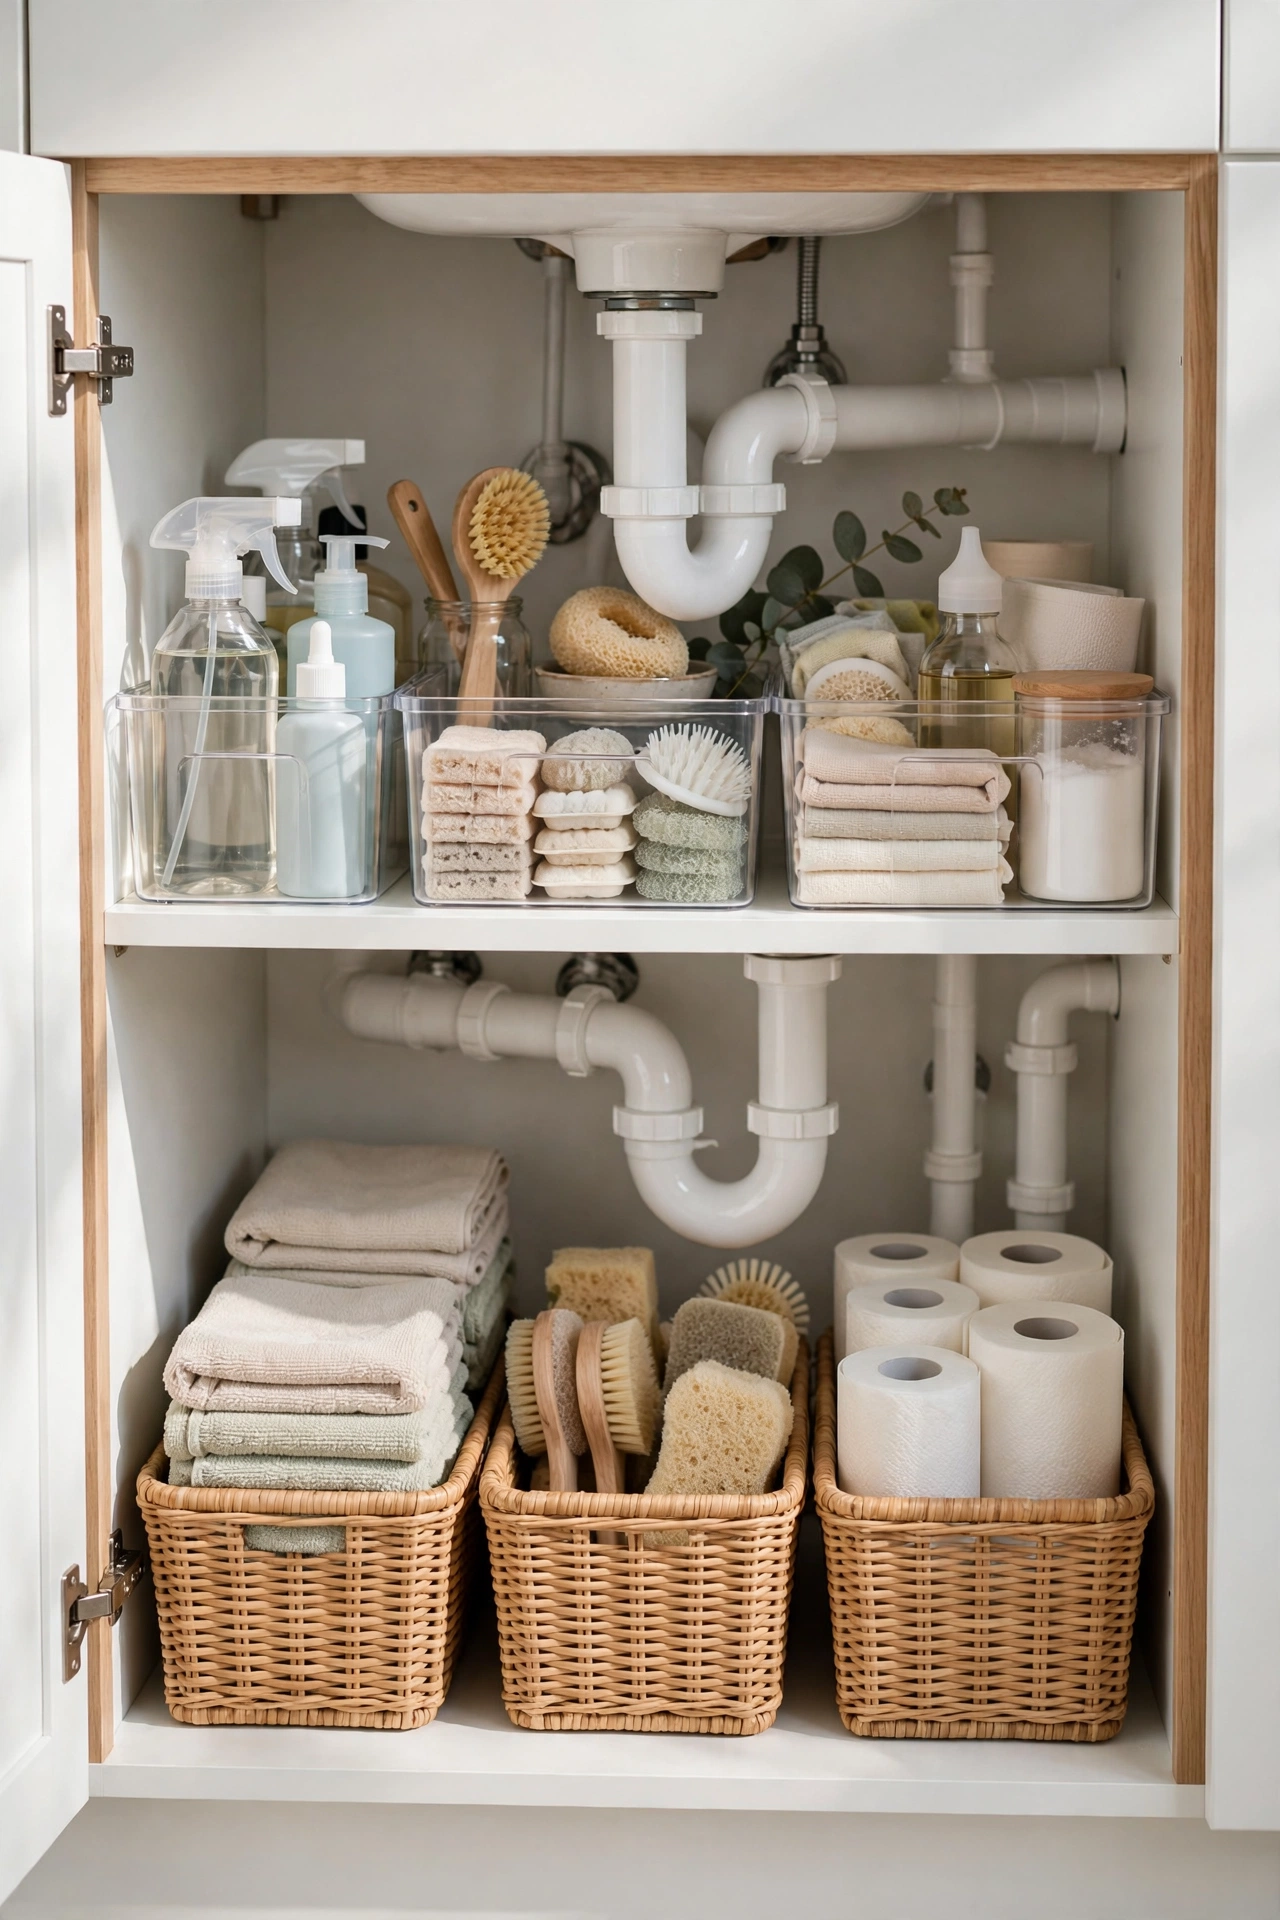
The classic solution for a reason: two or three stackable open-top bins placed on either side of the pipes instantly create tidy zones. One bin for daily skincare, one for cleaning supplies, one for first aid and medicines.
Choose bins with handles so you can pull the whole bin out like a drawer — no more kneeling and groping into the dark back corner.
Small bathroom win: Stackable bins use vertical height that would otherwise be dead air above short bottles.
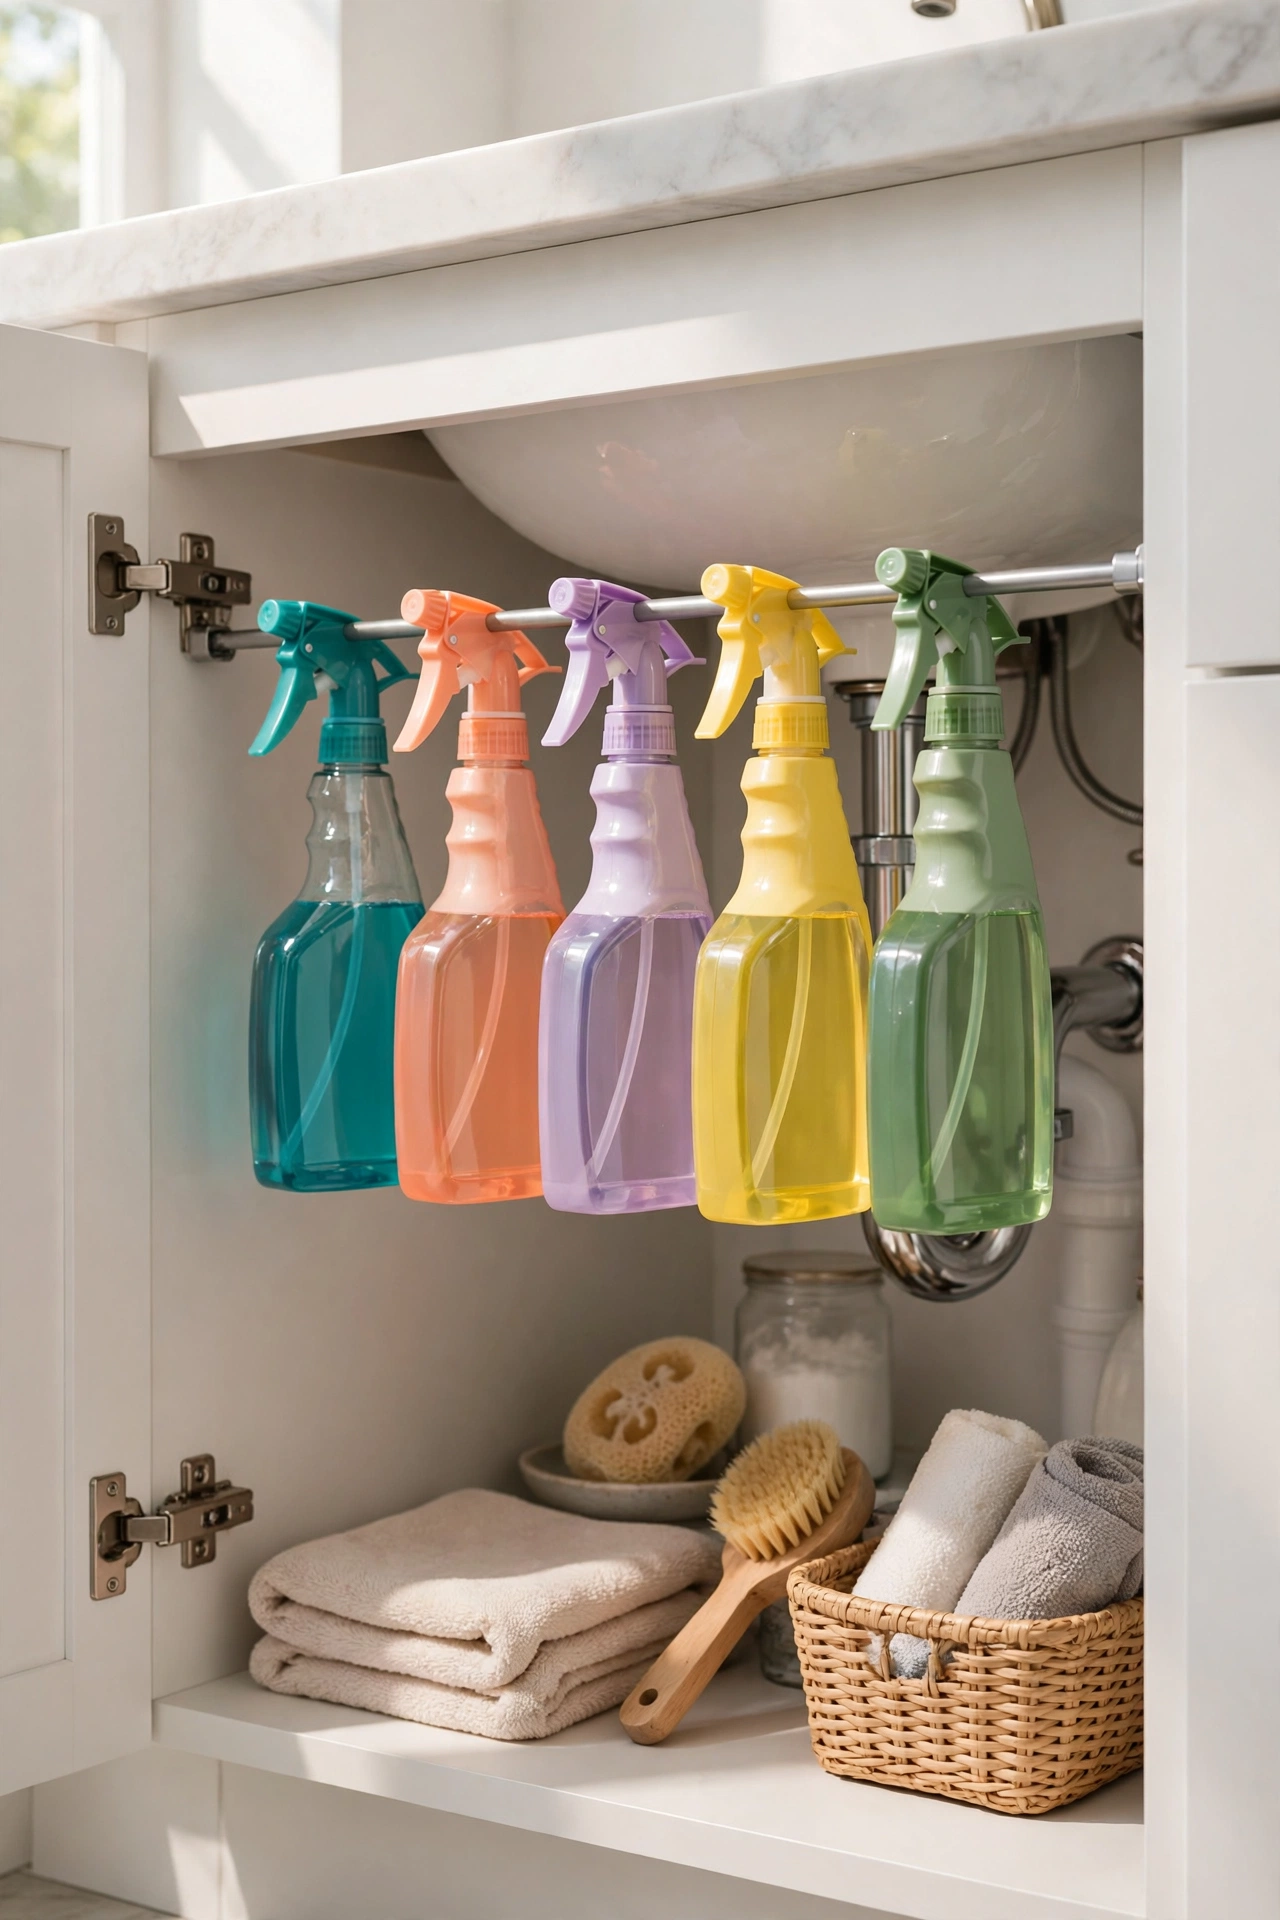
4. Add a Tension Rod for Spray Bottles
This is the cleverest cheap trick in under-sink organisation: a spring-loaded tension rod wedged horizontally across the cabinet, hung with the triggers of your spray bottles. Cleaning sprays hang in a neat row, using the empty air space at the top of the cabinet.
No drilling, no adhesive, fully adjustable — and it costs less than a sandwich.
Bonus: Hanging sprays can’t leak onto the cabinet floor, and you can see every label at a glance.
5. Install a Two-Tier Under-Sink Shelf Unit
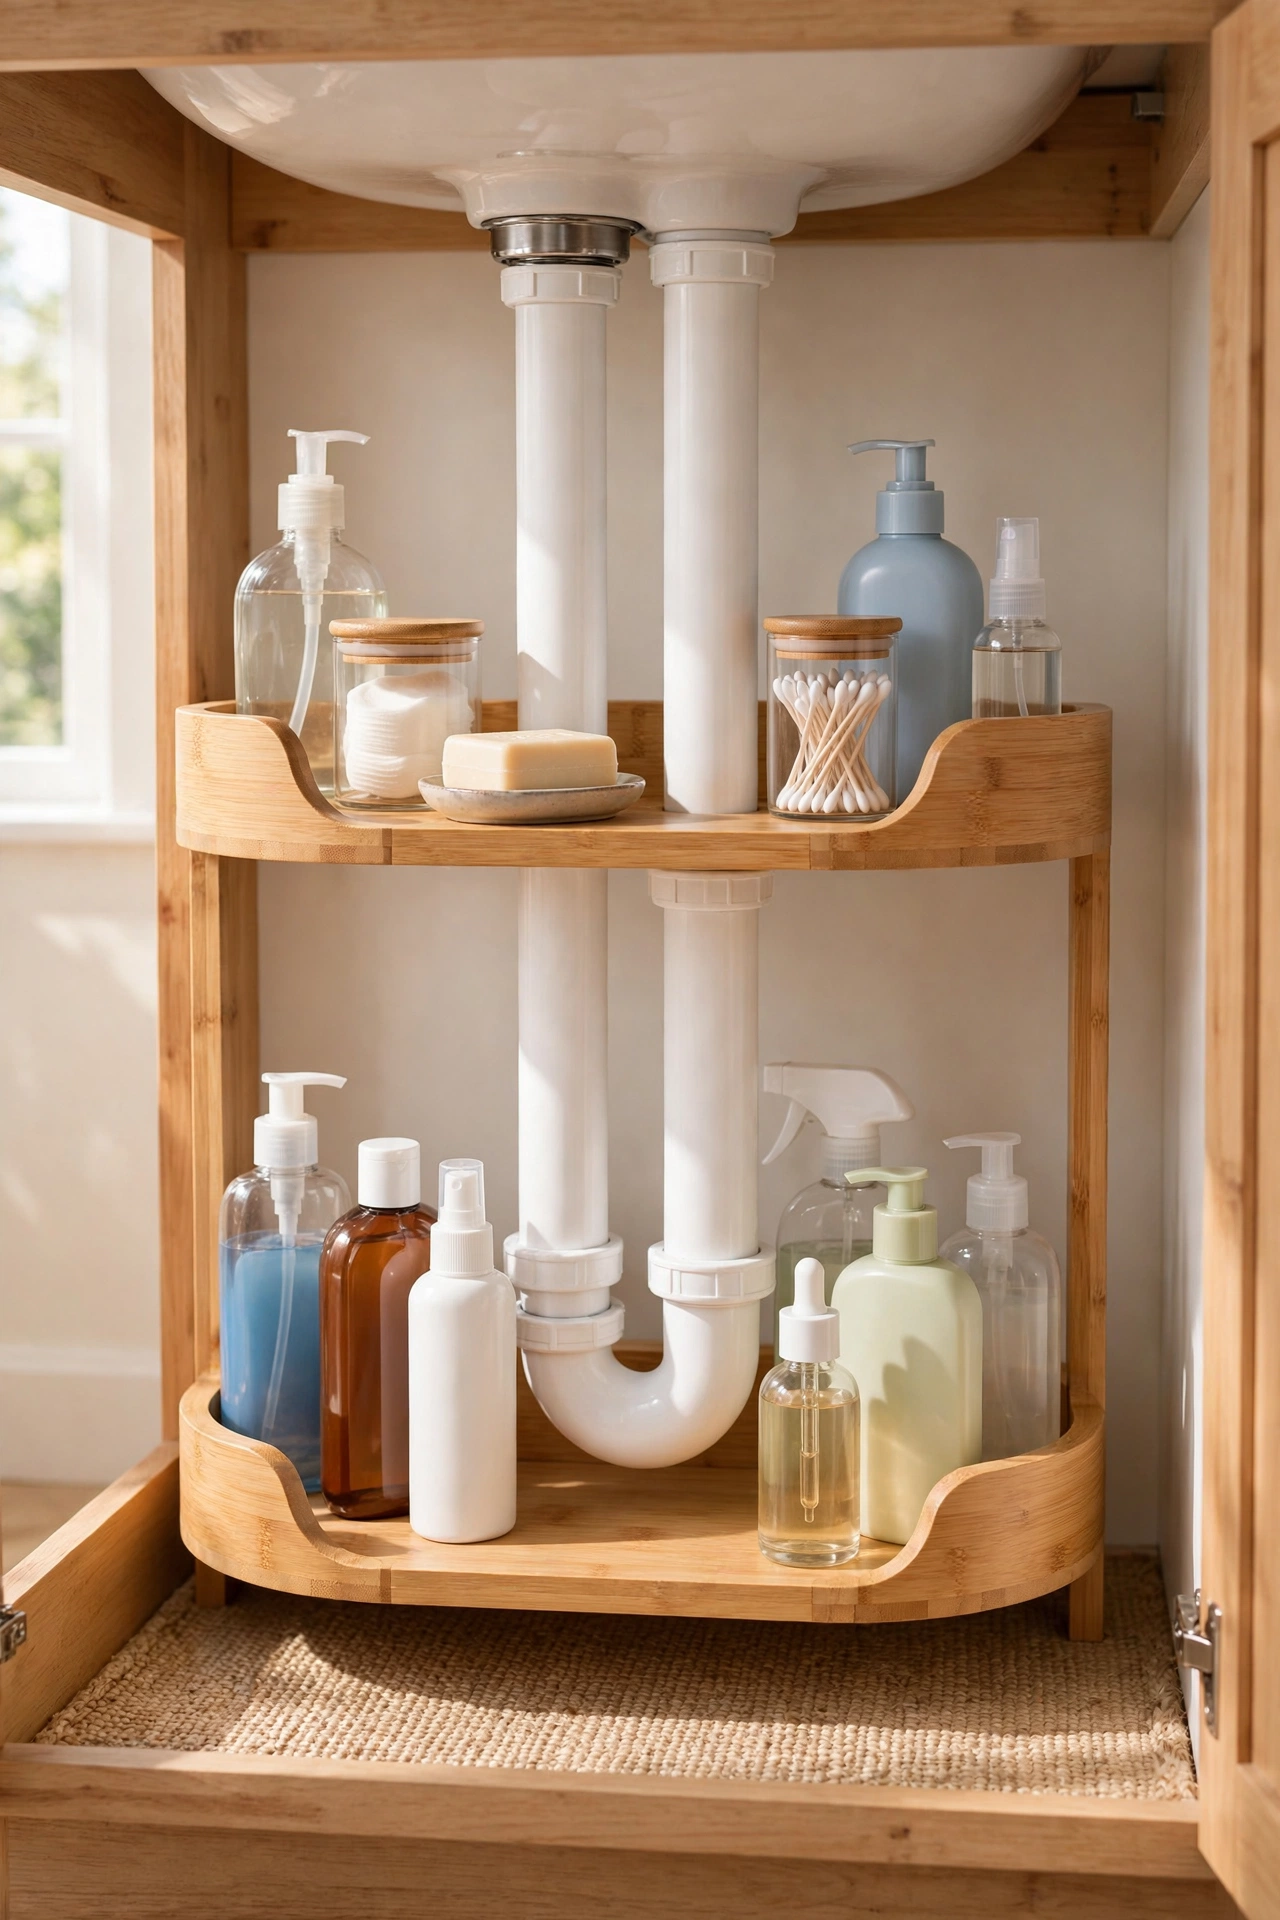
Purpose-built under-sink shelf units have a clever U-shape or adjustable panels that fit around the central pipes, giving you a proper second shelf where there was just air before. The top tier holds short everyday items; the bottom holds taller bottles.
Look for expandable models — they adjust to your cabinet’s exact width, which solves the measurement problem from idea 2 automatically.
Budget tip: A basic two-tier unit is one of the highest-impact purchases for this space. It’s the closest thing to adding a whole extra cabinet.
6. Decant Into Clear Bins and Label Everything
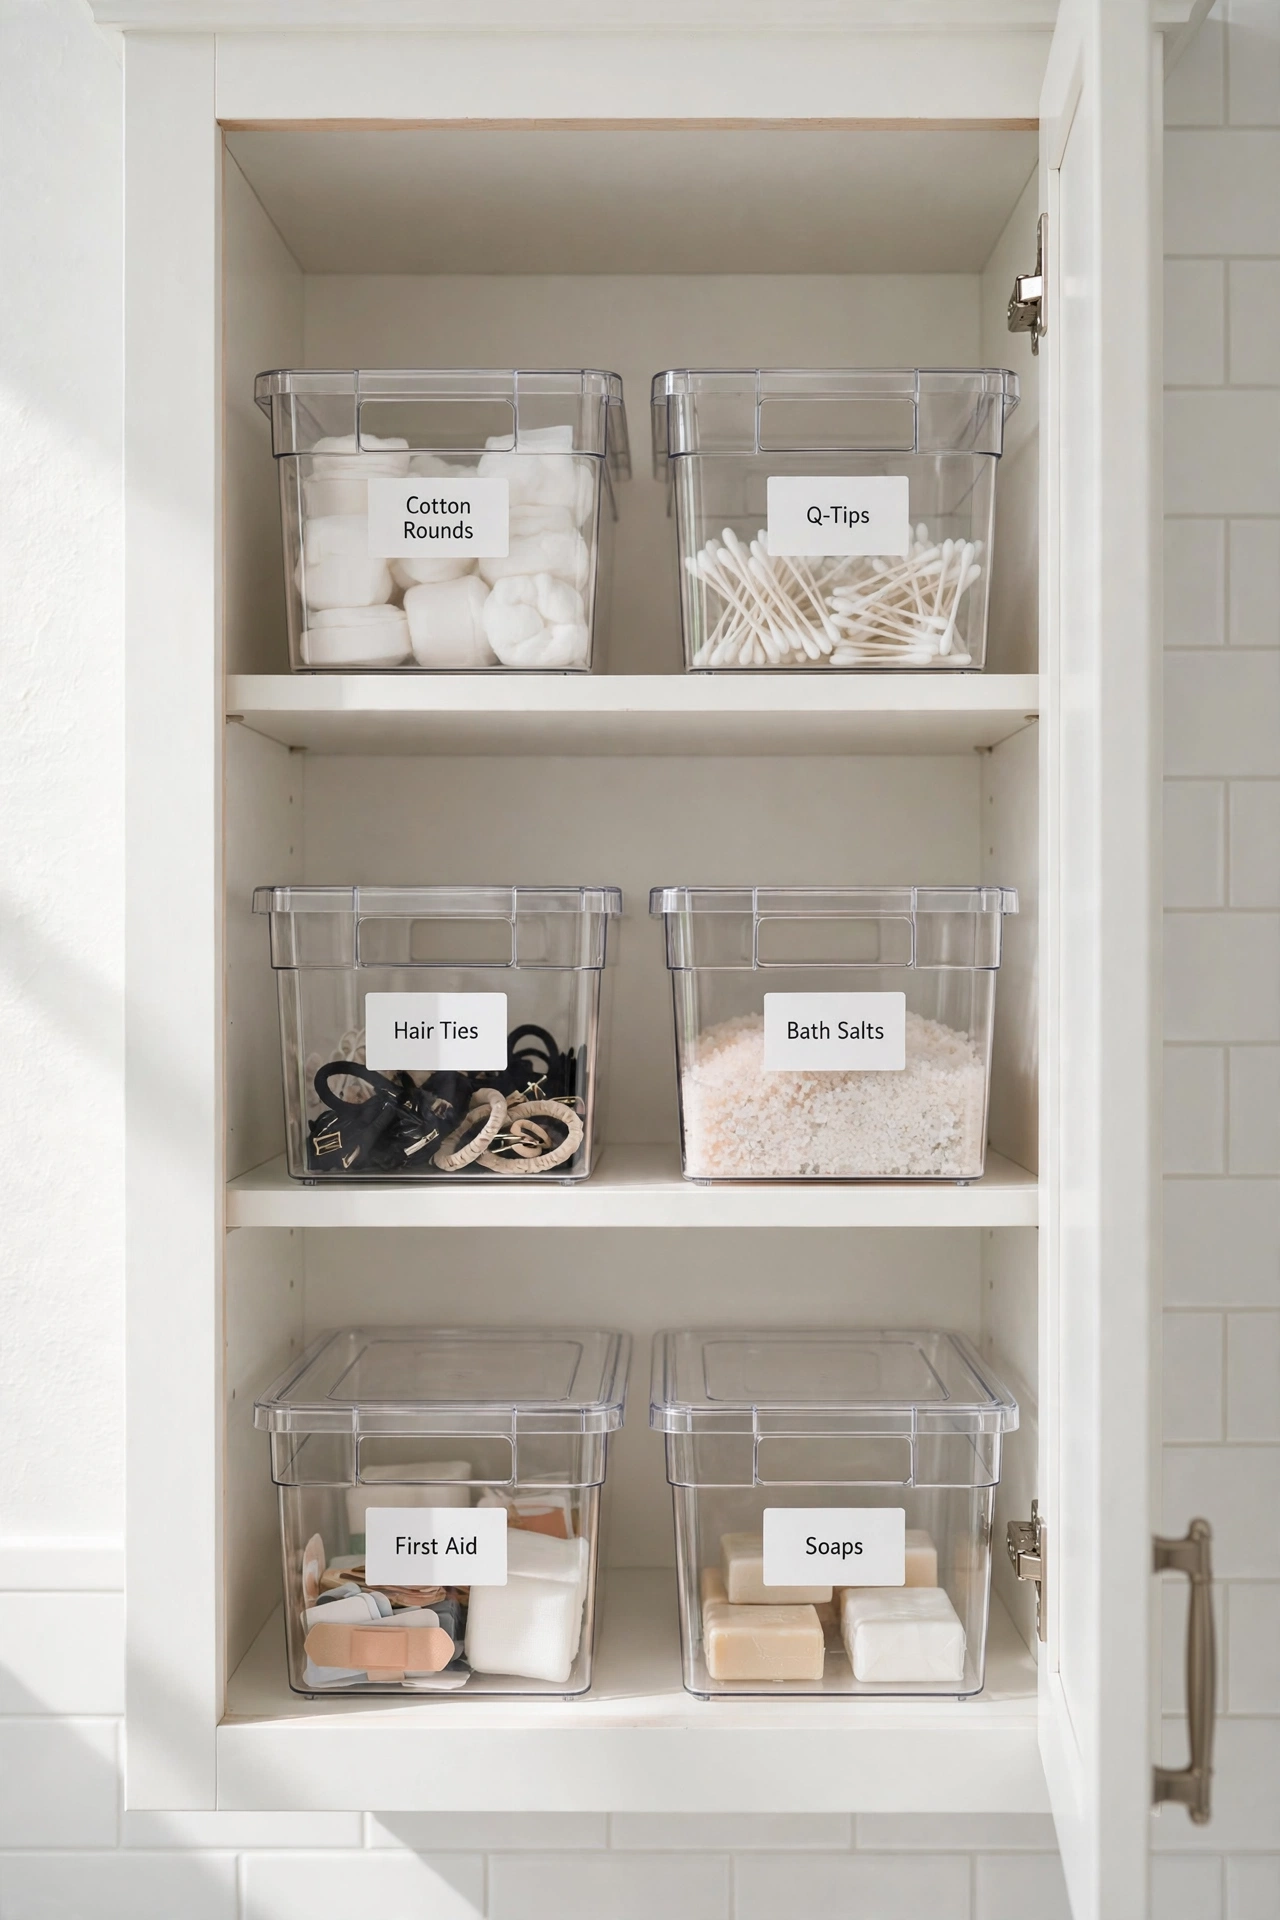
Under the sink is dark, so visibility is everything. Clear bins let you see contents without pulling everything out, and a simple label (“Cleaning”, “Skincare”, “First Aid”) means the whole household puts things back in the right place.
A label maker is nice, but masking tape and a marker work just as well — and cost almost nothing.
The real payoff: Labelled zones survive busy mornings and other family members. Unlabelled organisation lasts about a week.
7. Mount Organisers on the Cabinet Doors
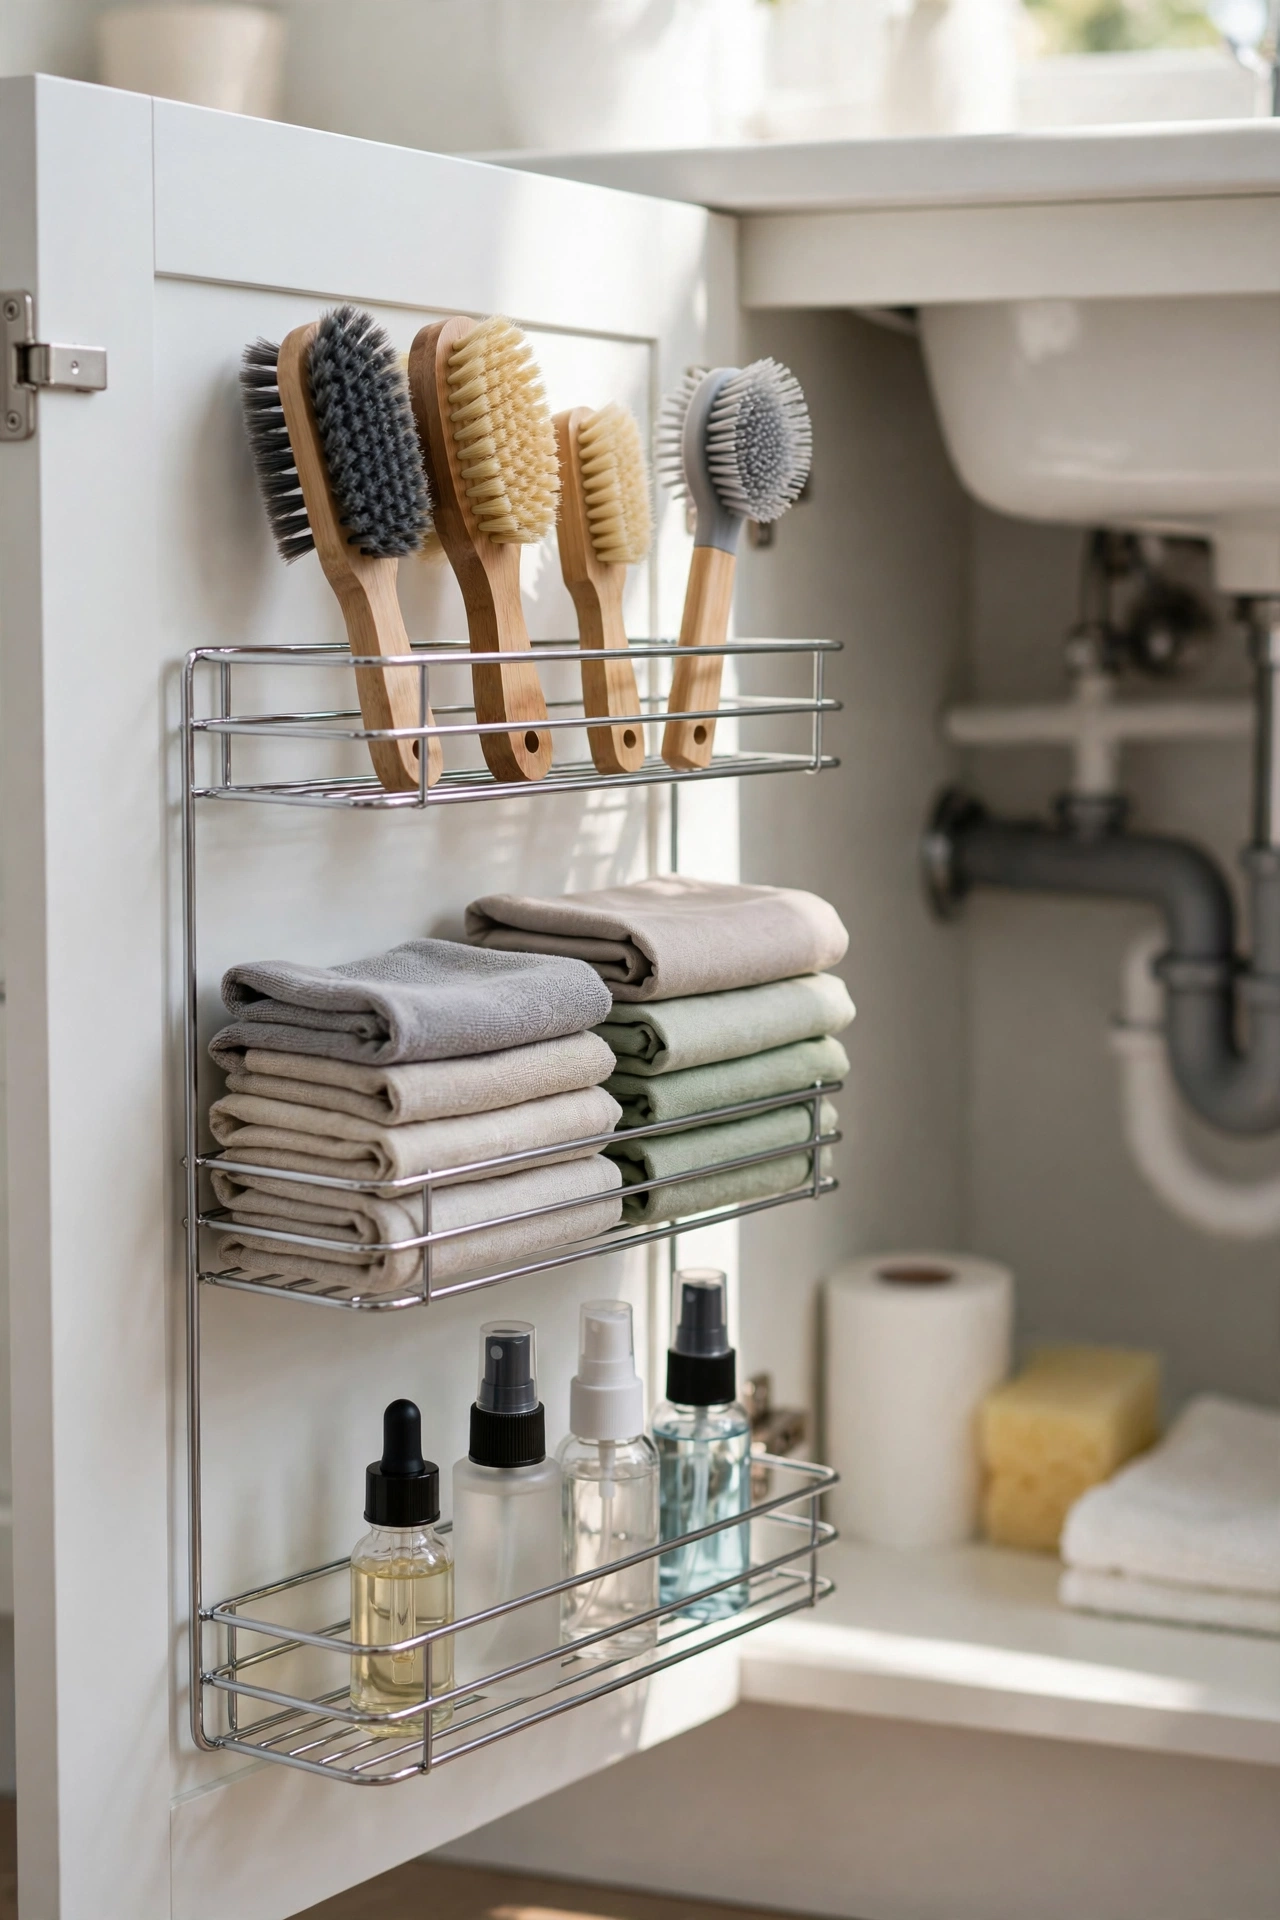
The insides of the cabinet doors are prime real estate that pipes can’t block. Slim adhesive wire racks or over-door baskets hold brushes, cloths, spare sponges, small bottles and hair tools.
Because doors swing out to you, door storage is actually the most accessible spot in the whole cabinet — perfect for the things you grab daily.
Renter-friendly: Adhesive-mounted racks remove cleanly with no marks. Just check the weight rating and let the adhesive cure for 24 hours before loading.
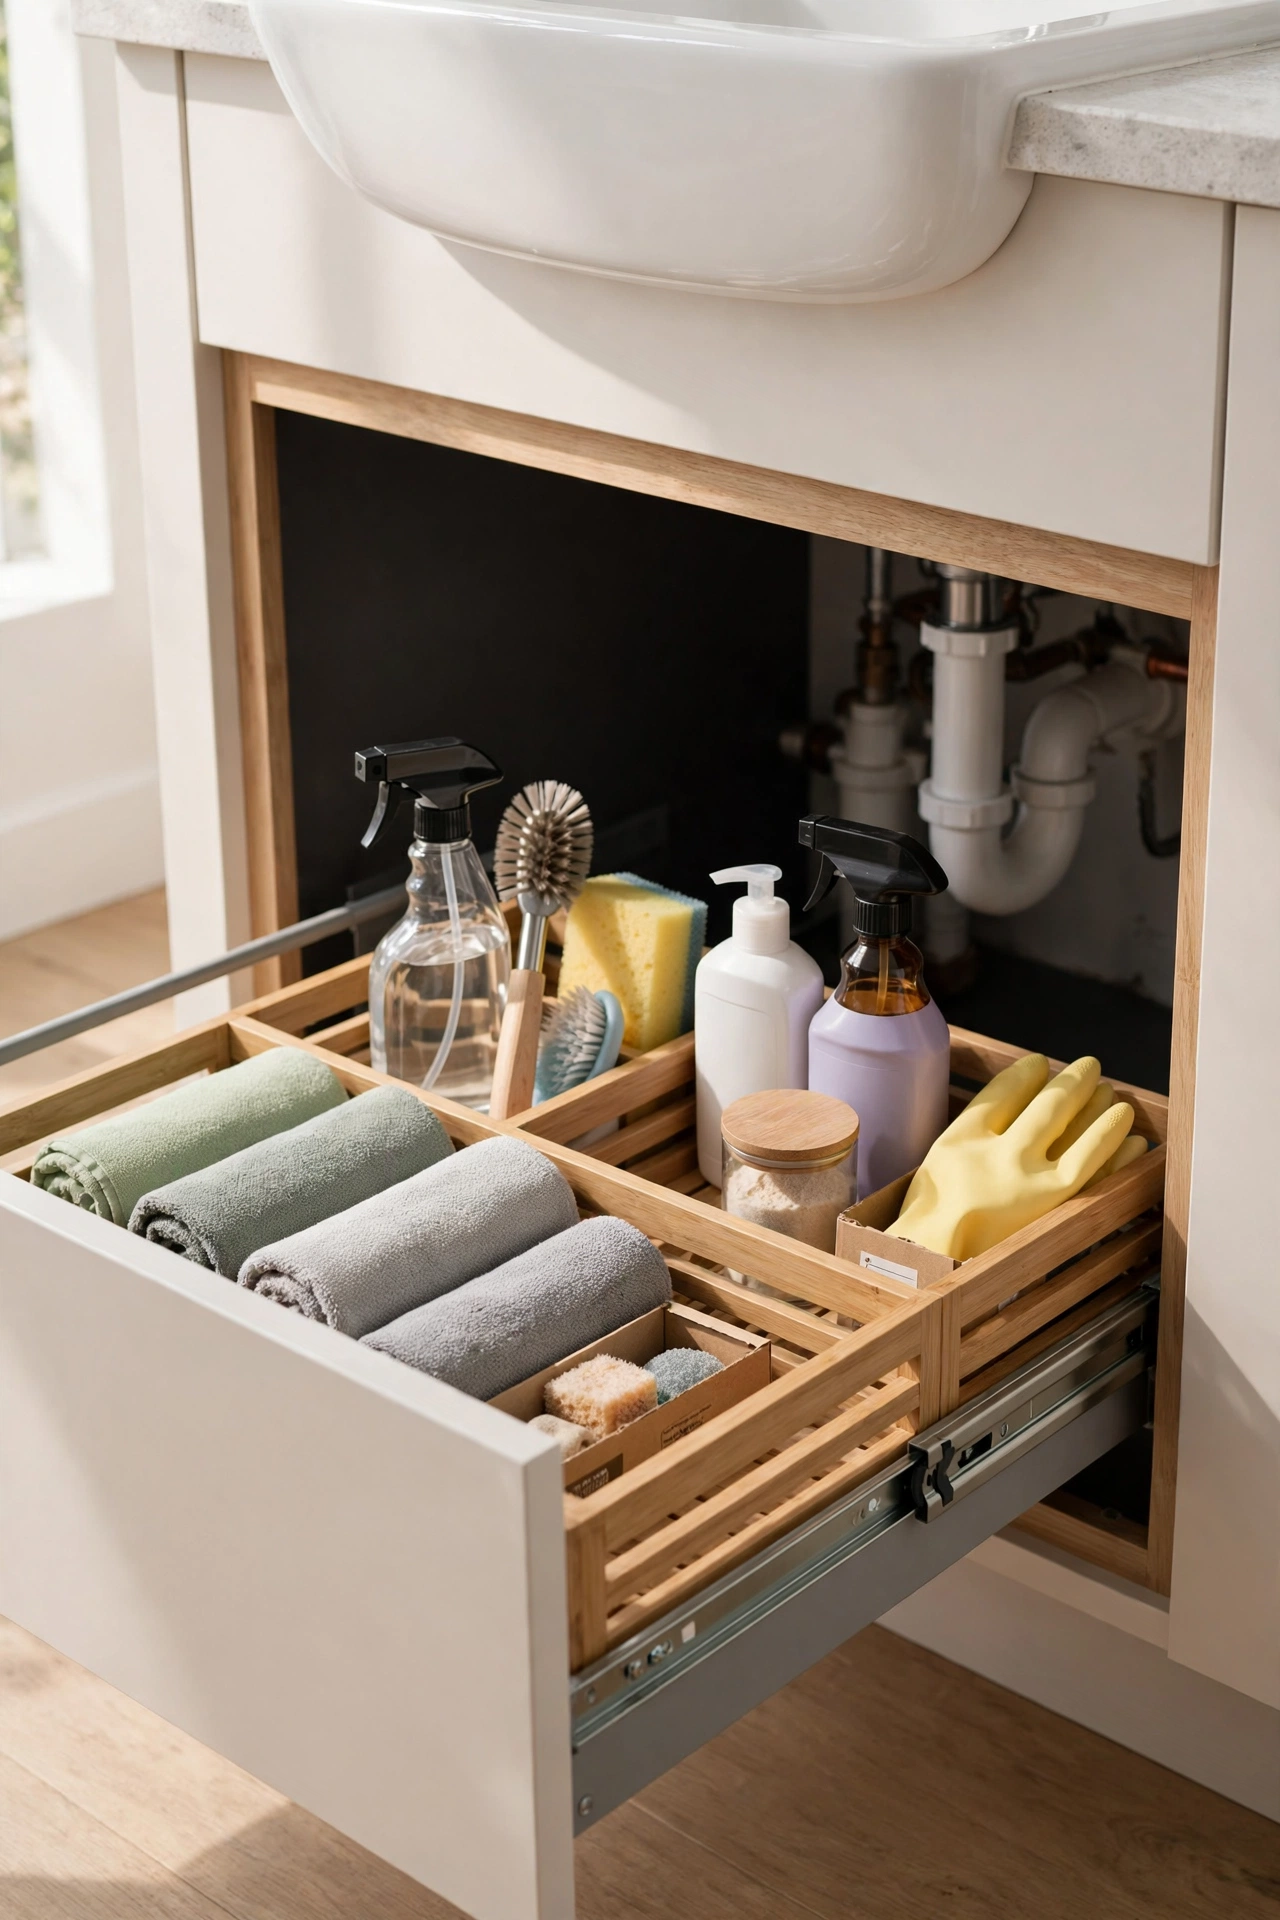
8. Use a Pull-Out Caddy for Deep Cabinets
If your under-sink cabinet is deep, the back half is essentially unreachable — things go in and never come out. A pull-out caddy on a sliding track fixes this: the whole tray glides out to you.
Use it for the category you reach for least often (bulk refills, occasional cleaners) since it lives at the back, or put daily items in it if you’d rather have everything glide out effortlessly.
Small bathroom win: Pull-out storage effectively doubles the usable depth of the cabinet.
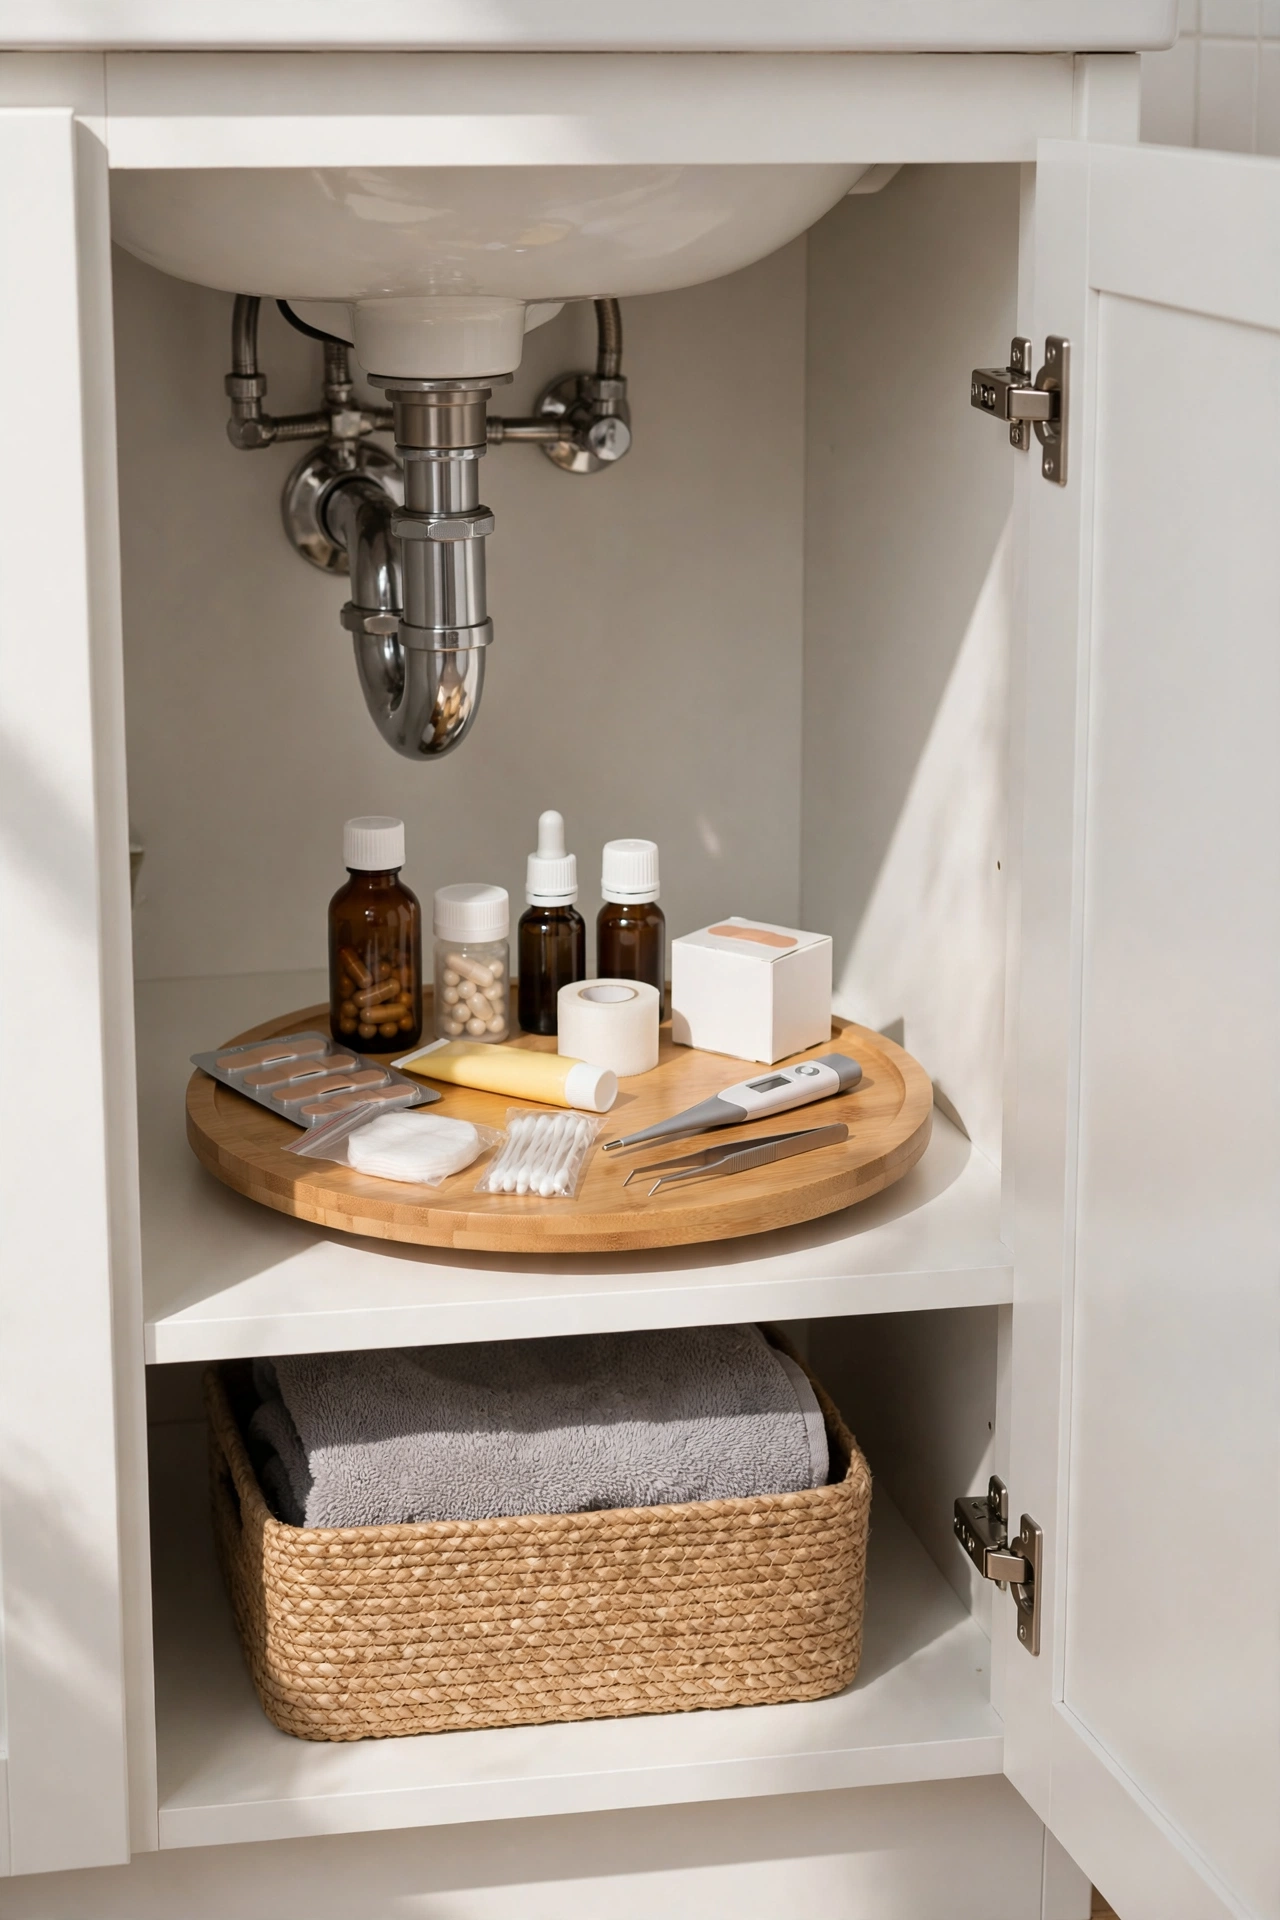
9. Add a Lazy Susan for the Awkward Corners
The areas to the left and right of the pipes are deep, dark and hard to reach — a small turntable (lazy Susan) makes them usable. One spin brings every bottle to the front.
Use one for medicines and first aid (so nothing expires unseen at the back) and another for spare toiletries and refills.
Safety note: Keep medicines in a lidded bin on the turntable if children can reach the cabinet, and store them out of reach entirely if possible.
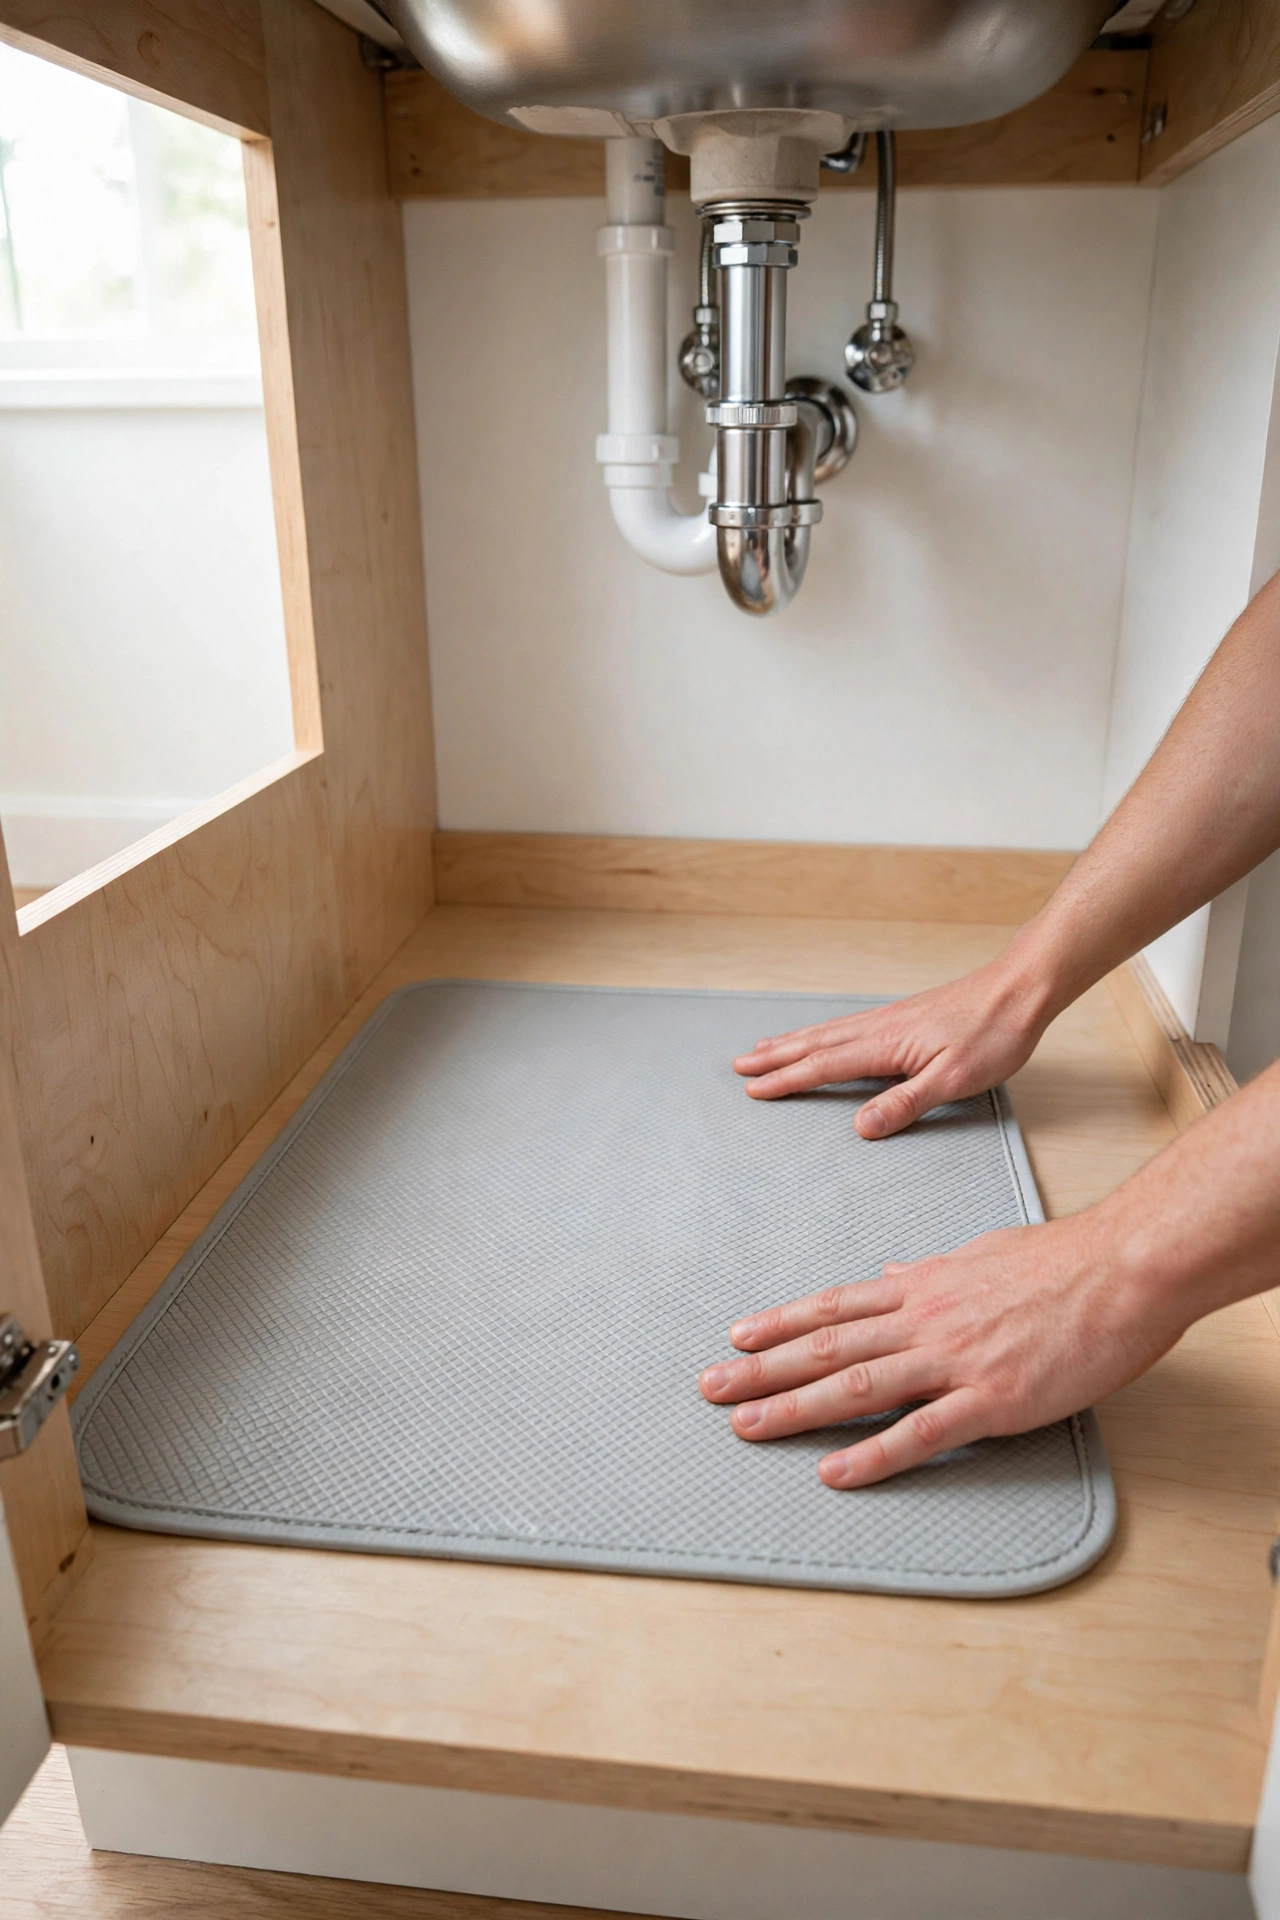
10. Protect the Cabinet Floor With a Waterproof Liner
Before organising anything, lay a waterproof cabinet liner or a shallow drip tray on the cabinet floor. Under-sink areas are prone to slow leaks, condensation and the occasional spill — and water damage ruins both the cabinet and your organisers.
A liner also makes cleaning trivial: pull it out, wipe it down, slide it back. Choose one with a raised lip to contain drips.
Why it matters: Organisation that gets destroyed by one leaky bottle isn’t organisation. Protect the base first.
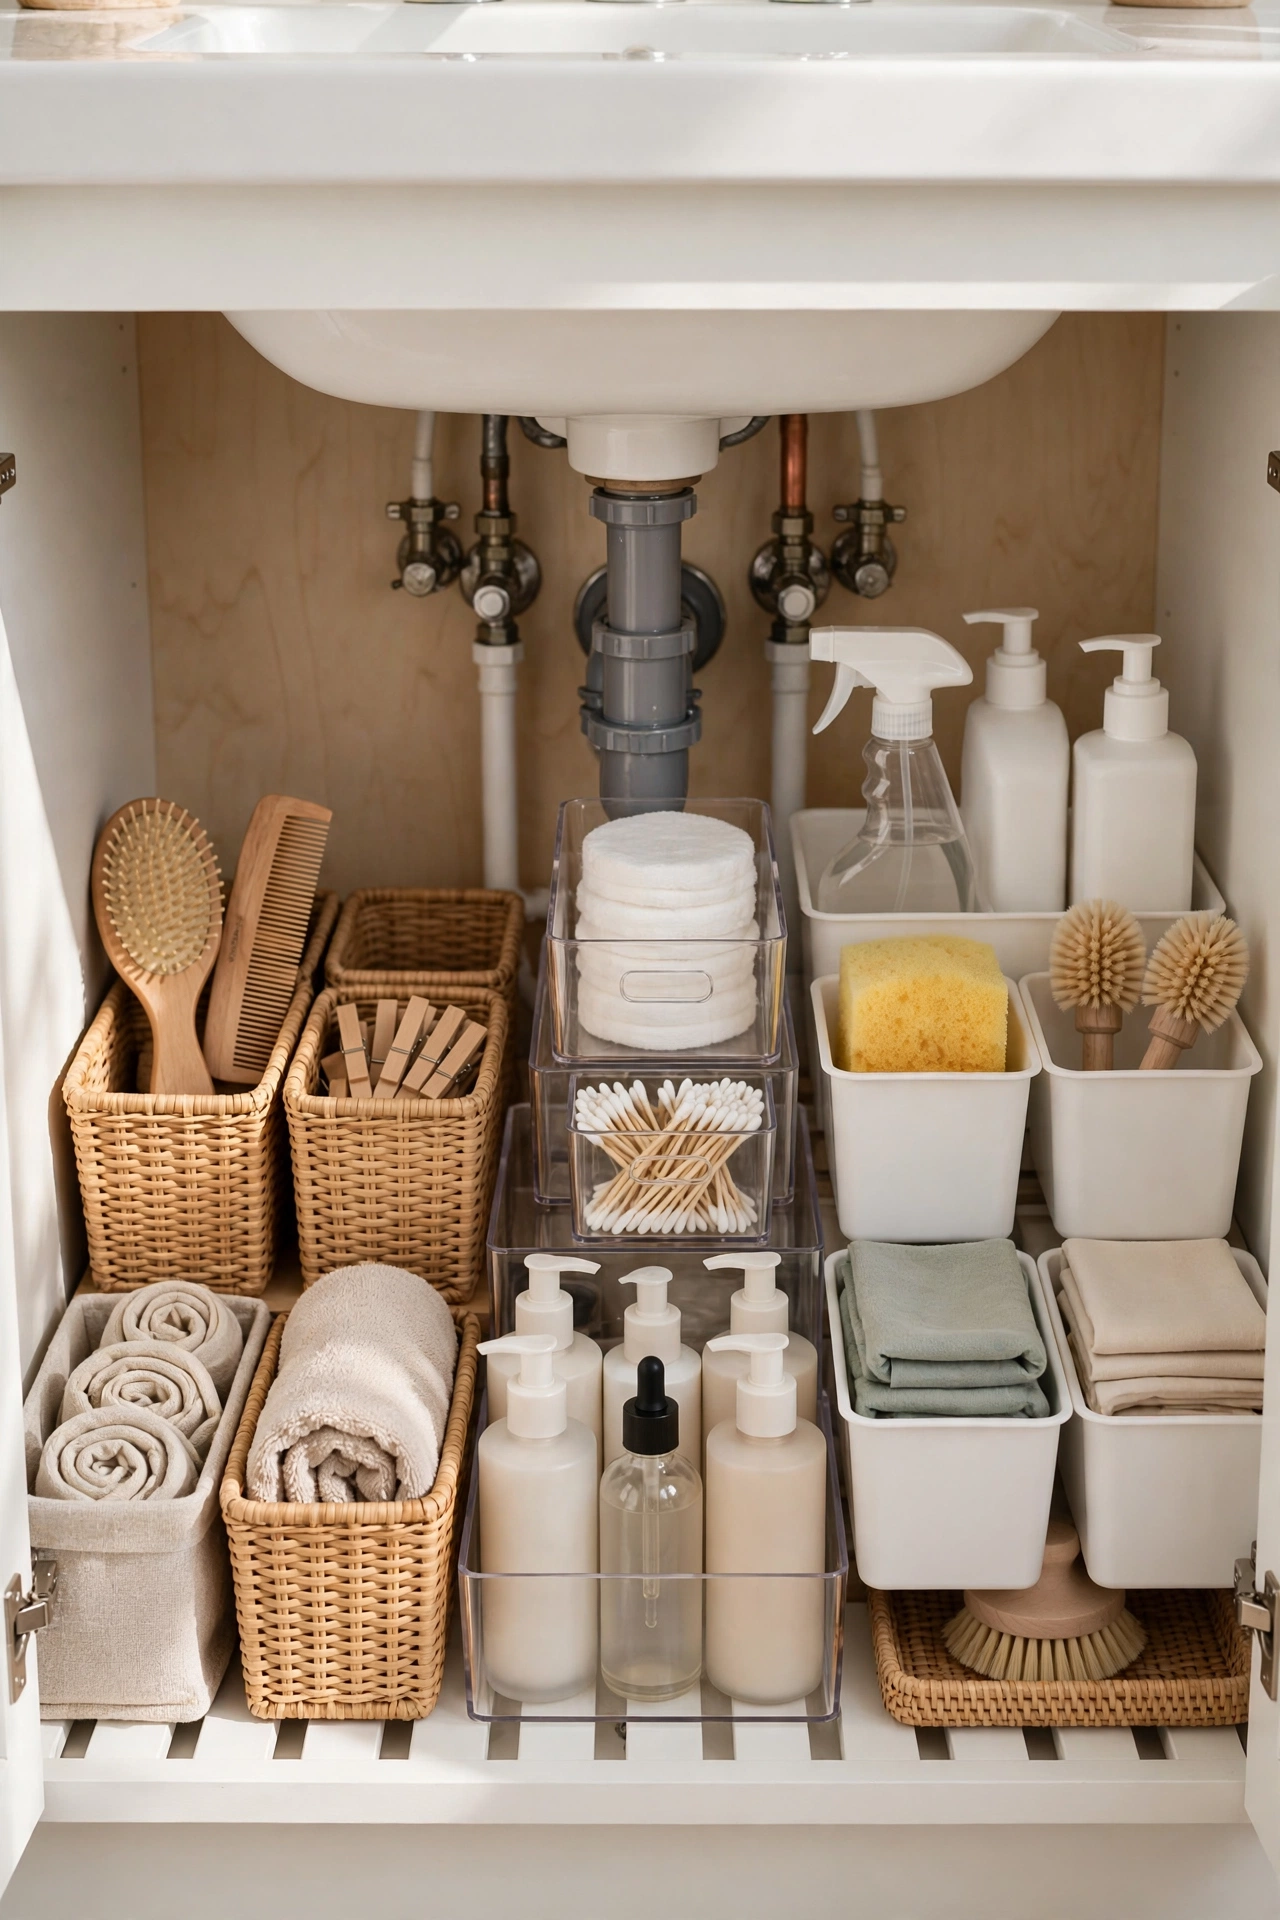
11. Group Items by Category, Not by Size
The mistake most people make is grouping by bottle height. Instead, group by how you use things: daily skincare together, cleaning supplies together, hair care together, first aid together. Each category gets its own bin or zone.
This means you only ever pull out one bin for your morning routine instead of rummaging through everything.
The test: If you can complete your whole morning routine by pulling out a single bin, your categories are right.
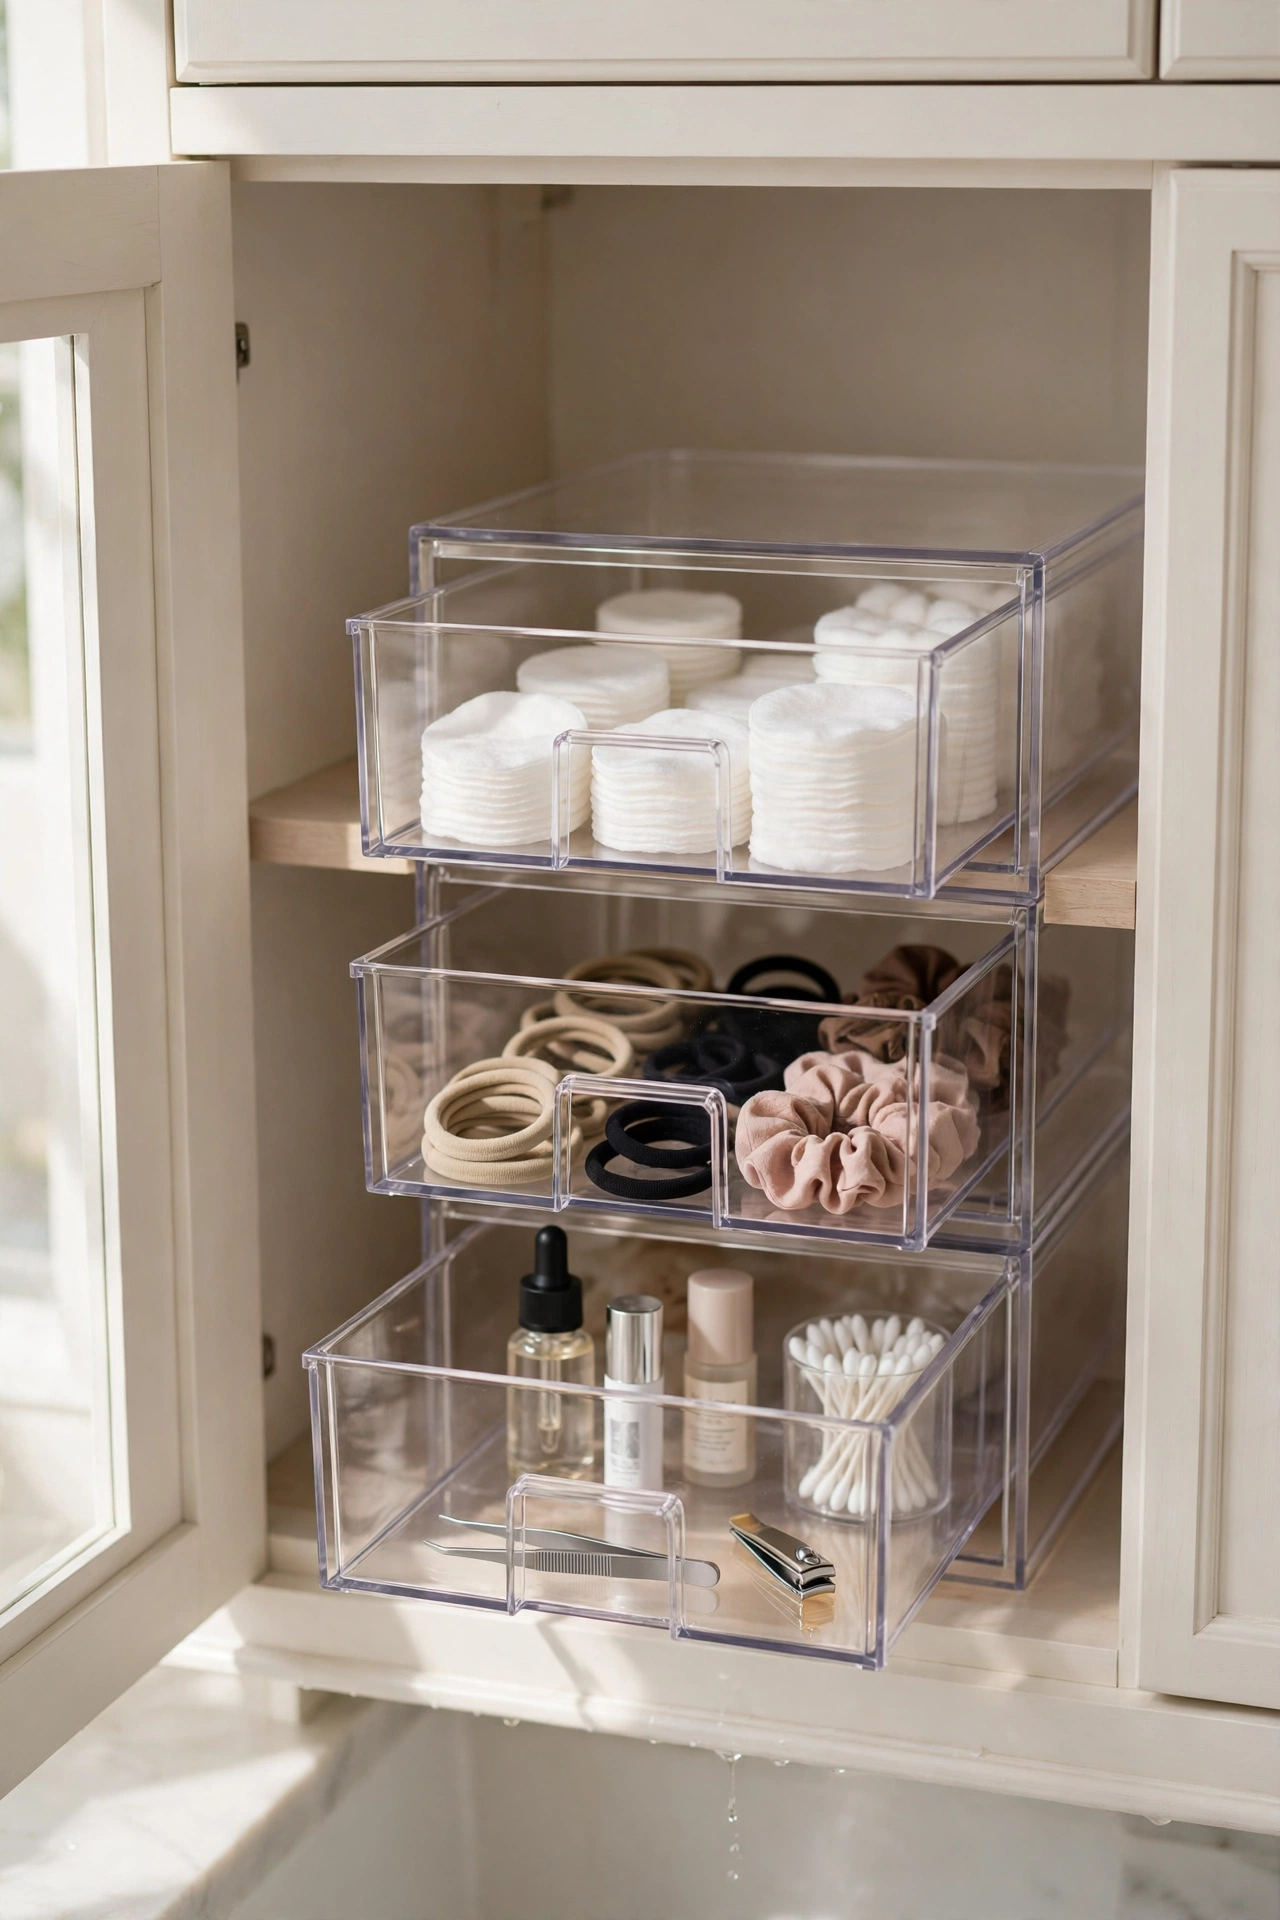
12. Use Stacking Drawers for Small Items
Small items — cotton pads, hair ties, spare toothbrush heads, sample sachets — vanish in big bins. A small set of stacking drawers (two or three tiers) gives every tiny category its own compartment.
Place the drawer unit on one side of the pipes where the footprint is smallest. Clear drawers are best so you can see what’s inside each one.
Budget tip: Miniature stackable drawer units are among the cheapest organisers you can buy, and they end the “tiny things lost forever” problem completely.
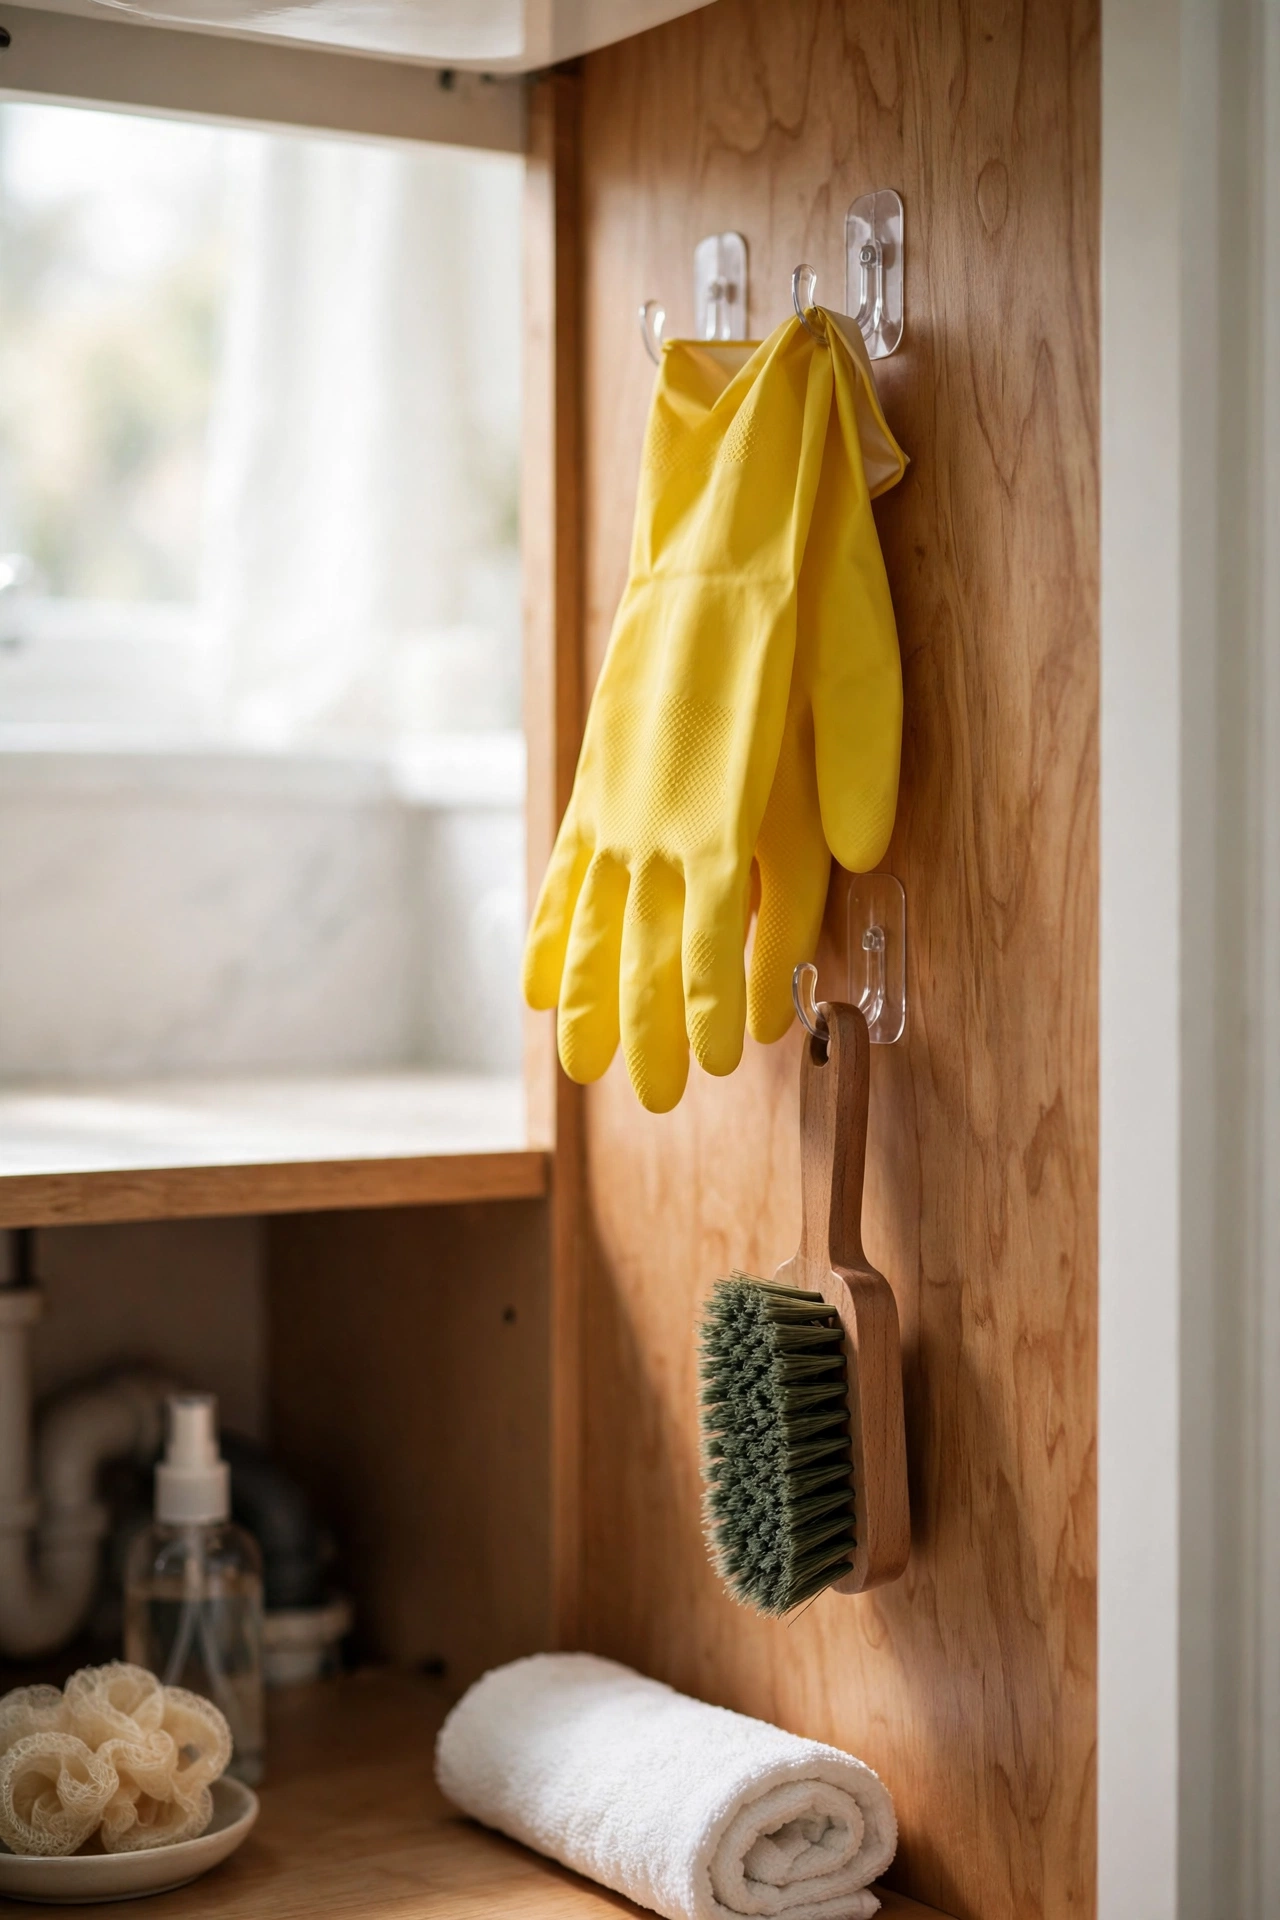
13. Hang Cleaning Tools With Adhesive Hooks
The sides of the cabinet interior are wasted vertical space. A few adhesive hooks on the side walls hold rubber gloves, scrubbing brushes, dustpans and spray bottles with handles — keeping them off the floor of the cabinet and easy to grab.
Hooks also work on the underside of the cabinet’s top panel for lightweight items like spare sponges in mesh bags.
Renter-friendly: Adhesive hooks are fully removable. Place them where pipes won’t knock items off when doors close.
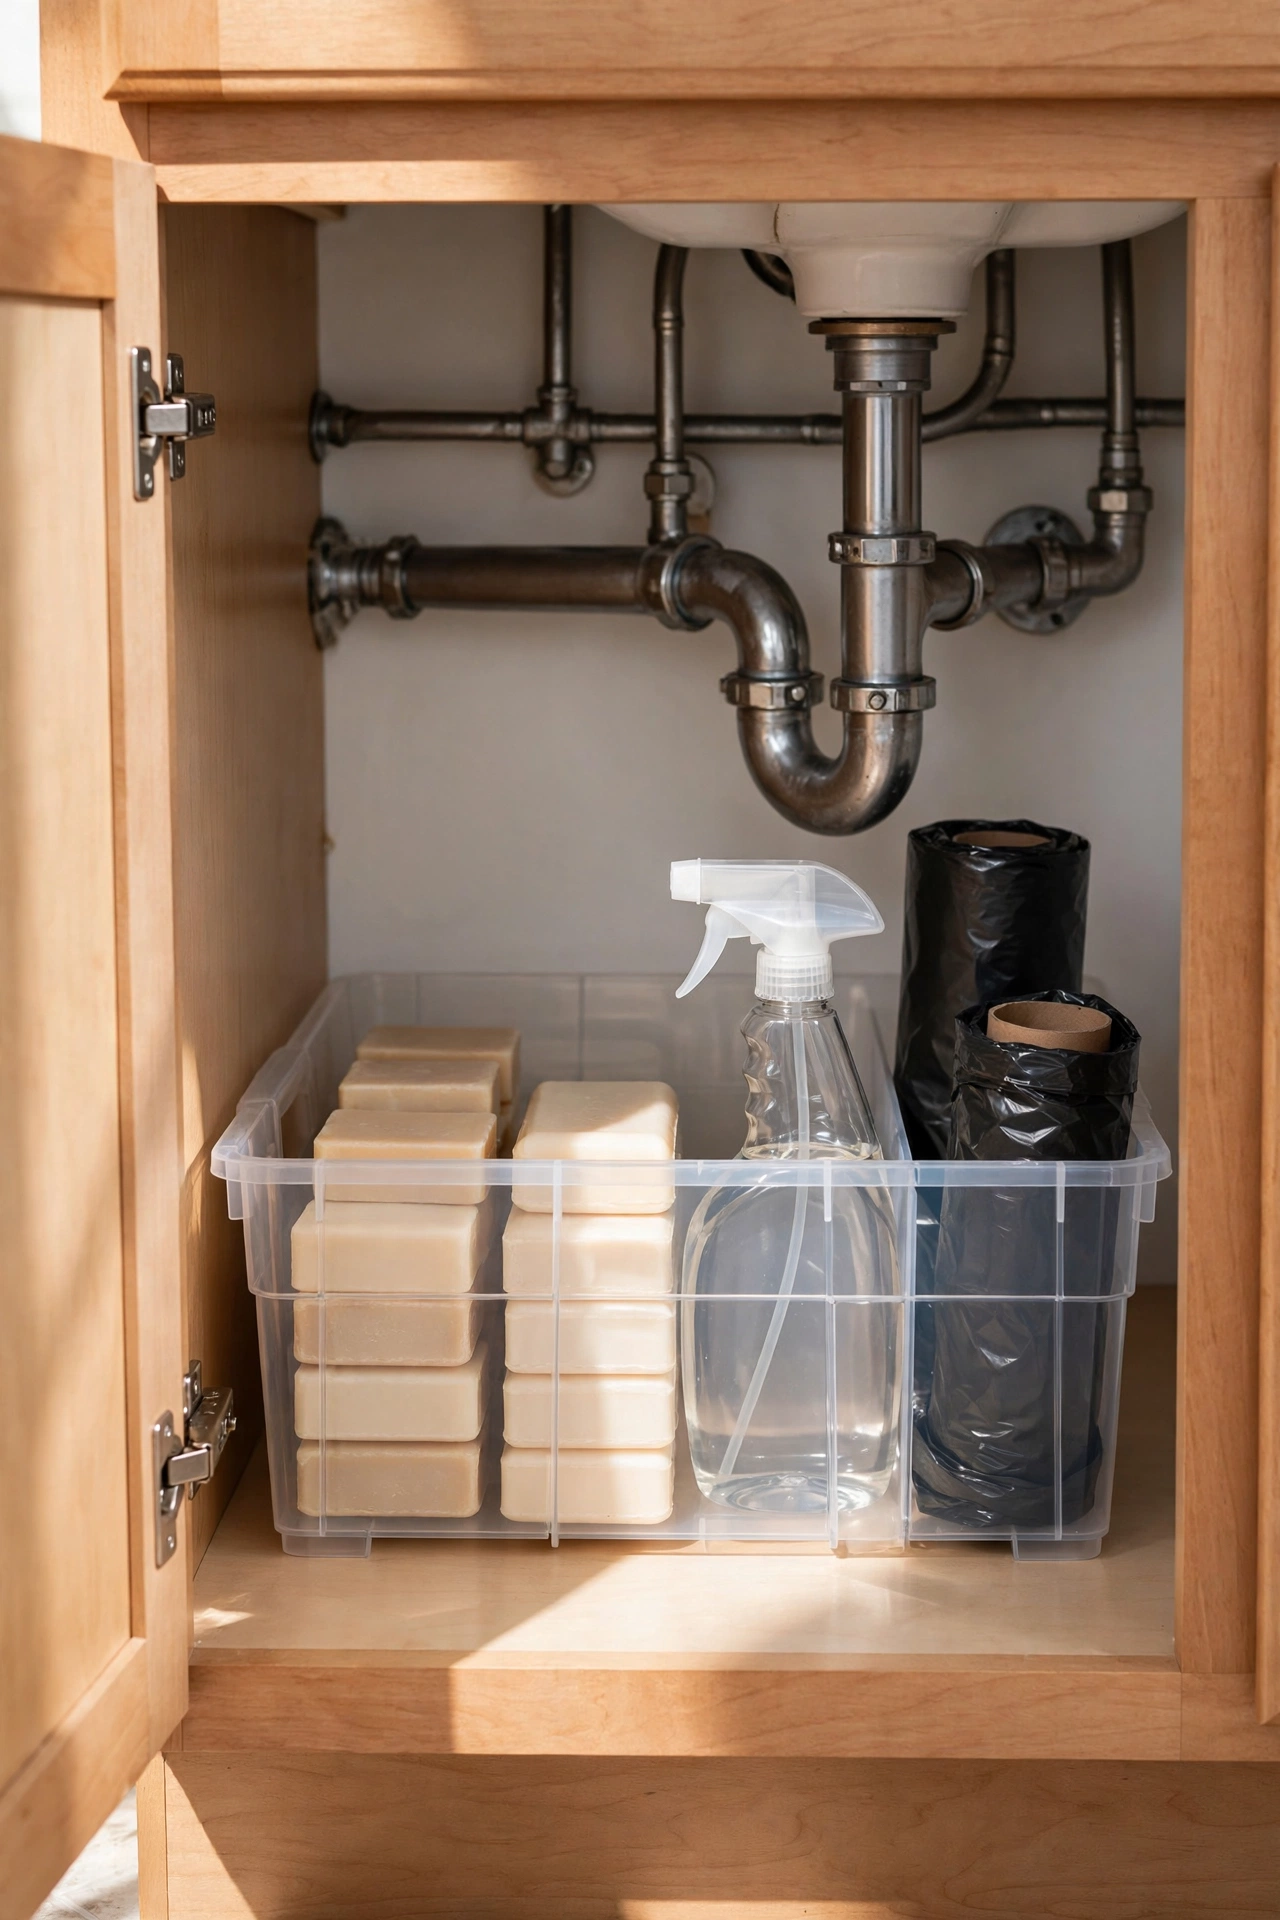
14. Keep a “Restock” Bin for Refills
One of the sneakiest sources of under-sink chaos is bulk refills and duplicates with nowhere to live. Dedicate one bin — at the back or on a lower tier — purely for refills: the spare hand soap, the backup cleaning spray, the multipack of bin bags.
When the daily-use bottle runs out, the refill is right there. When the restock bin is empty, that’s your signal to buy more — no more discovering you’re out of toilet cleaner mid-clean.
The rule: Refills never live with daily items. Separate homes, zero confusion.
15. Do a Two-Minute Monthly Reset
Organisation isn’t a one-time event — it’s a habit. Once a month, pull the bins out, wipe the liner, toss anything expired or empty, and put everything back in its labelled zone. Two minutes, that’s all it takes.
Set a phone reminder for the first Sunday of the month. Catching clutter early means you never have to do the big painful declutter again.
The one rule that makes it stick: If something doesn’t have a labelled home under the sink, it doesn’t belong under the sink.
Frequently Asked Questions
How do I organise under a bathroom sink with pipes in the way?
Measure around your pipes first, then use organisers designed for the space: stackable bins on either side of the pipes, a U-shaped two-tier shelf unit, a tension rod for spray bottles, and door-mounted racks. Work around the plumbing instead of fighting it.
What’s the best way to store cleaning supplies under the sink?
Hang spray bottles from a tension rod across the top of the cabinet and keep other cleaners in a single labelled bin. This keeps them visible, prevents leaks onto the cabinet floor, and separates them from toiletries.
How can I organise under my sink on a budget?
Start with a free declutter, then buy just three things: a tension rod, a set of stackable bins, and adhesive hooks. Together they solve 80% of under-sink chaos for very little money.
How do I keep under-sink organisation from falling apart?
Label every bin, group items by category, and do a two-minute monthly reset. Labelled zones survive other household members; unlabelled ones don’t.
Final Thoughts
The cabinet under your bathroom sink will never be a big space — but it can be a brilliantly organised one. Measure around those pipes, give every category a labelled home, and protect the base with a liner. Start with the free declutter this weekend, add a tension rod and a few bins, and you’ll wonder why you tolerated the chaos for so long.
Want a calmer home from top to bottom? Explore our Kitchen Organisation ideas and Bedroom Ideas for more room-by-room guides.
2 thoughts on “15 Under-Sink Bathroom Organisation Ideas That Double Your Storage (on a Budget)”